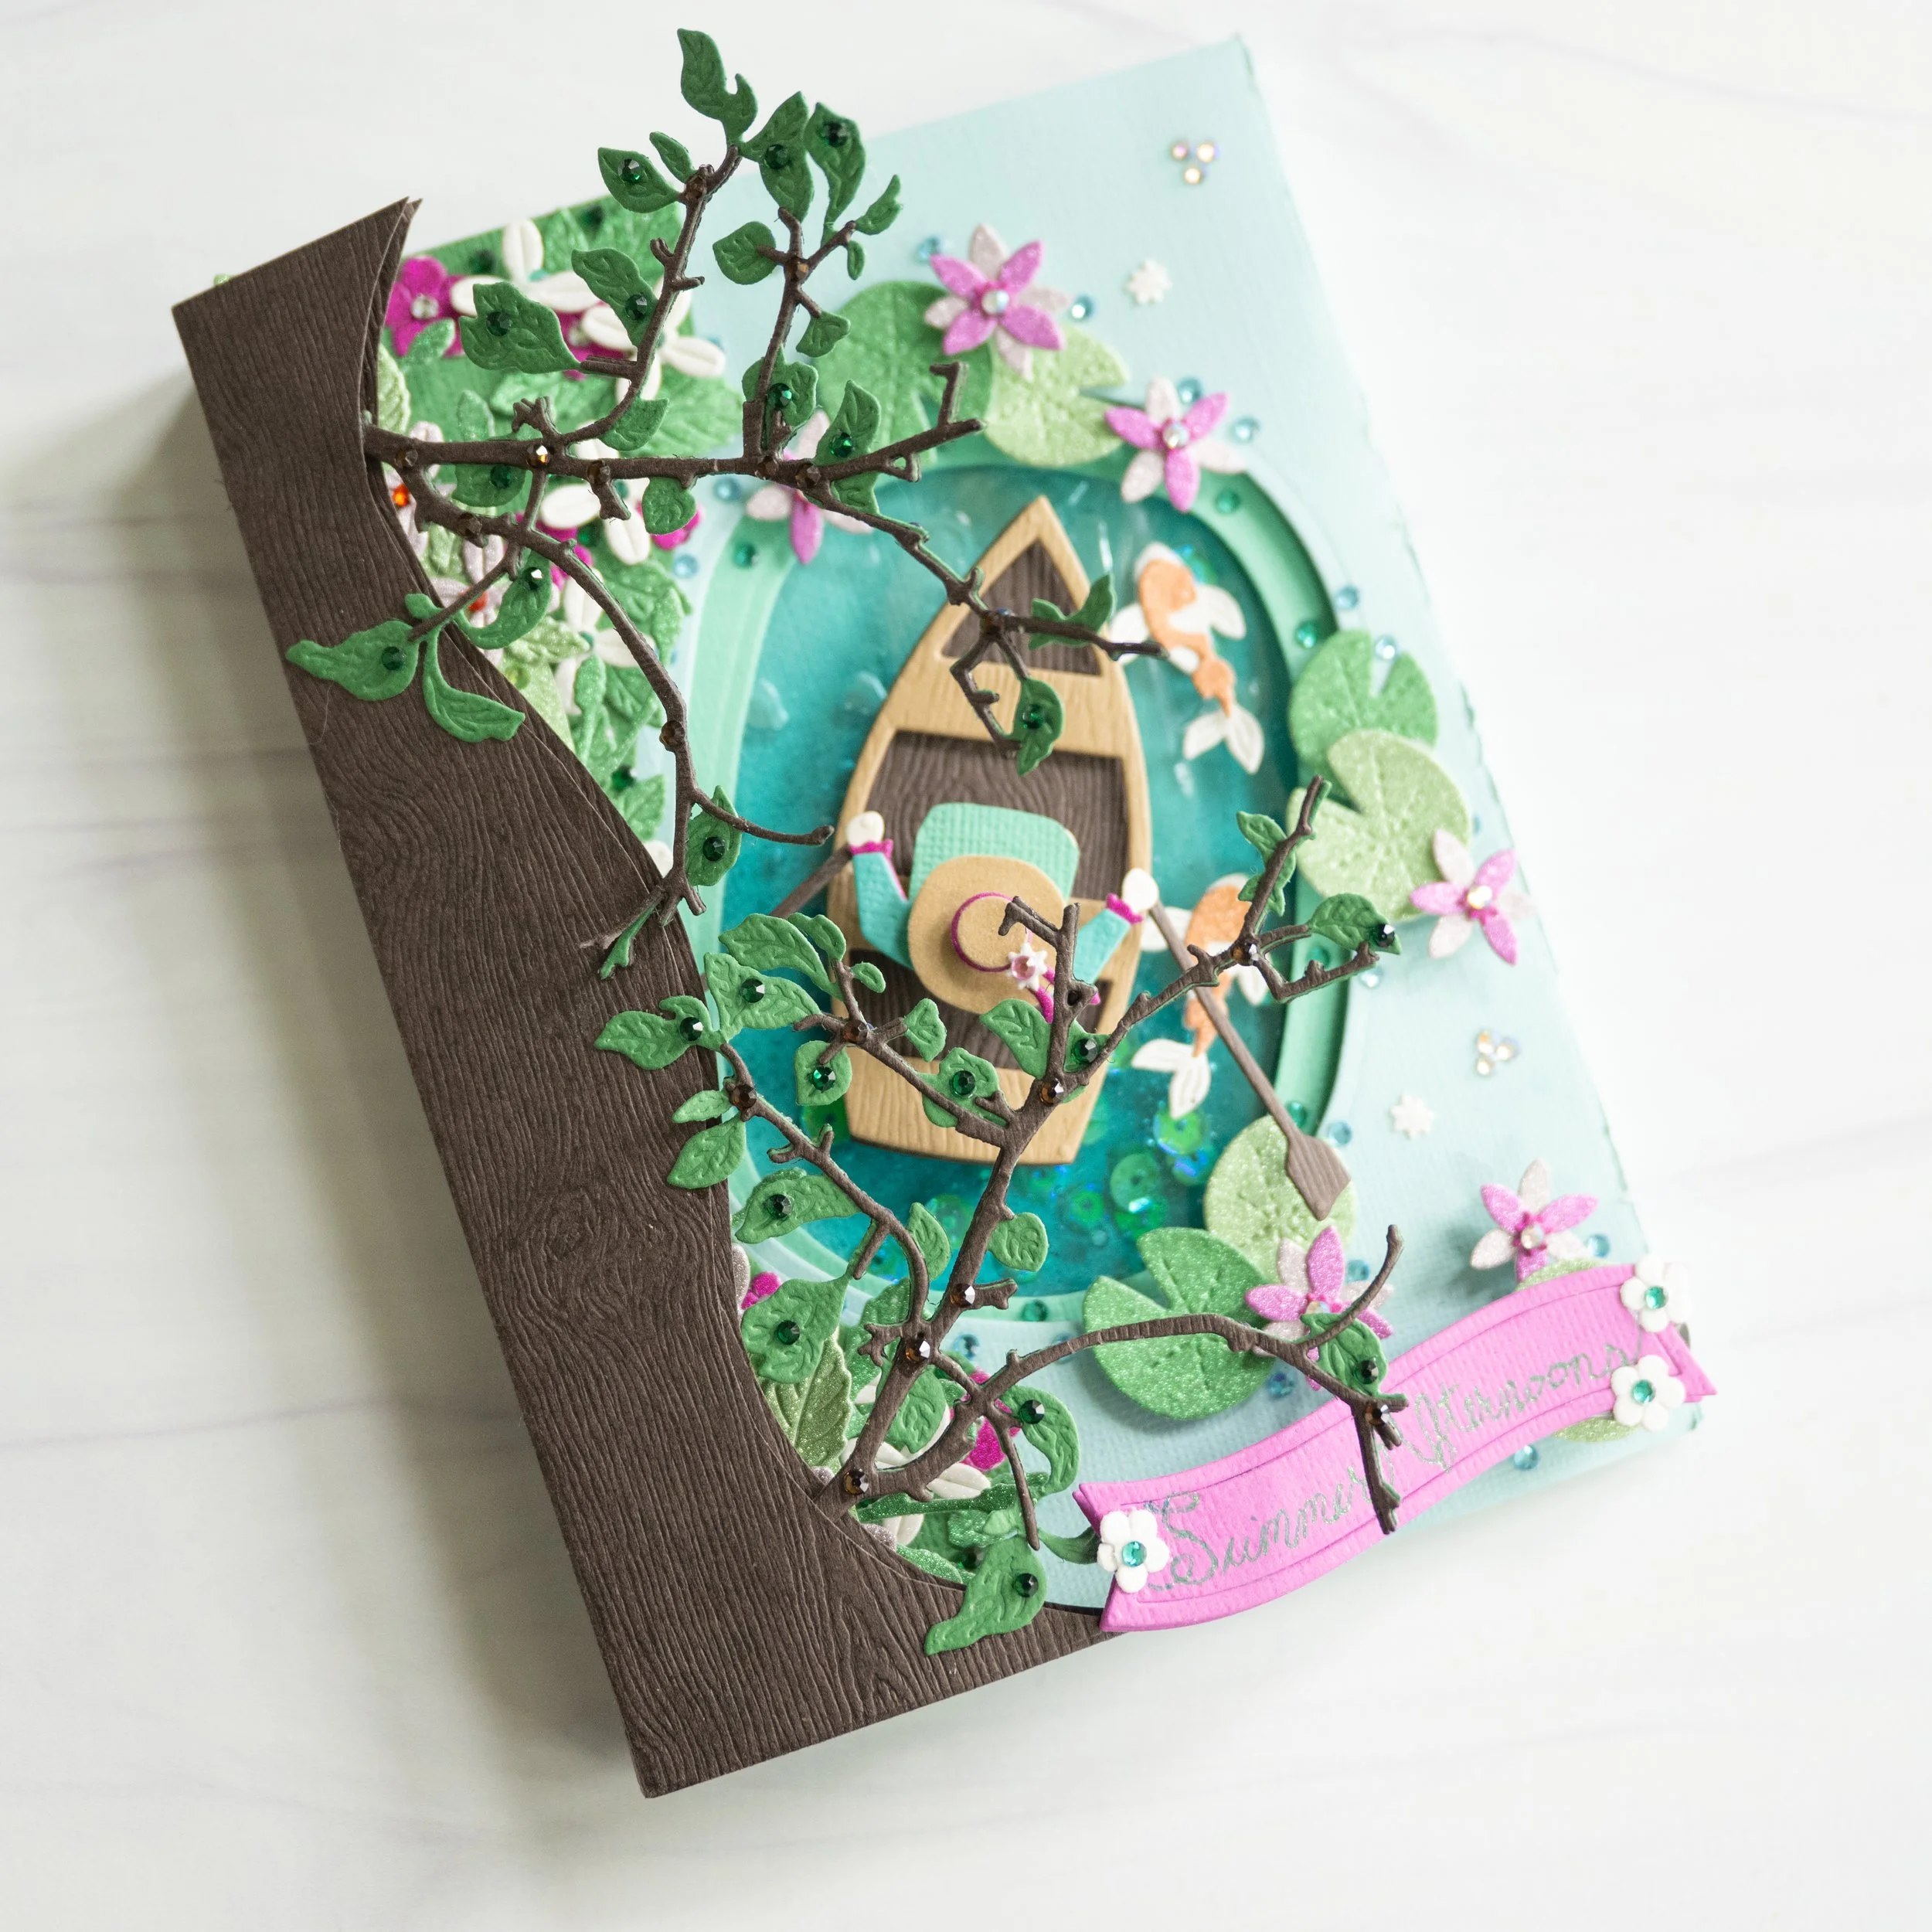
Summer Afternoons
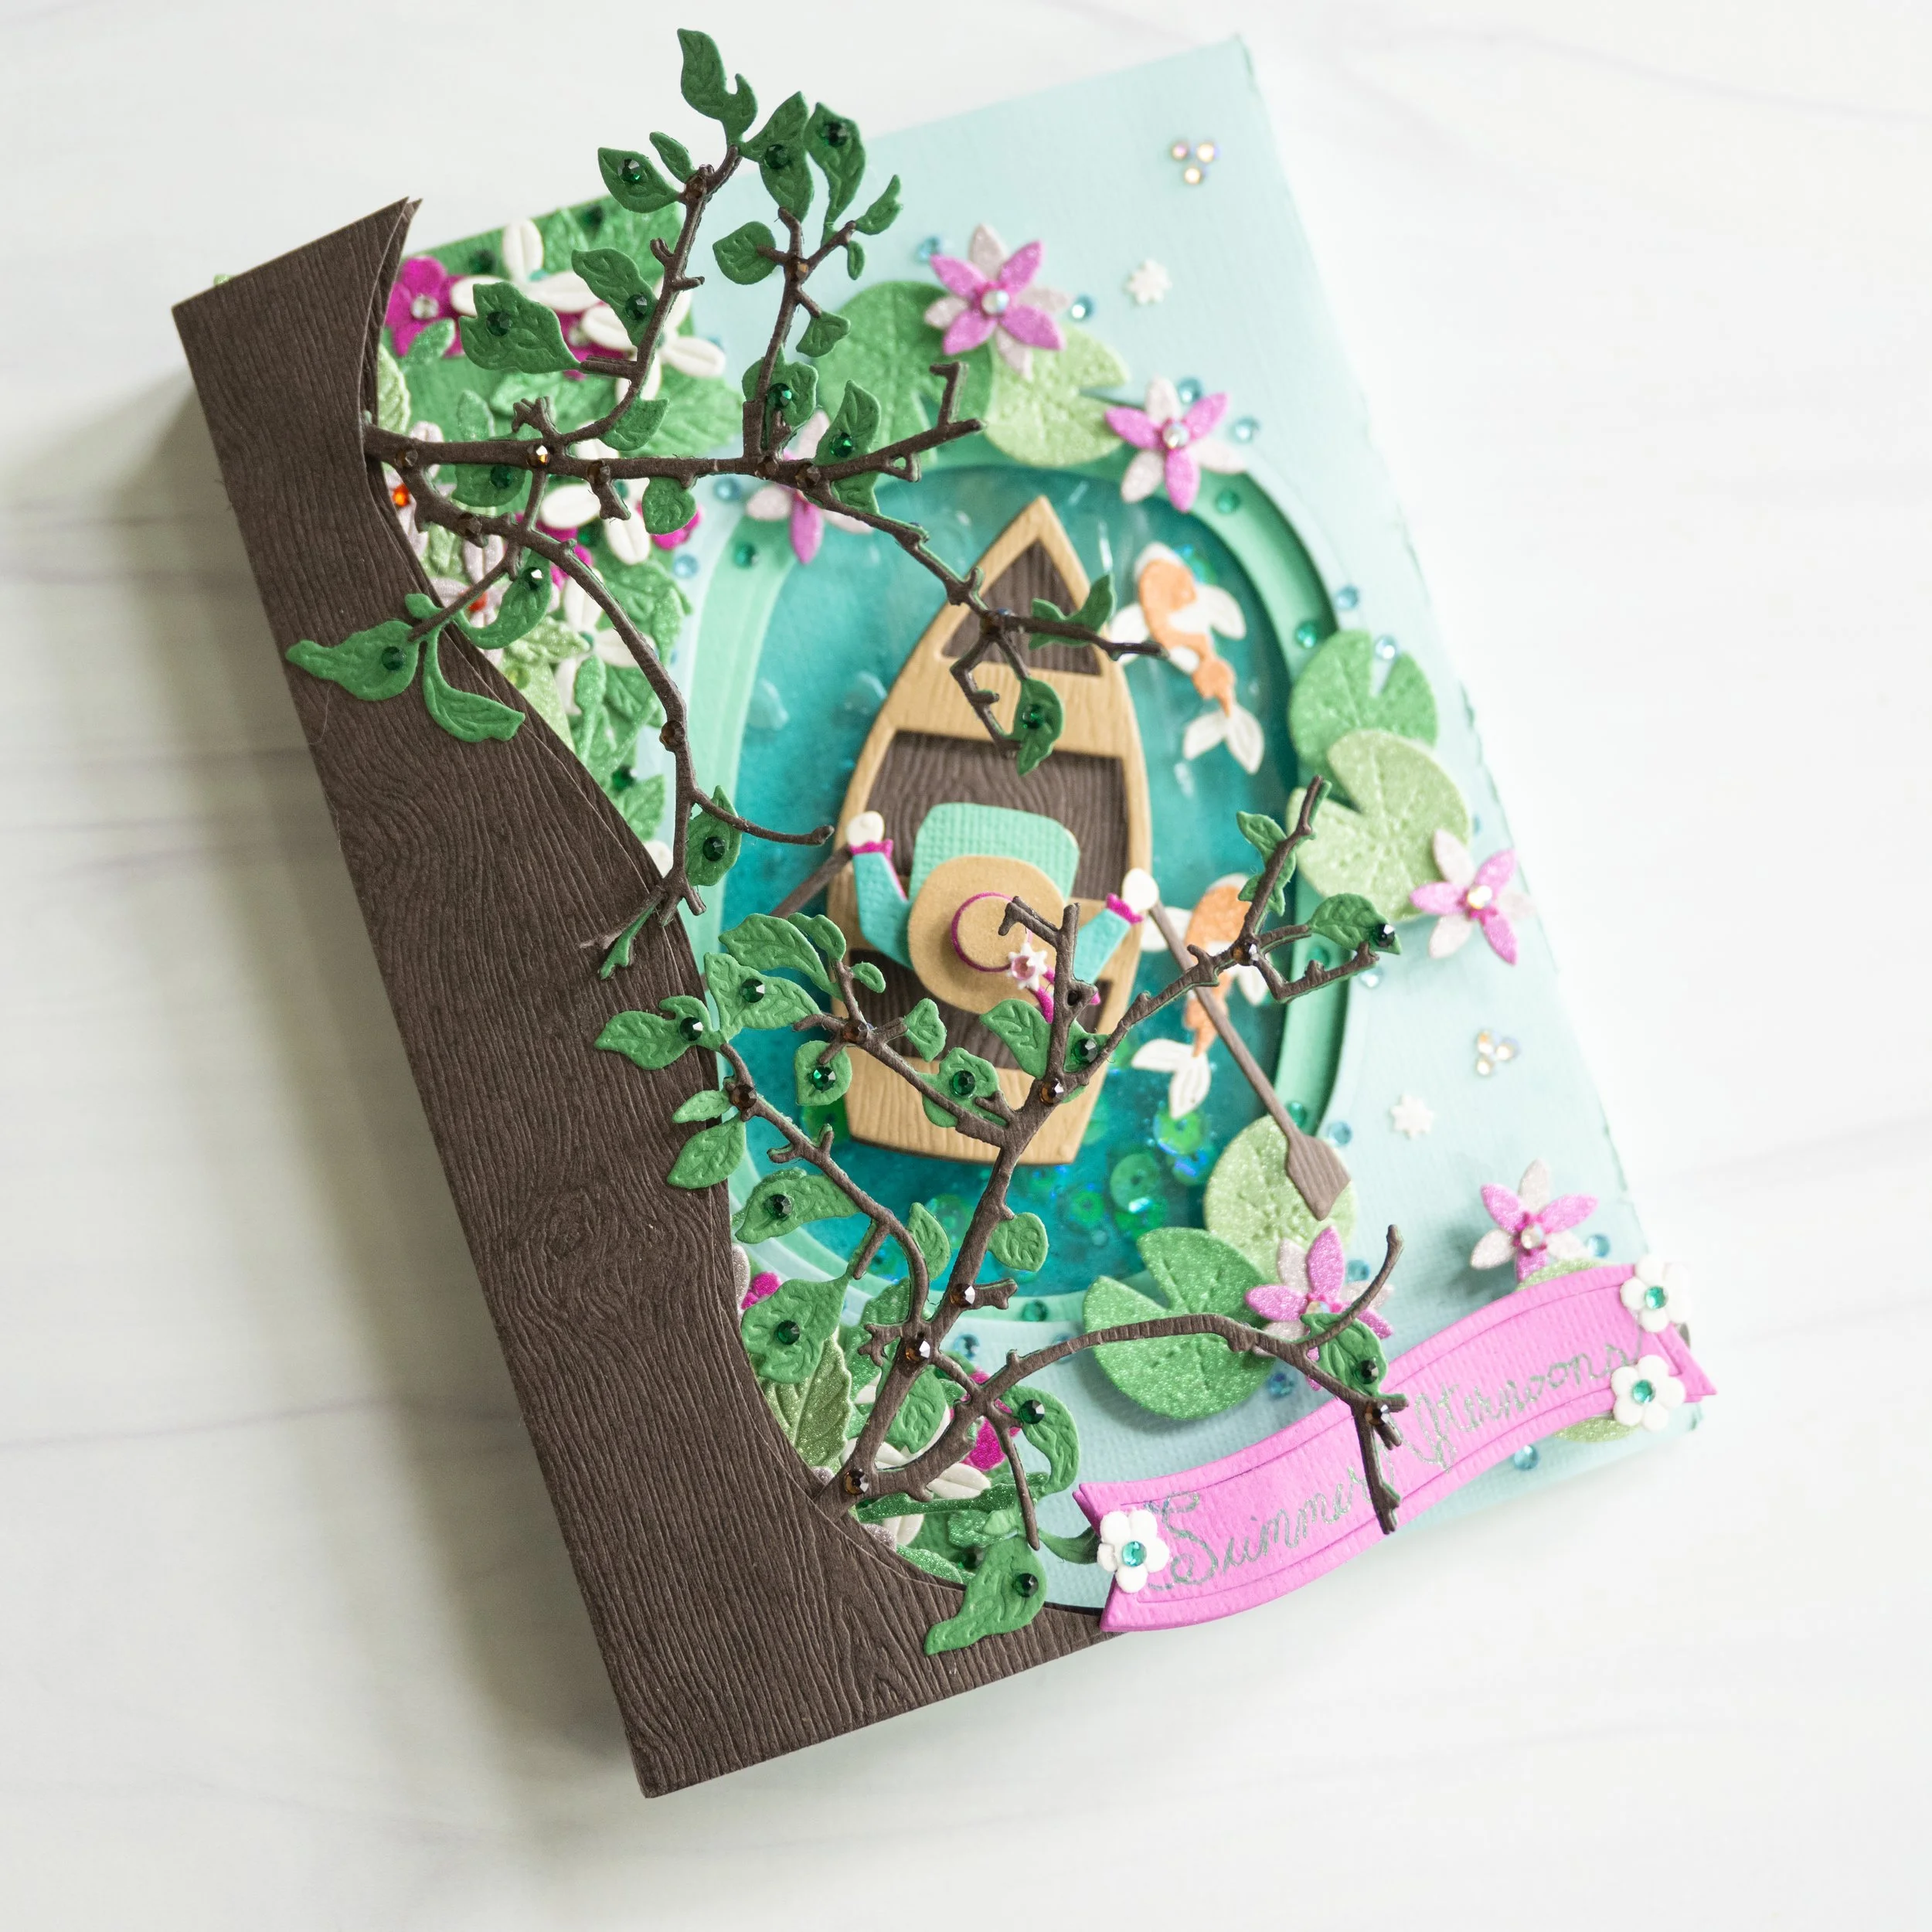
My idea of a magical summer afternoon
This die set, for me, was the standout set from the Concord & 9th Summer Camp event - it reminded me of very beautiful and peaceful, often anime-related drawings I’d seen. I’ve been wanting to try a shaker card, since I’ve been collecting adorable shaker bits, but I wanted to put a twist on them - to make a liquid shaker card! I checked various sources online to find some suggestions on this, and settled on the following method which combined some trial and error with what I saw:
1) I took about a quarter cup of Vanicream hair gel, which is transparent, and added 3 drops of Altenew alcohol ink in a blue shade.
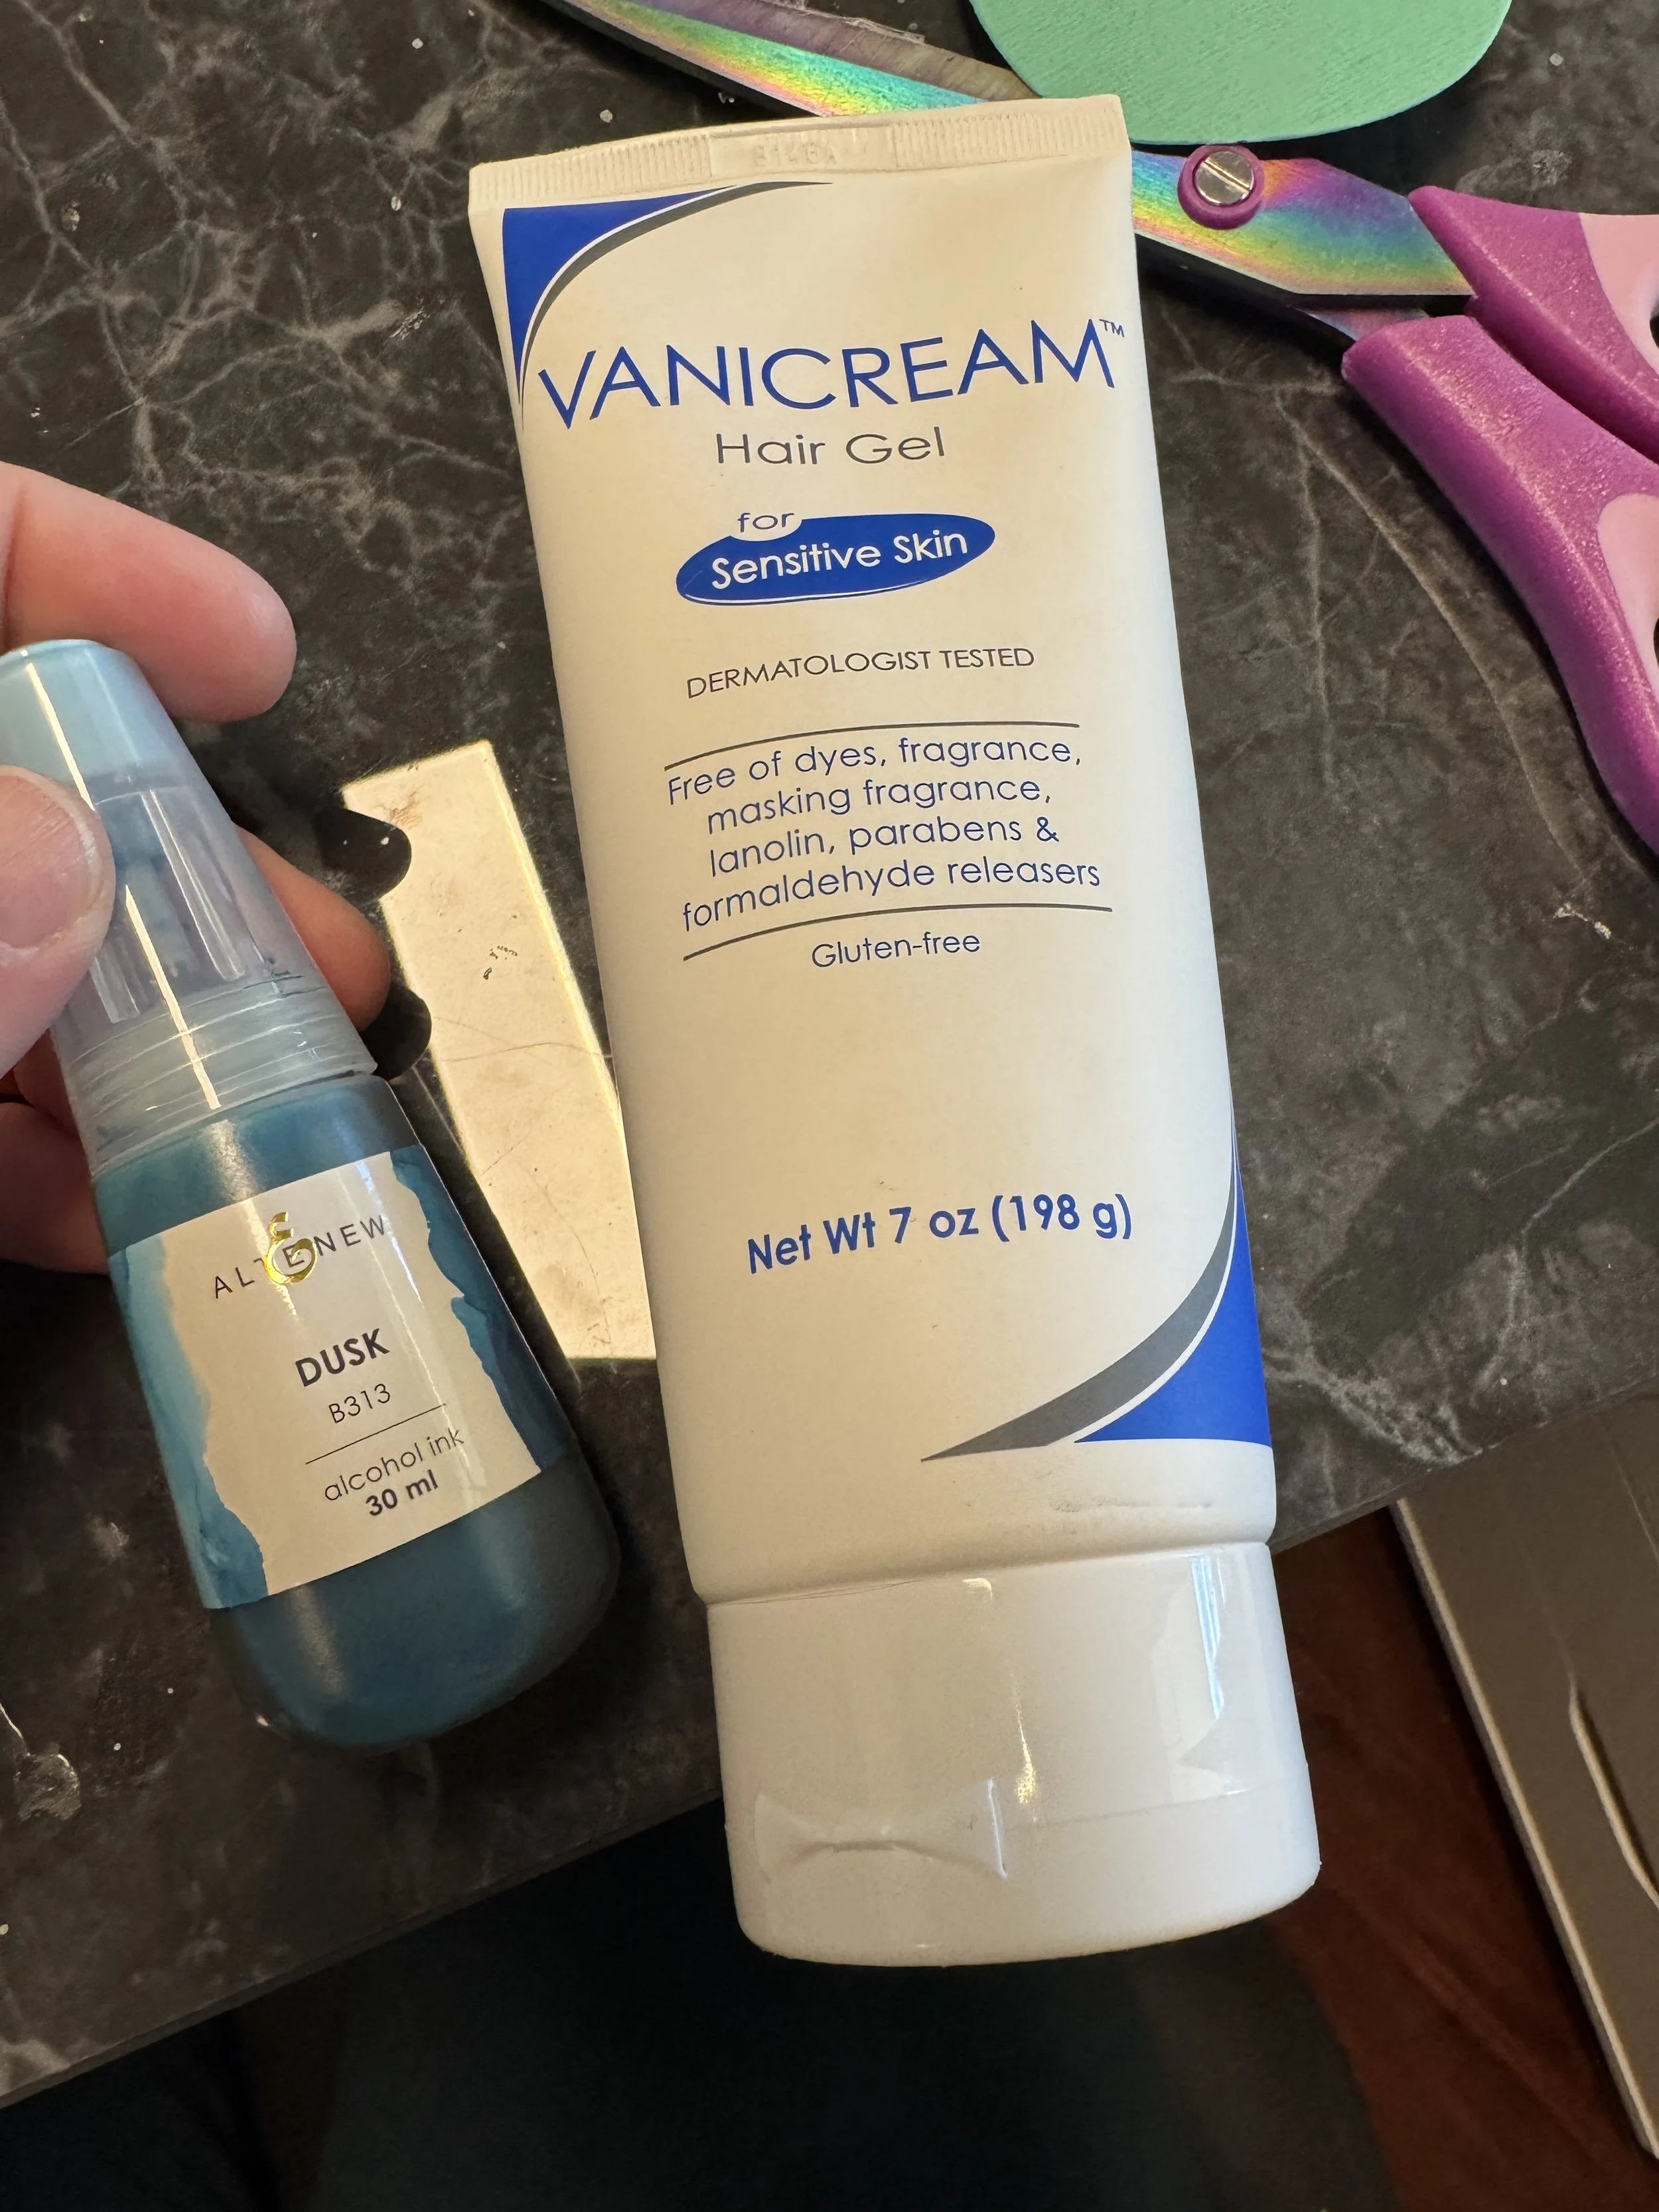
2) I stirred this in a bowl to combine because when I added it directly into gel inside of a bag, the alcohol ink stained the bag. Then, I took a 6×8” plastic bag and dolloped the gel/ink mixture with a large spoon towards the bottom. Note - you will not be able to really open the bag where there is gel to add any sequins or bits to the gel mix. So, add those in the bowl before putting in the bag, or right on top of the dolloped gel. In my case, I added a few irridescent sequins to my gel mixture.
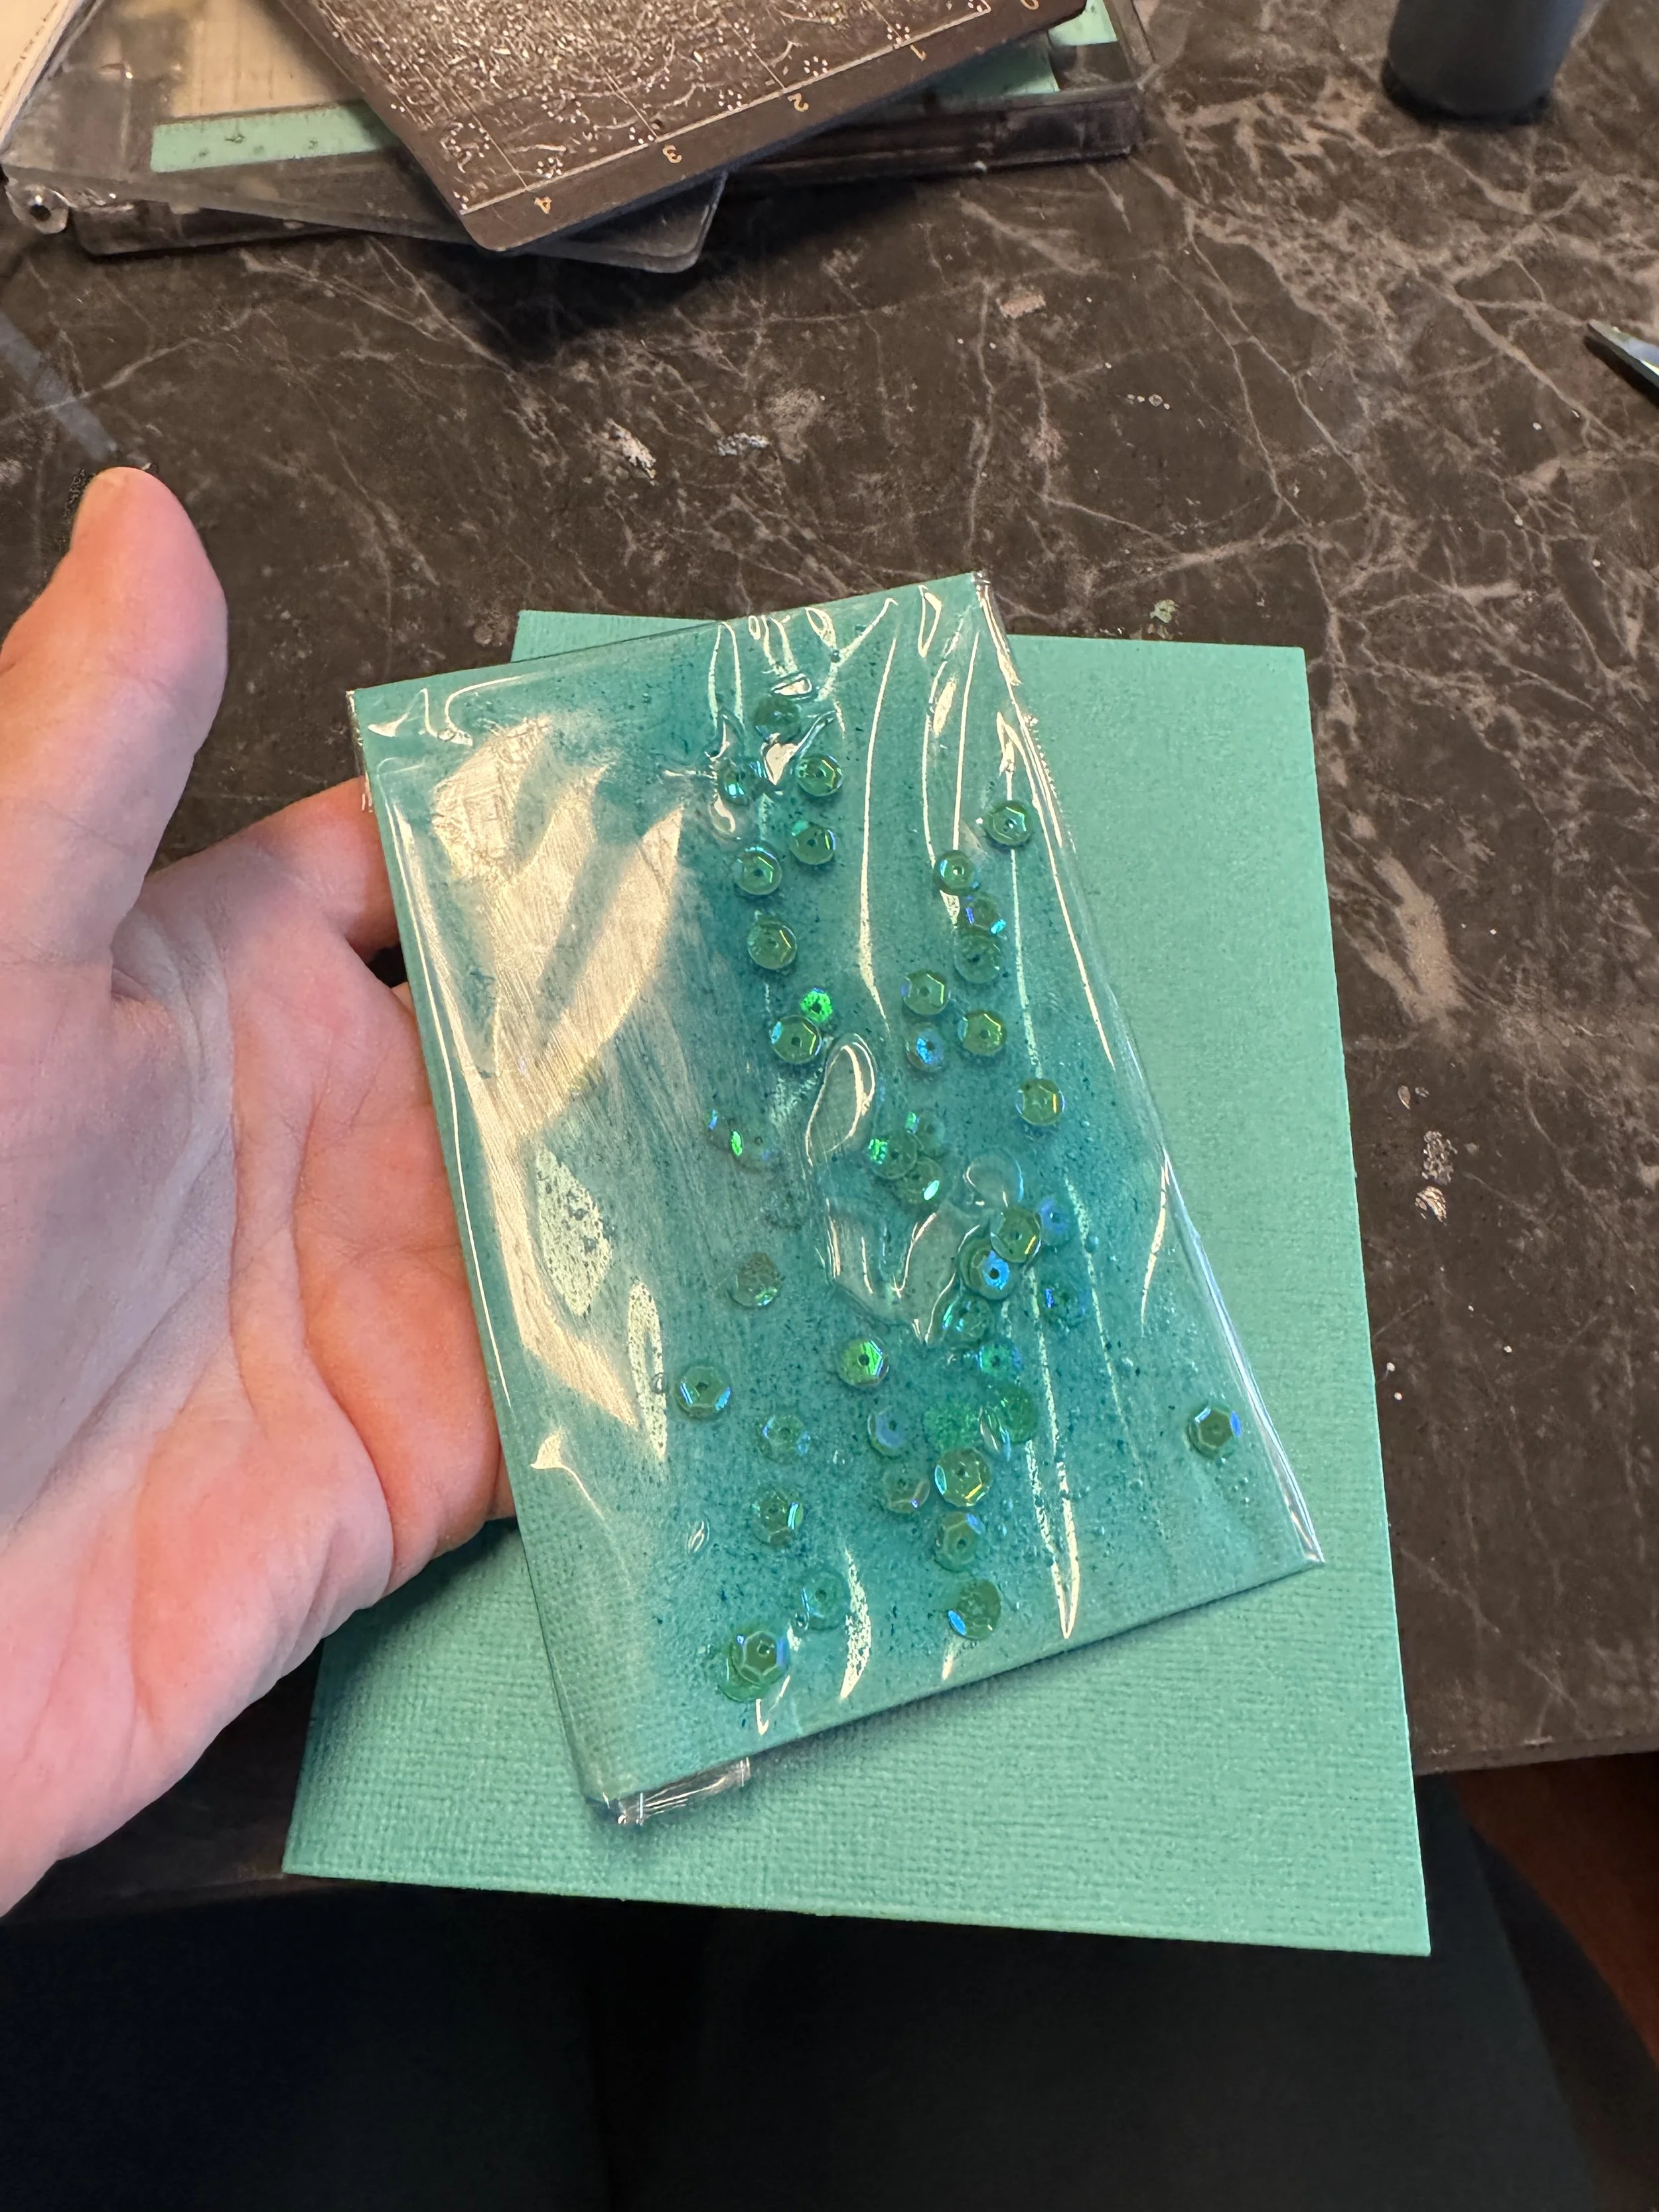
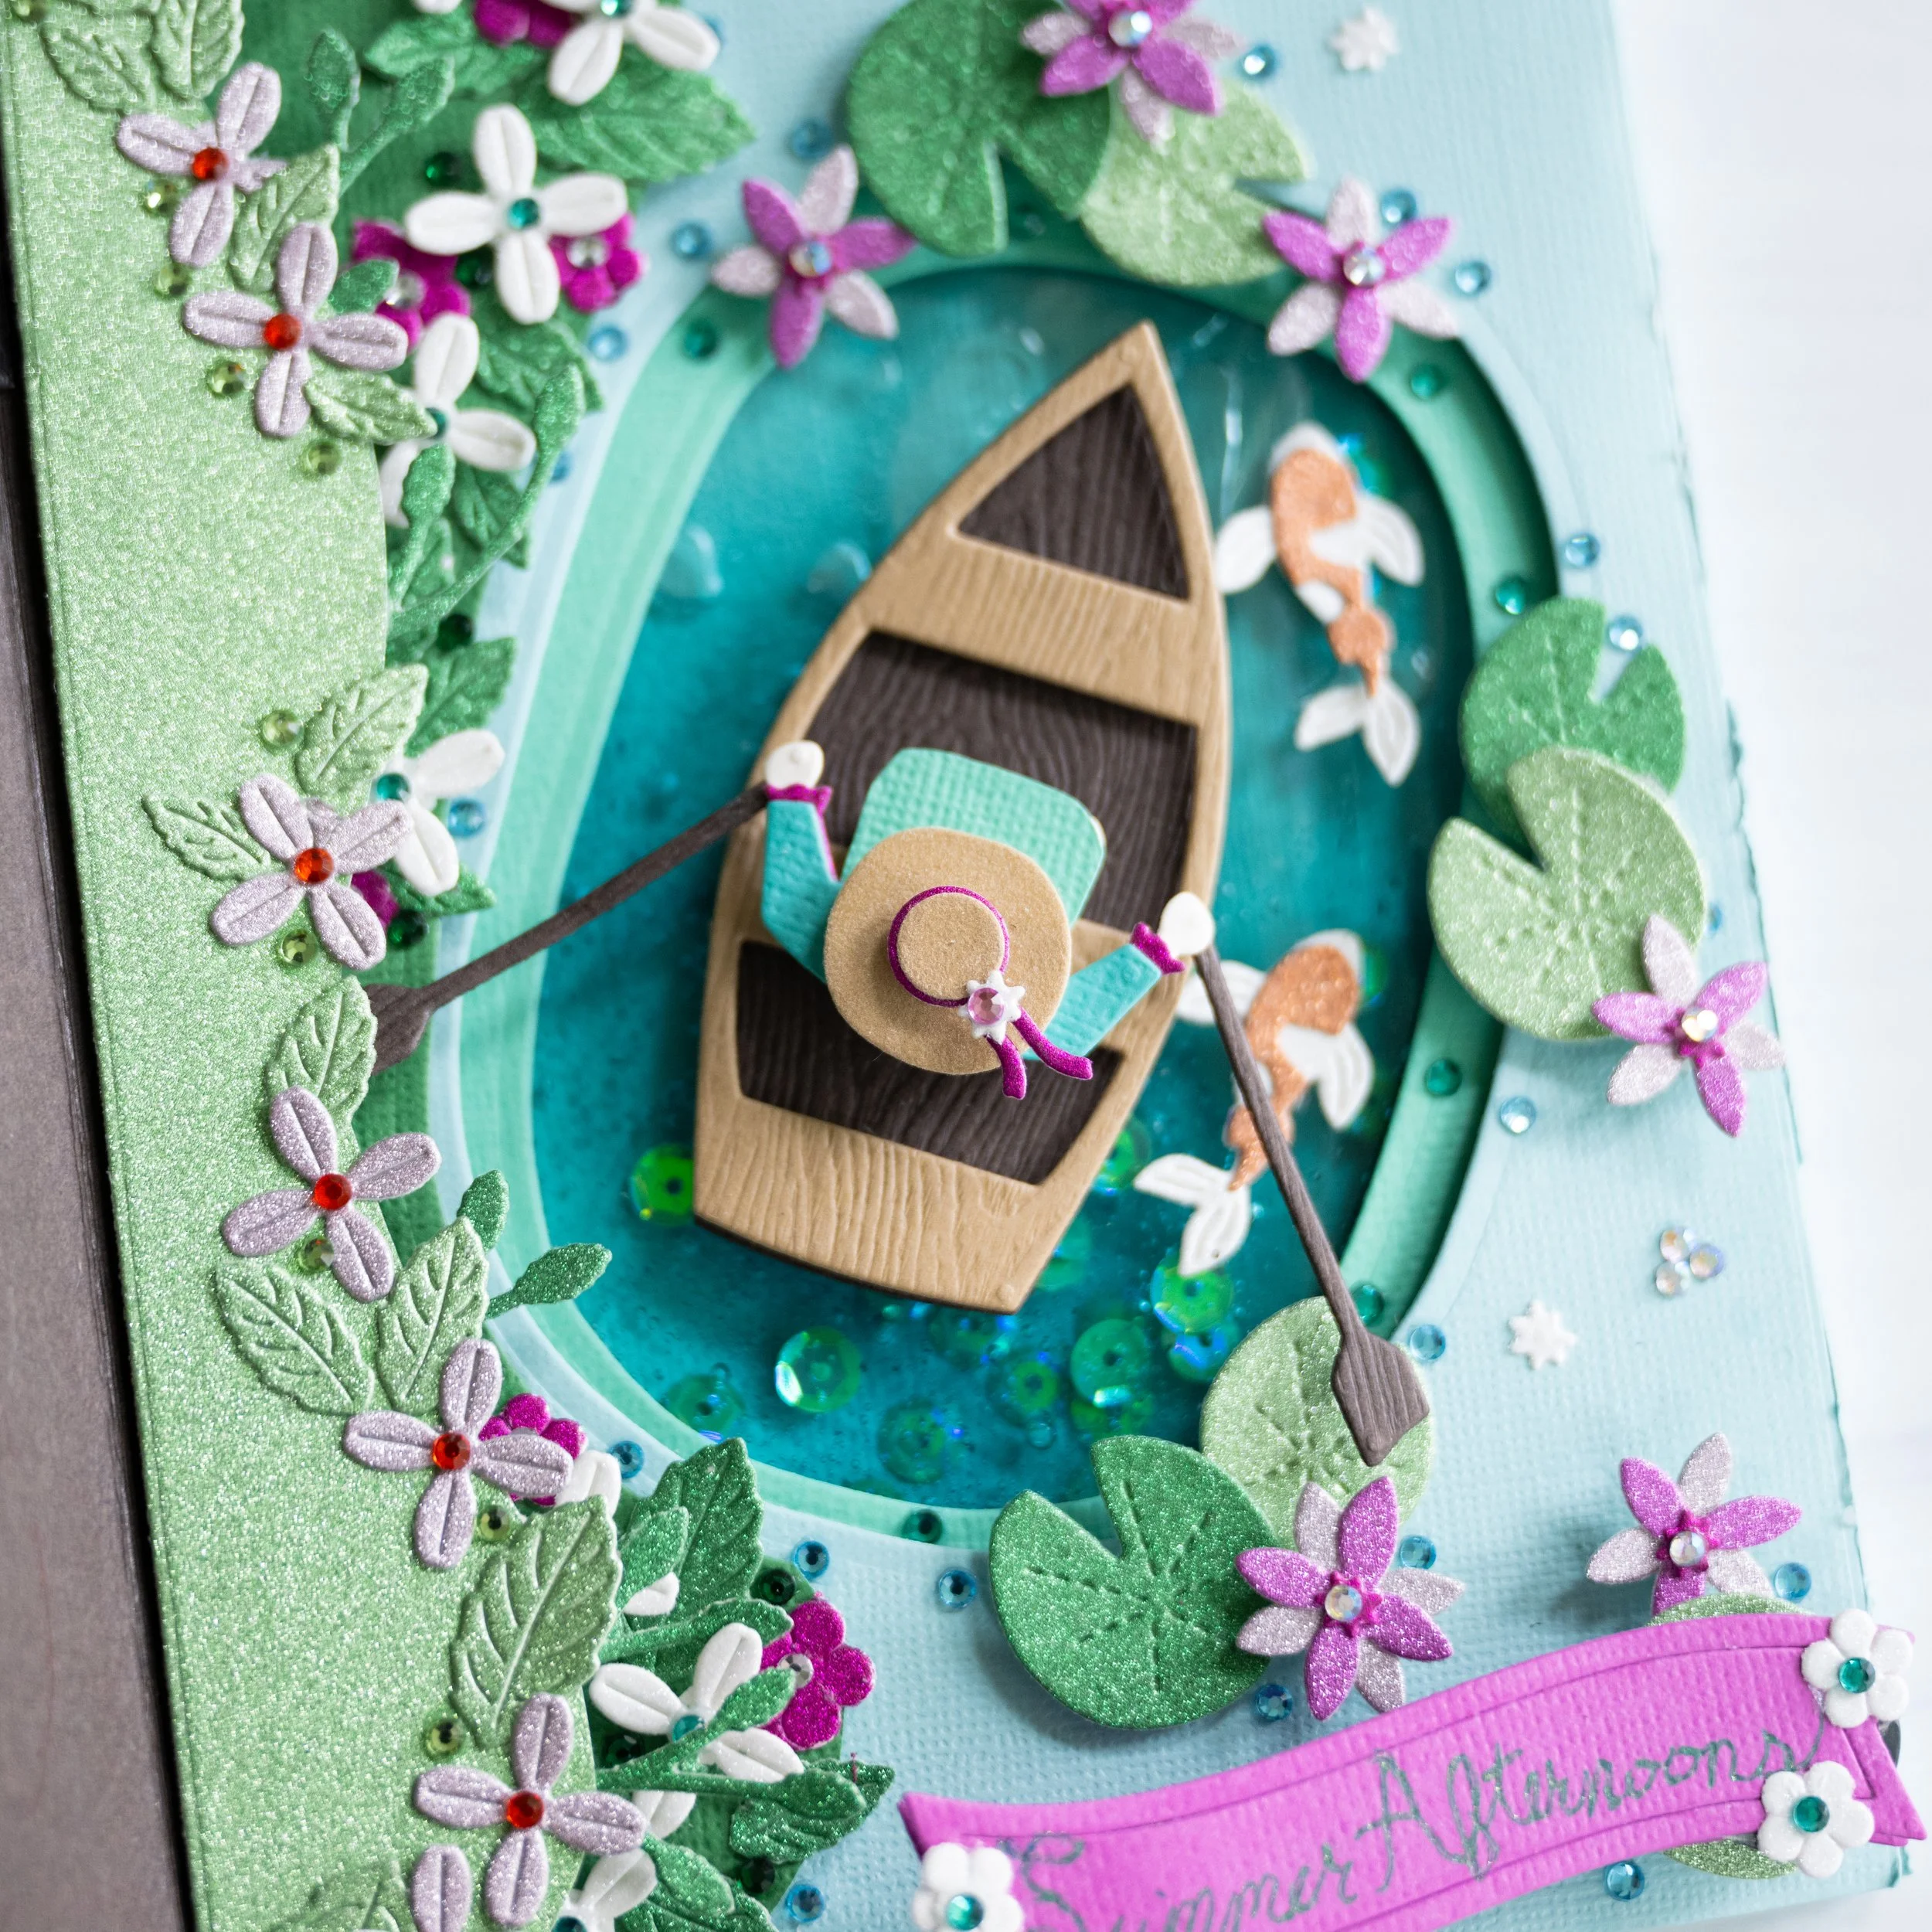
You can still see some flecks of alcohol ink here which didn’t fully dissolve, but this is masked when placed over the blue card stock.
3) Then, I sealed the bag. I placed the bag over a 5×7” piece of blue cardstock, to create blue shading in my “lake”, and then squeezed the gel towards the center, ensuring that the gel was centered within the card, and taping the excess bag to the back of the cardstock with packing tape. I wanted a very firm, one sided, lightweight tape and this seemed to suit the bill. I should have been more vigilant to squeeze out any air bubbles before sealing the bag, but will remember next time!
4) I layered water-colored cardstock over the bag of gel using thick foam tape to differentiate the layers. This necessitated some careful die cutting and in retrospect, I might have cut the top layer first, then the next layer down (to ensure it was centered).
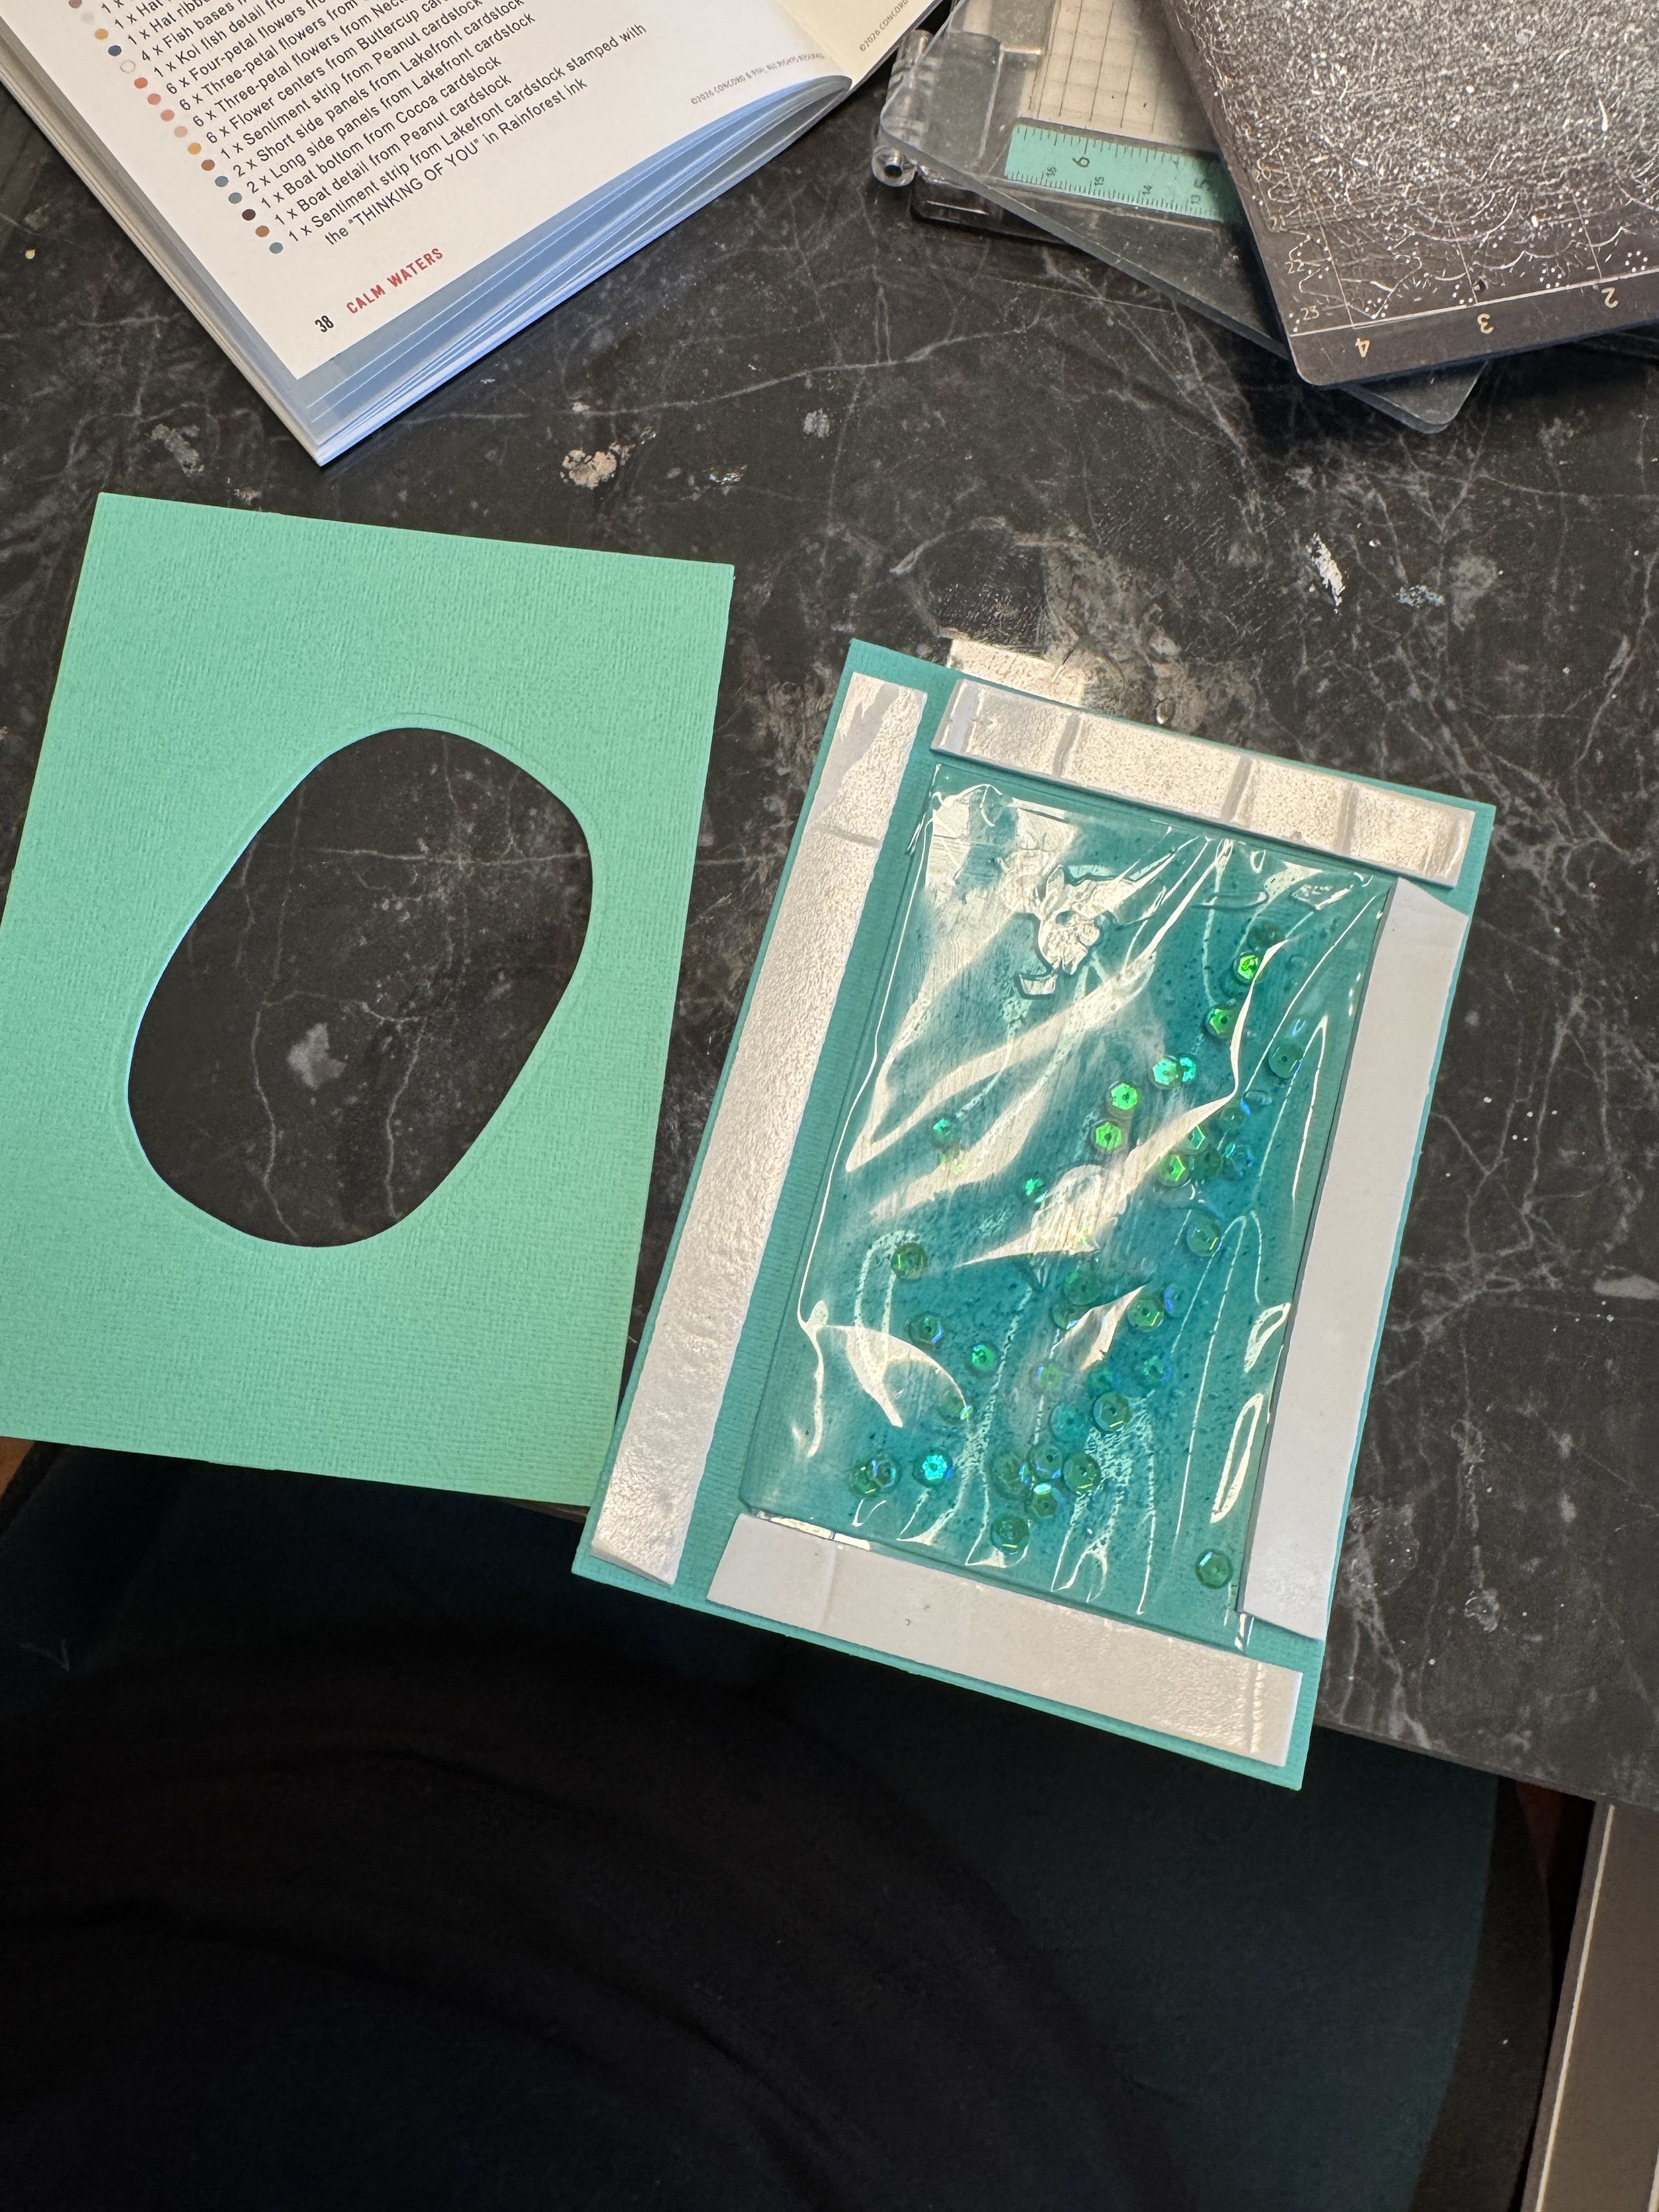
Ready to place the middle layer of cardstock to form another layer of “lake.”
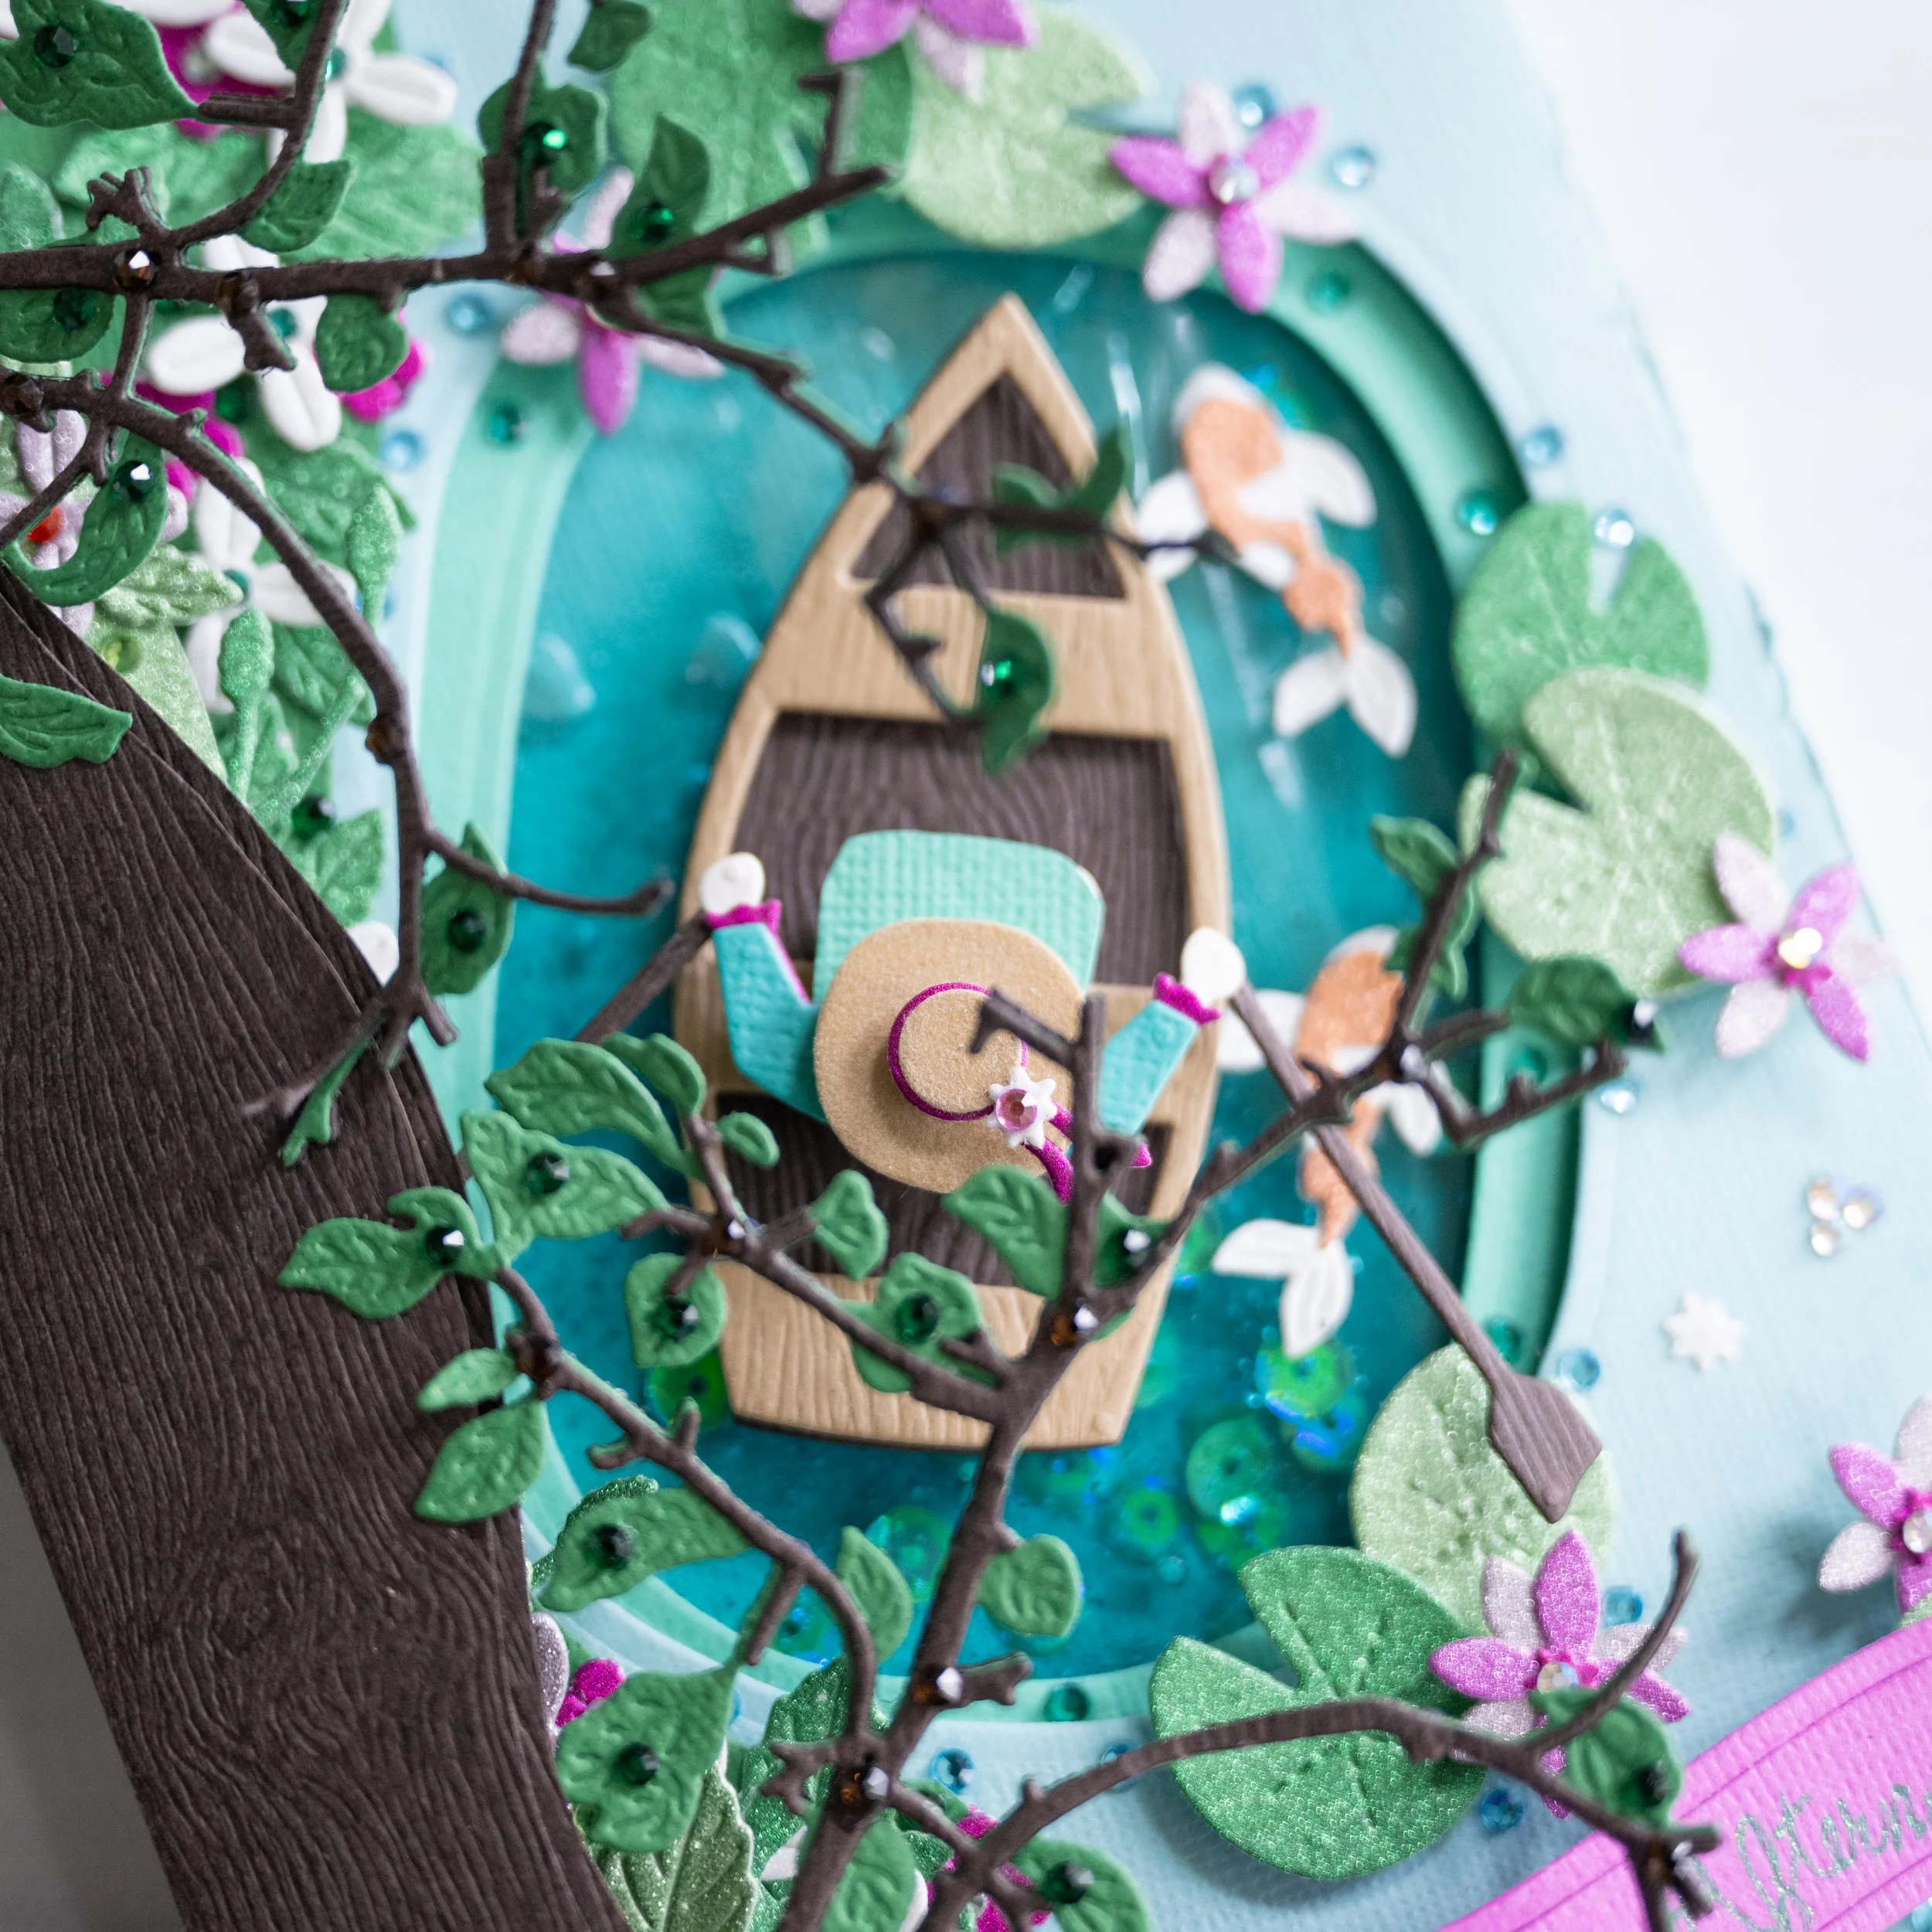
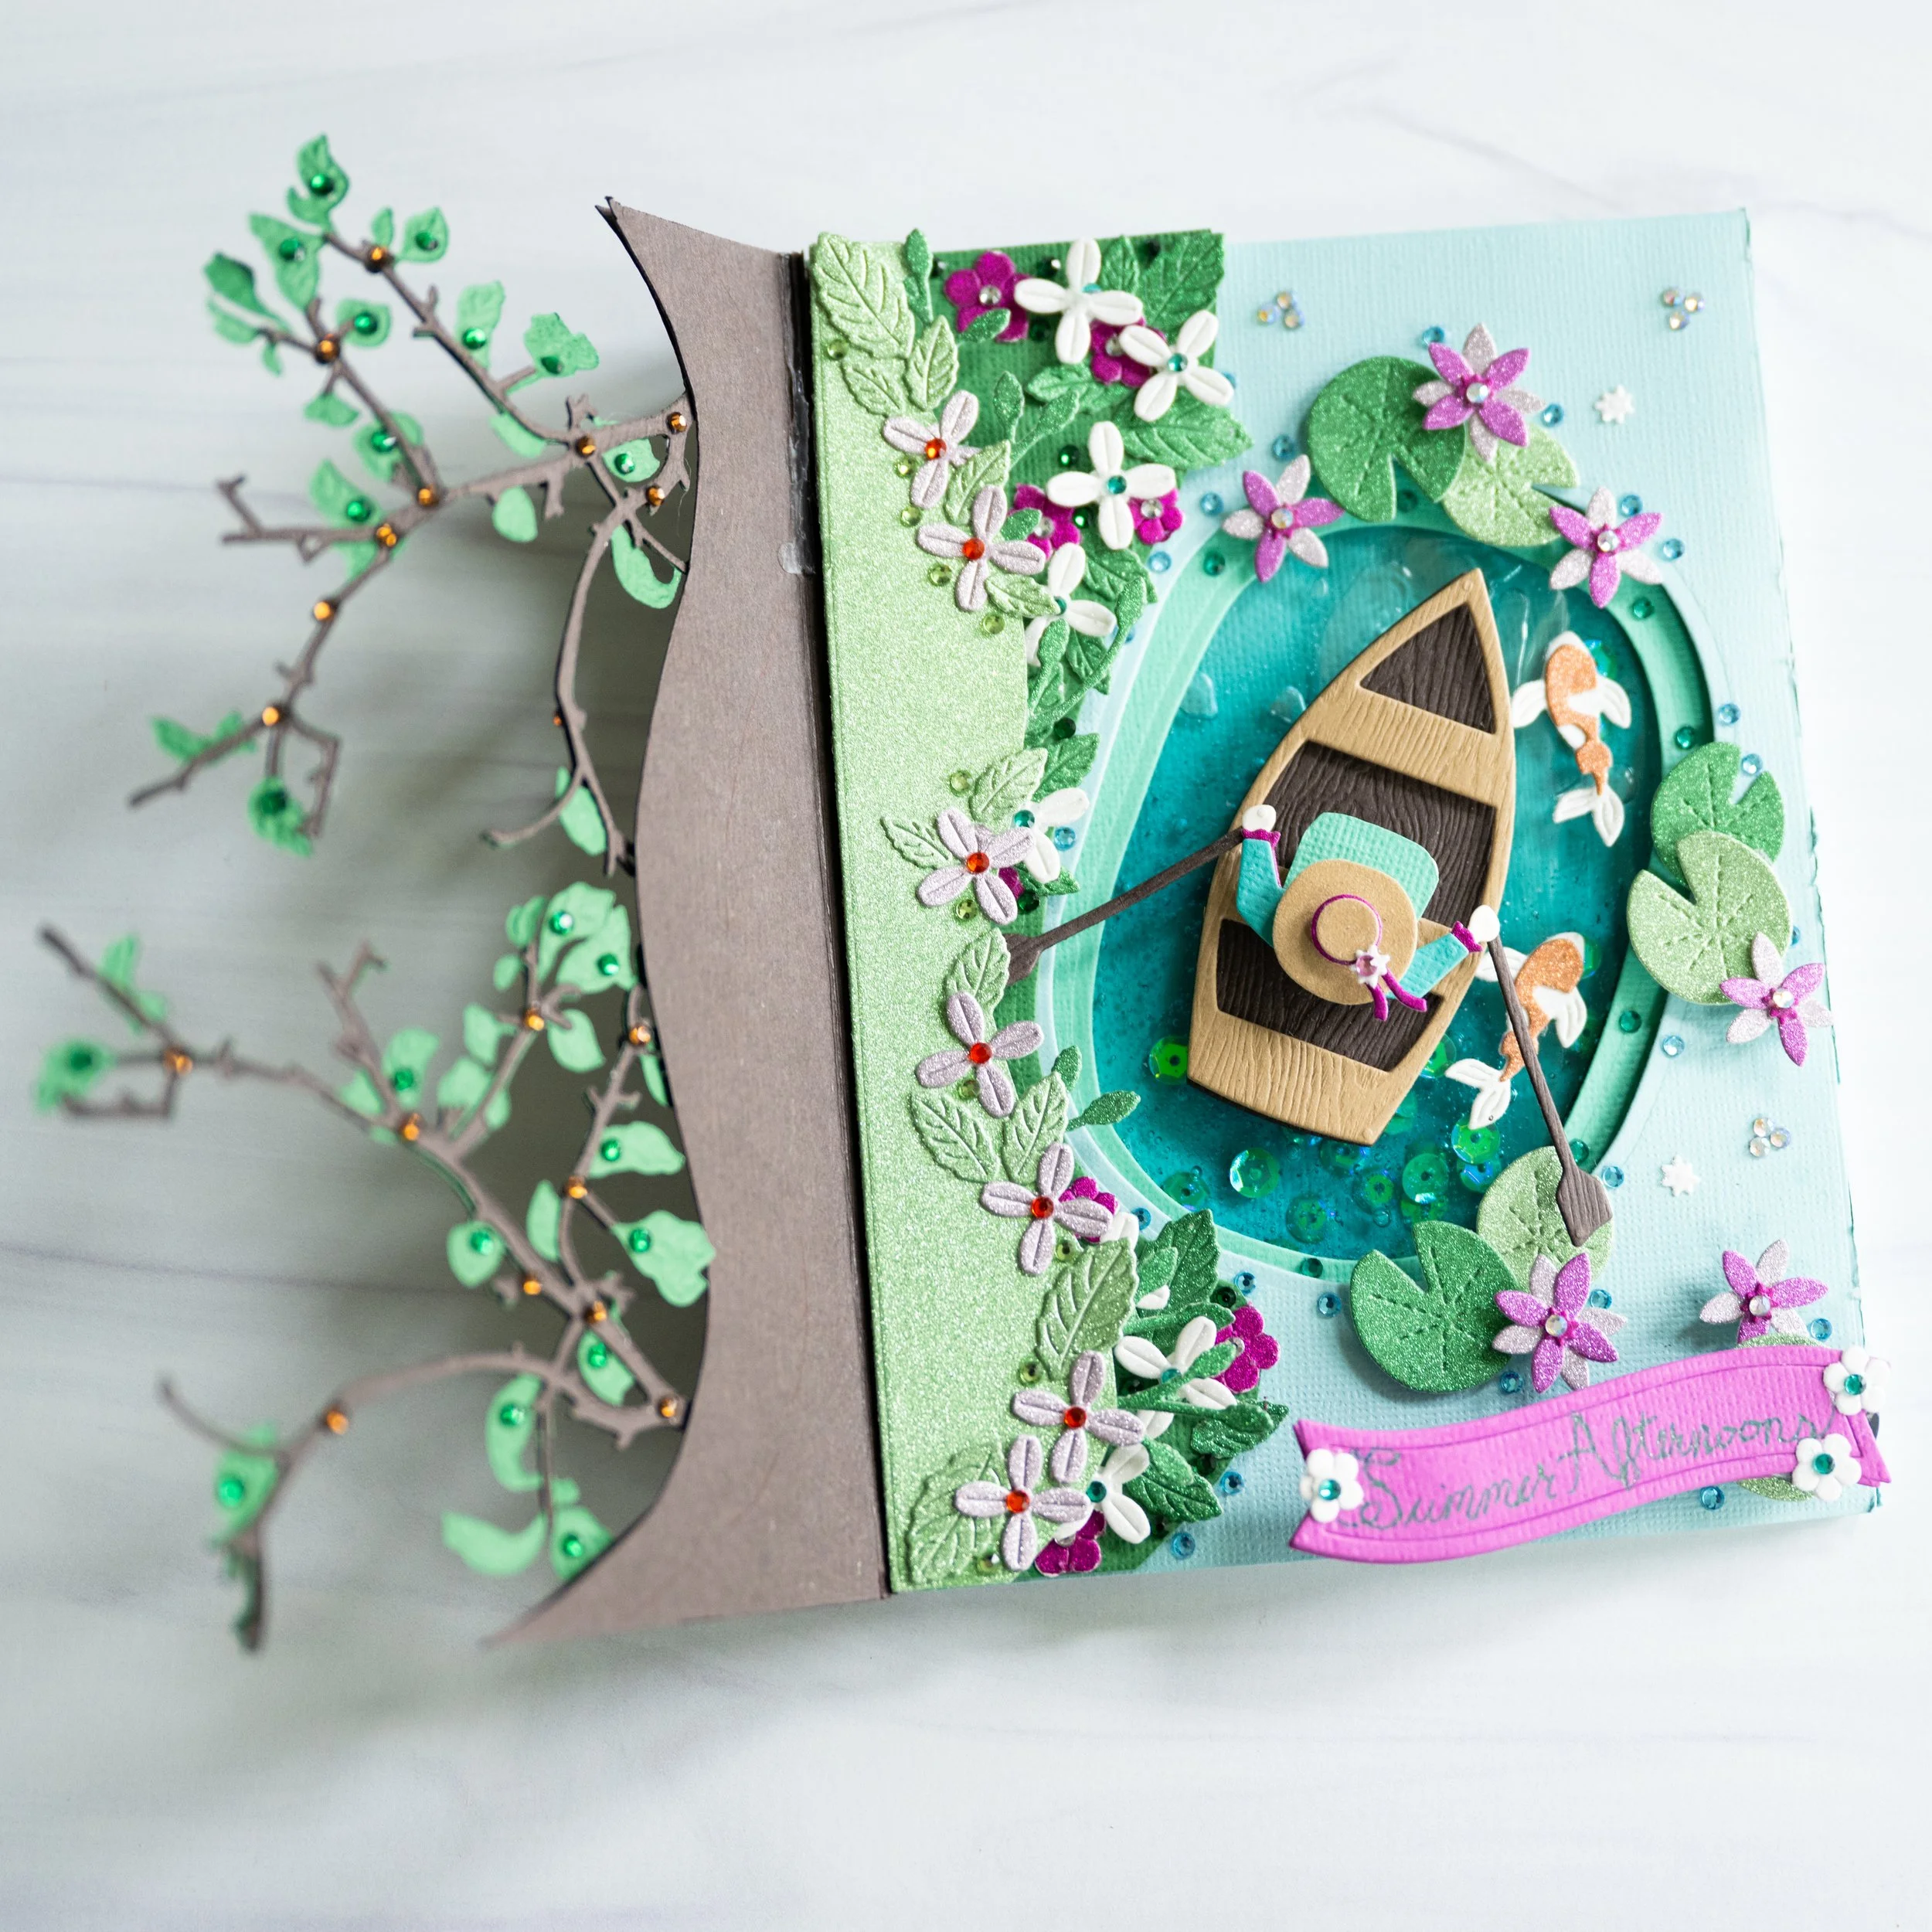
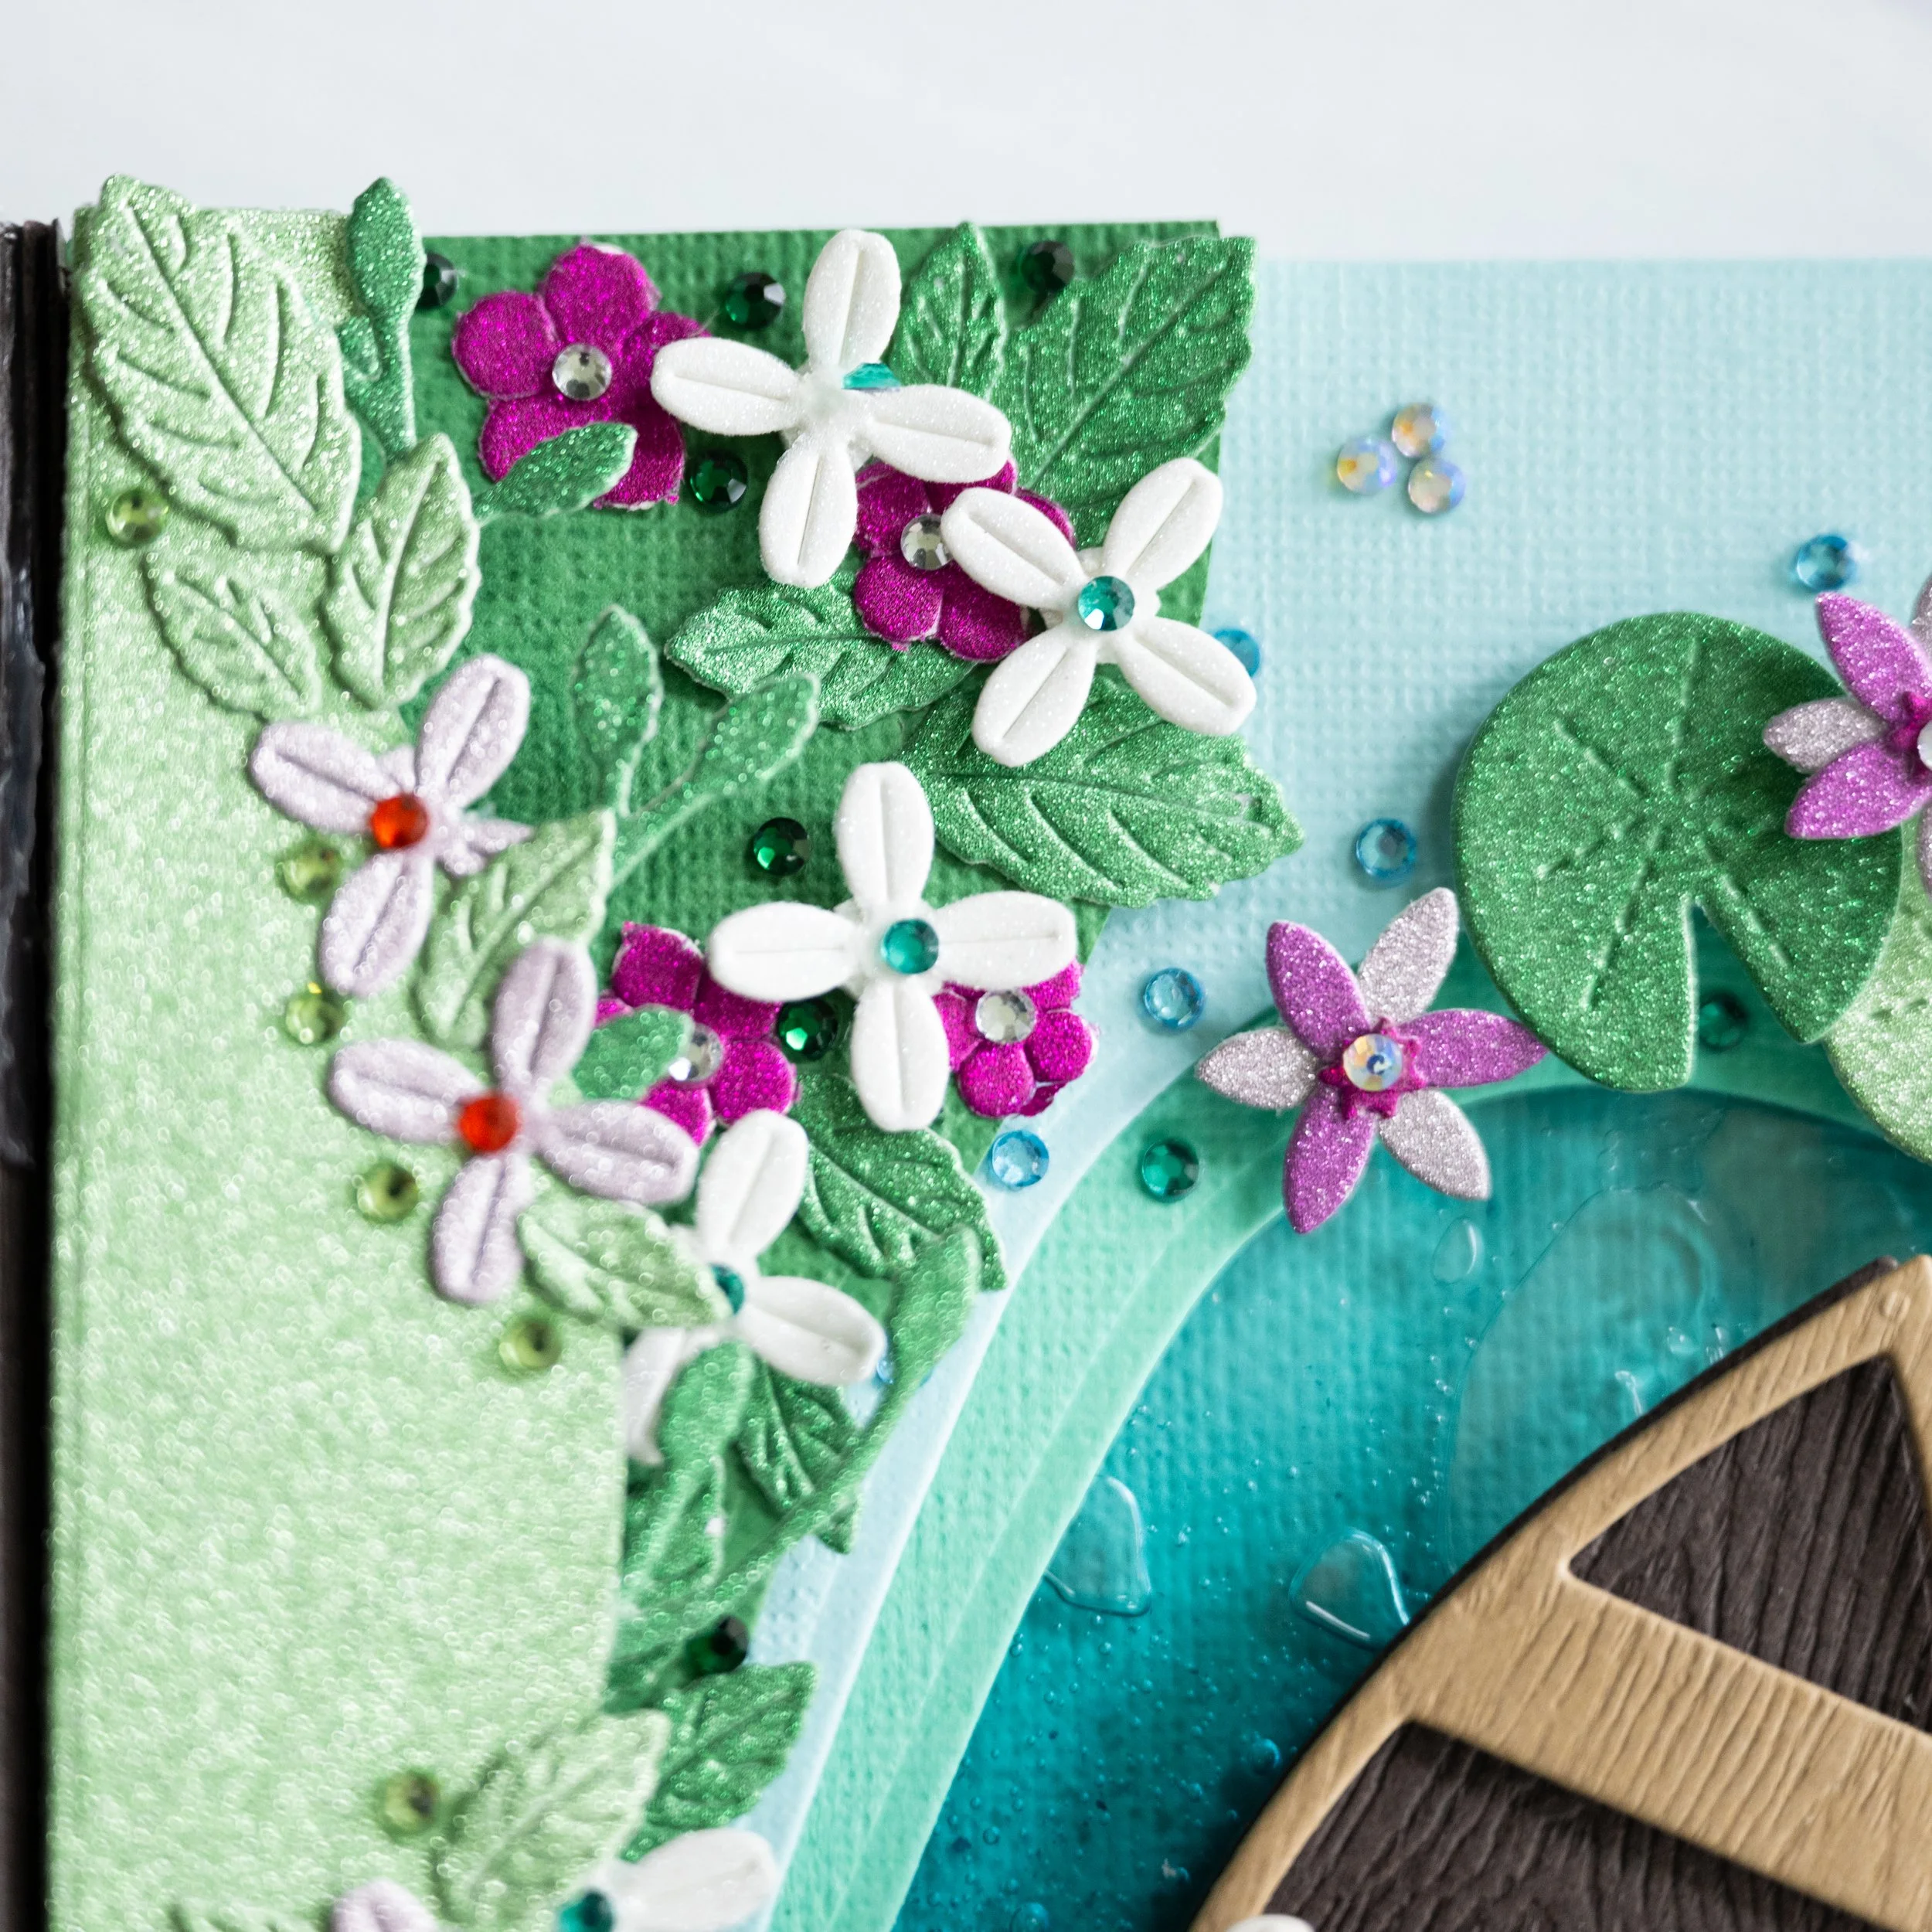
5) I gave my boater a skirt instead of pants, as this seemed to fit my vibe better, by tracing around the die and just not tracing the pants separation. I used flocked paper for her hat to lend texture, as well as my favorite wood textured paper by Gmund, in 2 shades, to create the boat. I created a shore on the left side and added lots of plants and flowers, because in my mind, she is just leaving for her boat trip.
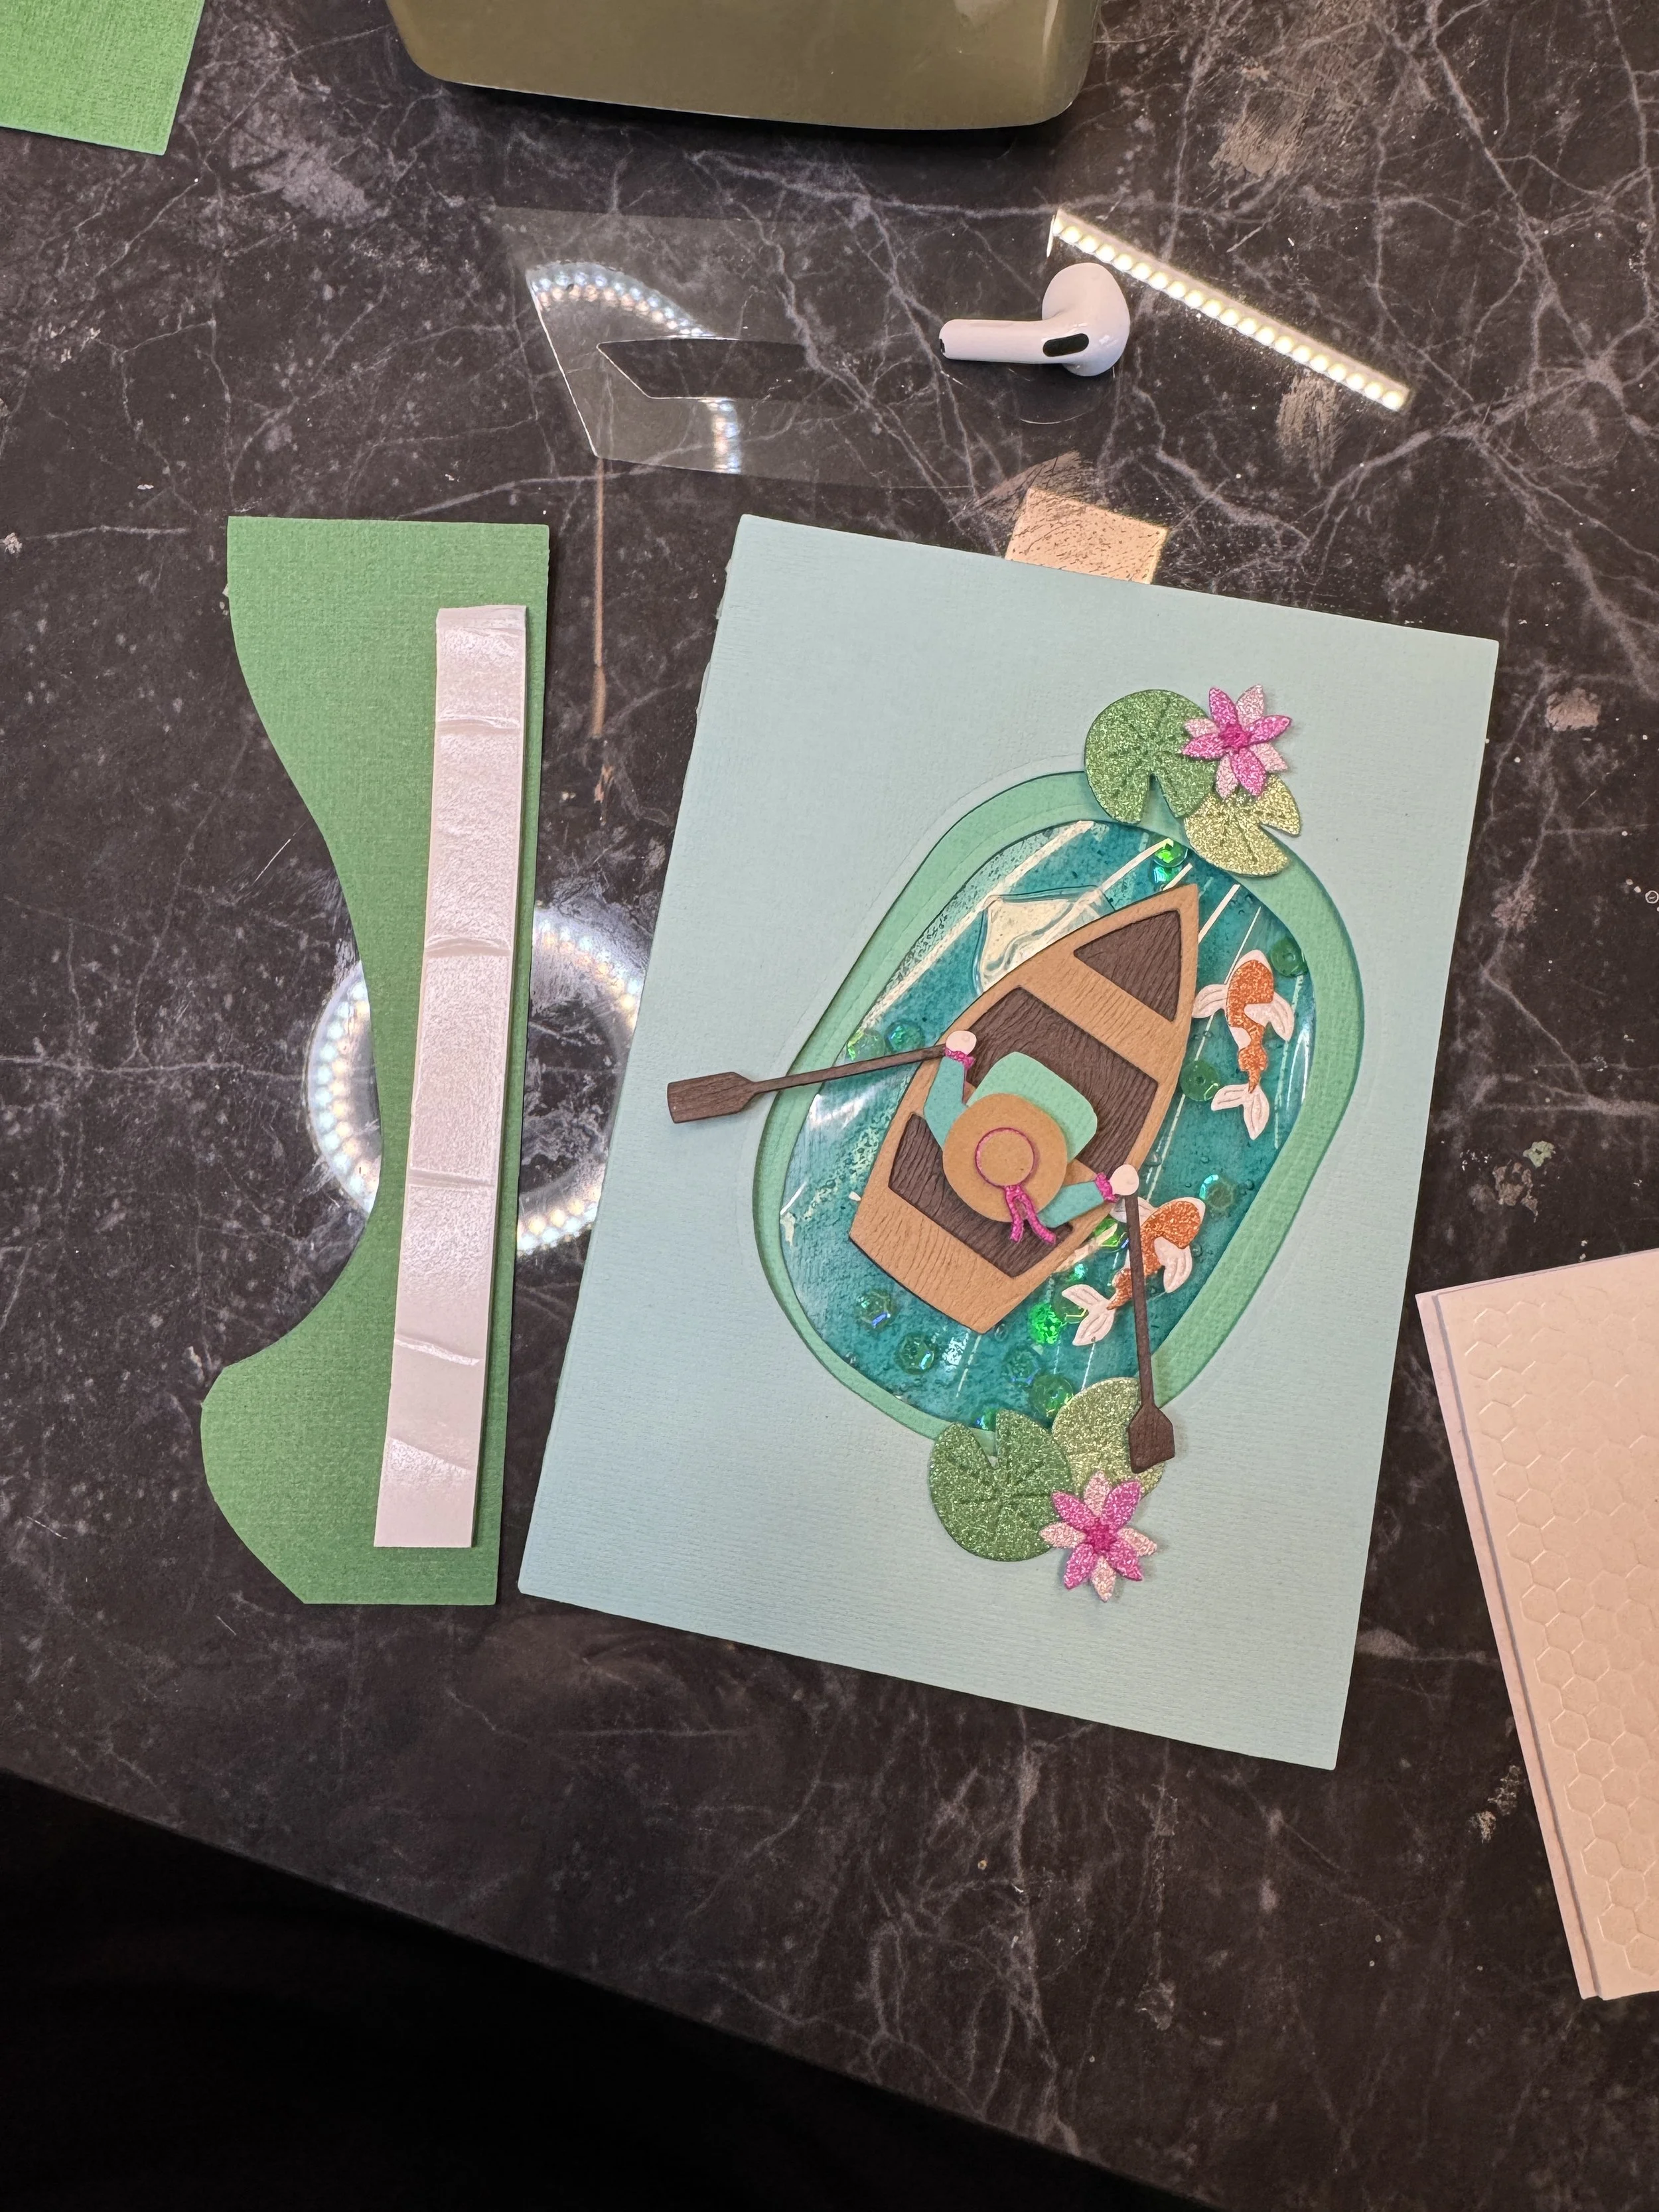
All layers of the lake in place, ready for the shore layer and another piece of foam tape. I hand cut the shore layer to make it wrap slightly around the lake opening. I ended up adding another shore layer in a lighter green glitter cardstock to break up the shoreline more (see below).
6) I wanted to emphasize the feeling of looking down into this peaceful scene from a height, and therefore, I really wanted to add tree branches that provided a top layer, making my boater feel sheltered and a little magical. I used the Altenew Berry Branch layering set to create my overhead branches, and just didn’t use the berry layer. I also reversed my paper and cut an extra layer of the branch to place underneath to give more stability to my branches. Thus, the branches have 3 layers - a top branch layer cut with Gmund wood textured paper upright, a middle leaf layer from green cardstock cut upright, and a bottom branch layer cut with Gmund paper reversed to that you still have the paper texture when you open the card. I hand cut two side layers of Gmund paper to sandwich the branch layers, and scored about an extra inch to cover the side of the card (pretty thick due to all the foam tape and the gel layer), and to tape to the back of the lake layers. When I was finished, I just took a 5×7” folded white card and used my Xyron create station to do edge to edge adhesive to attach to the front of the card.
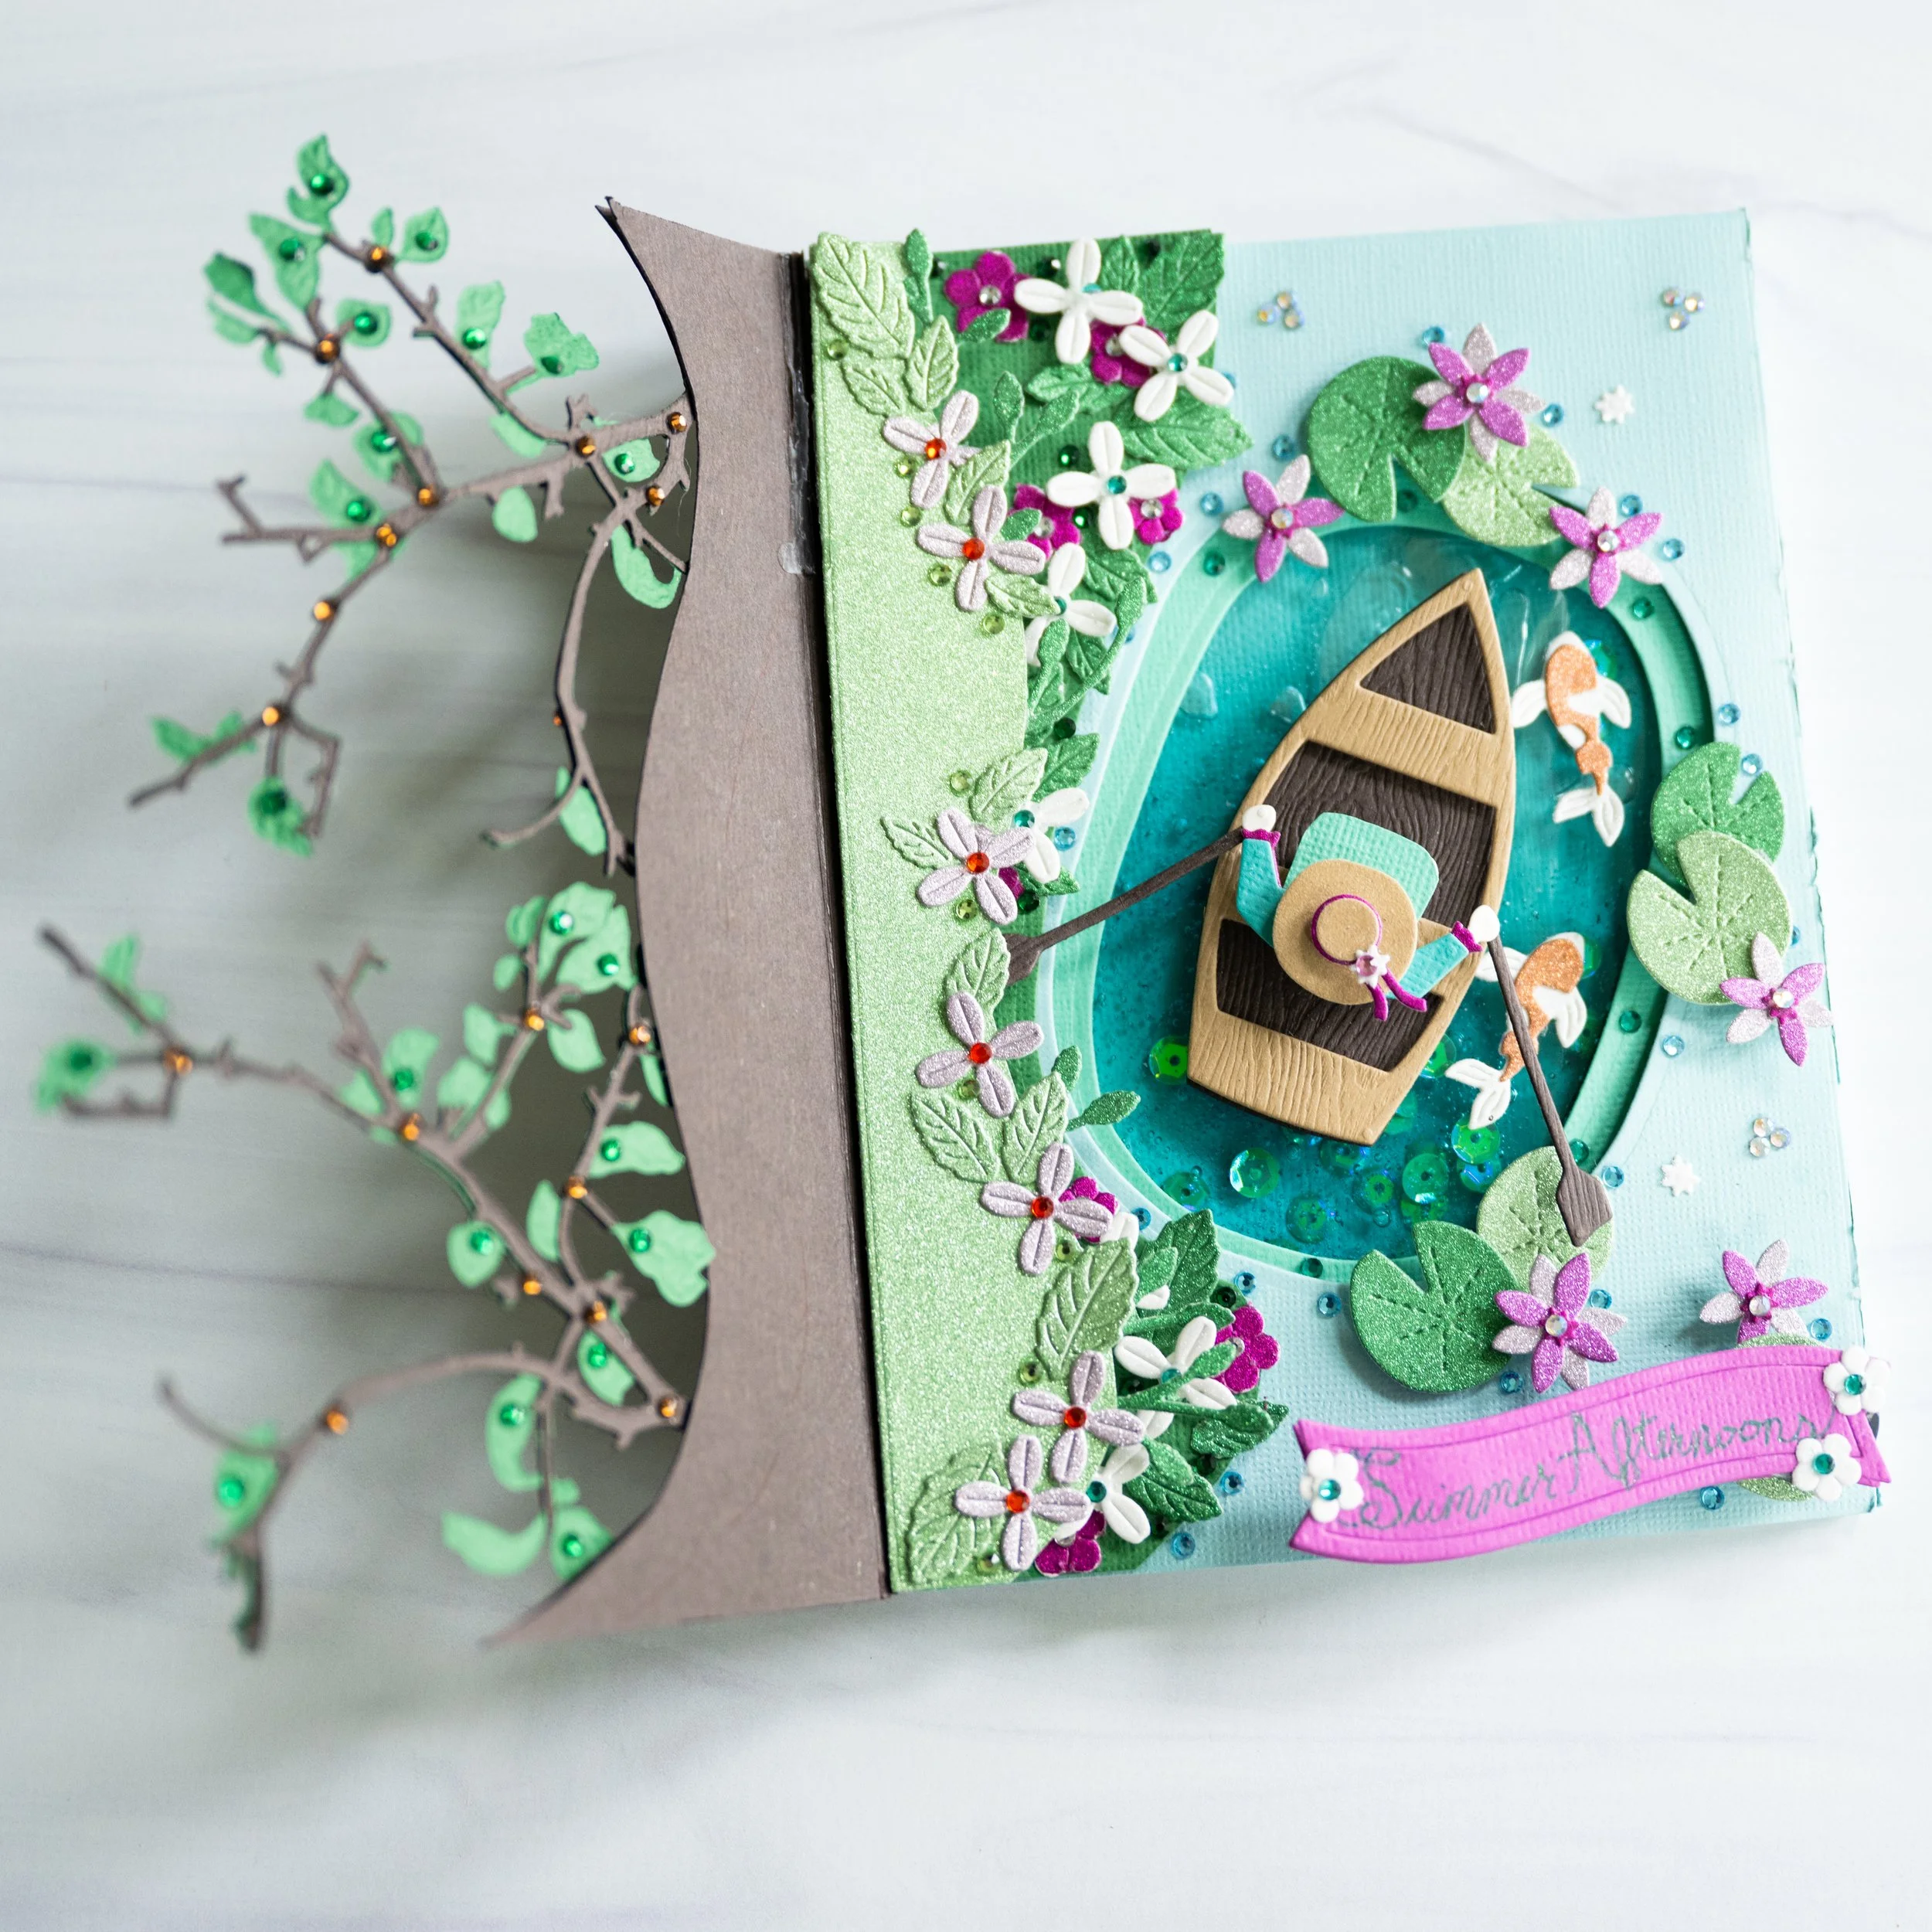
You can see how delicate the branches are above, and how they have been sandwiched between two layers of wood textured cardstock to secure them over the head of the boater.
7) I wasn’t sure how I felt about a front sentiment, so I added one as a scroll with hand printing, attached by a magnet hid under a lilypad. This way, the recipient can choose to remove or leave the sentiment. I originally intended this to act as a mechanic to hold the tree branches down as they like to open a little wider than I would like. However, my boater’s hat was so high, that this didn’t work very well and it also made it feel like she was being attacked by tree branches right on top of her head instead of getting gentle shelter and shade from them. So, I moved the magnets and the sentiment down to the very bottom corner, thinking I might move it again later! I am always so iffy on sentiments, as to me, especially outside sentiments so often take away from the beauty of the card. If I’m doing an outside sentiment, I generally am making it the focal point of the design - otherwise, it just often seems extraneous or the language doesn’t feel right.
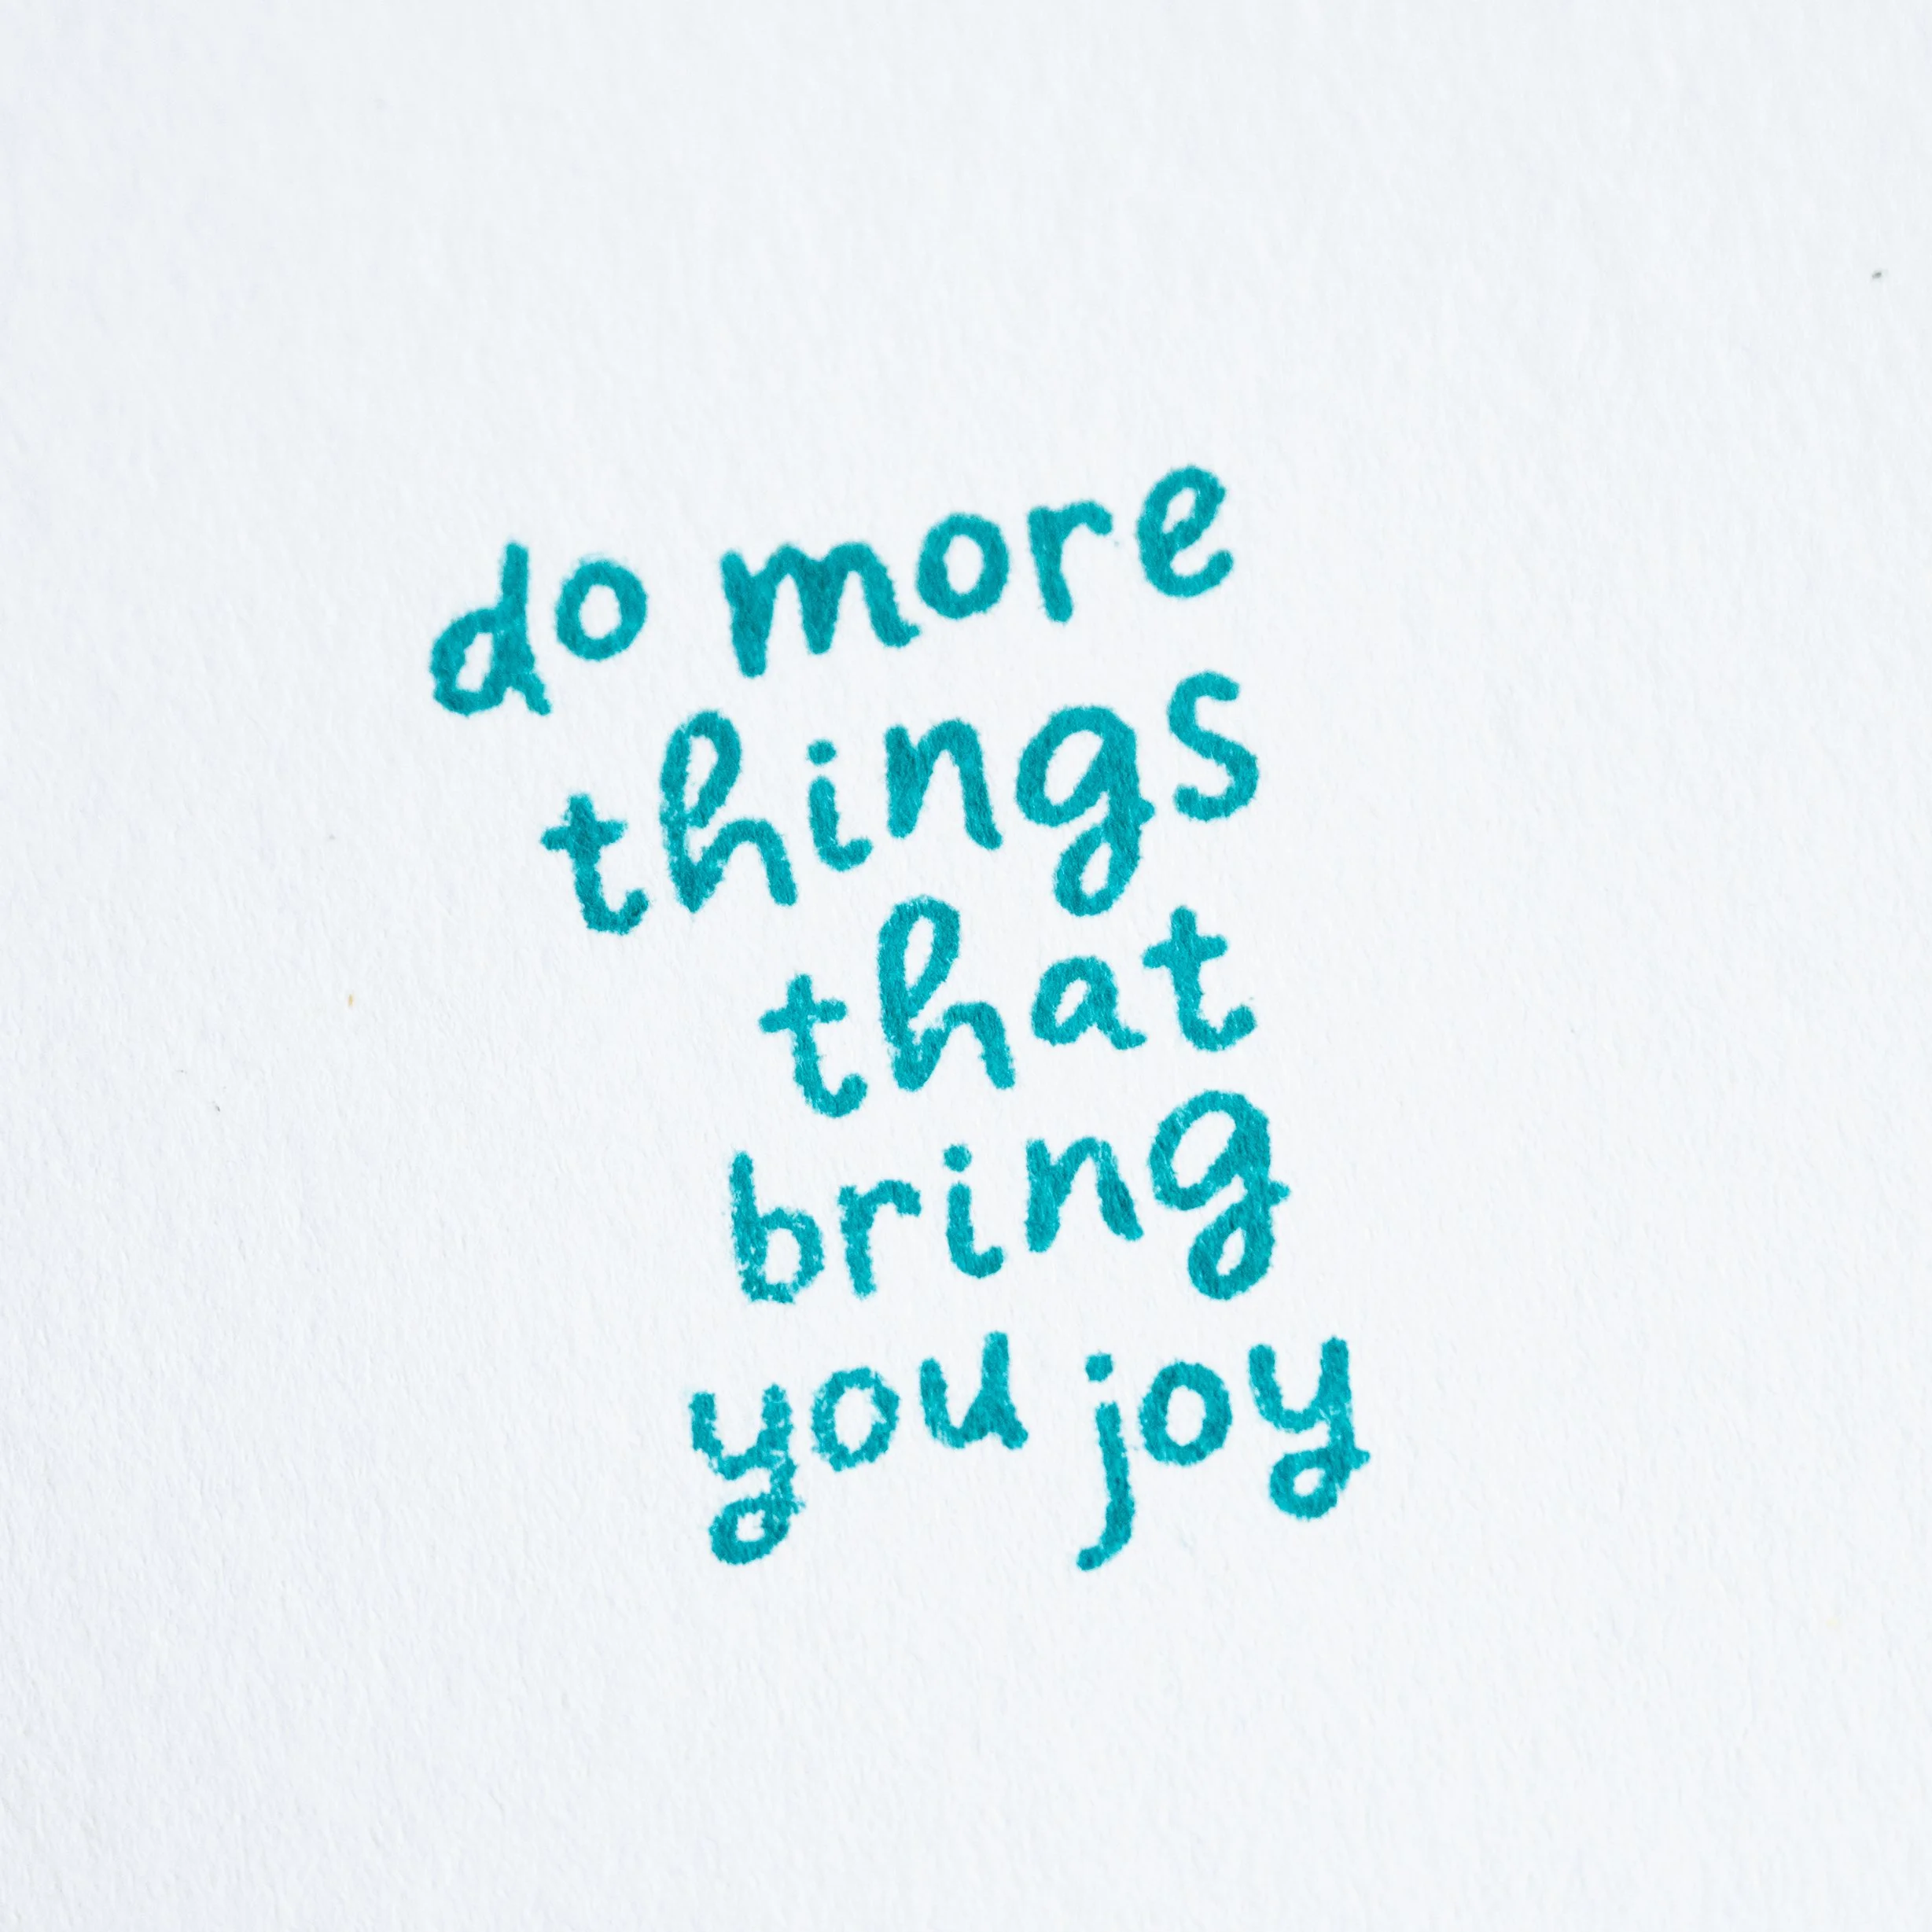
7) After adding all my plant embellishments, I added rhinestones to make my card extra magical and to shimmer when you walk by it if it is displayed upright. And, I added an inside sentiment since I had an optional one outside! I will probably present this card in a custom made box because a ribbon wrapper might damage the fragile branches.
Thoughts - well, I still haven’t technically done a shaker card as the gel is so thick it doesn’t really shake, but I love the deep blue effect I got, the way the sequins glitter slightly, and I love how you can squish the “water” with your finger! I’m always looking for interesting paper stocks to use in my cards to add texture because I love adding these tiny little details to make the card something that you can continue to interact with even after opening. This card is a chonk, it’s about half an inch thick and it has a (to me) heavy pleasant feel of substance in my hand. I like how the branches gently shade my boater when the card is placed upright, with rhinestones on the top and bottom of the branch and around the card. When displayed and you walk past it, it glitters, which is an effect I just love. I really enjoyed using this set and this palette is always a favorite of mine.