Dreamy Night Garden
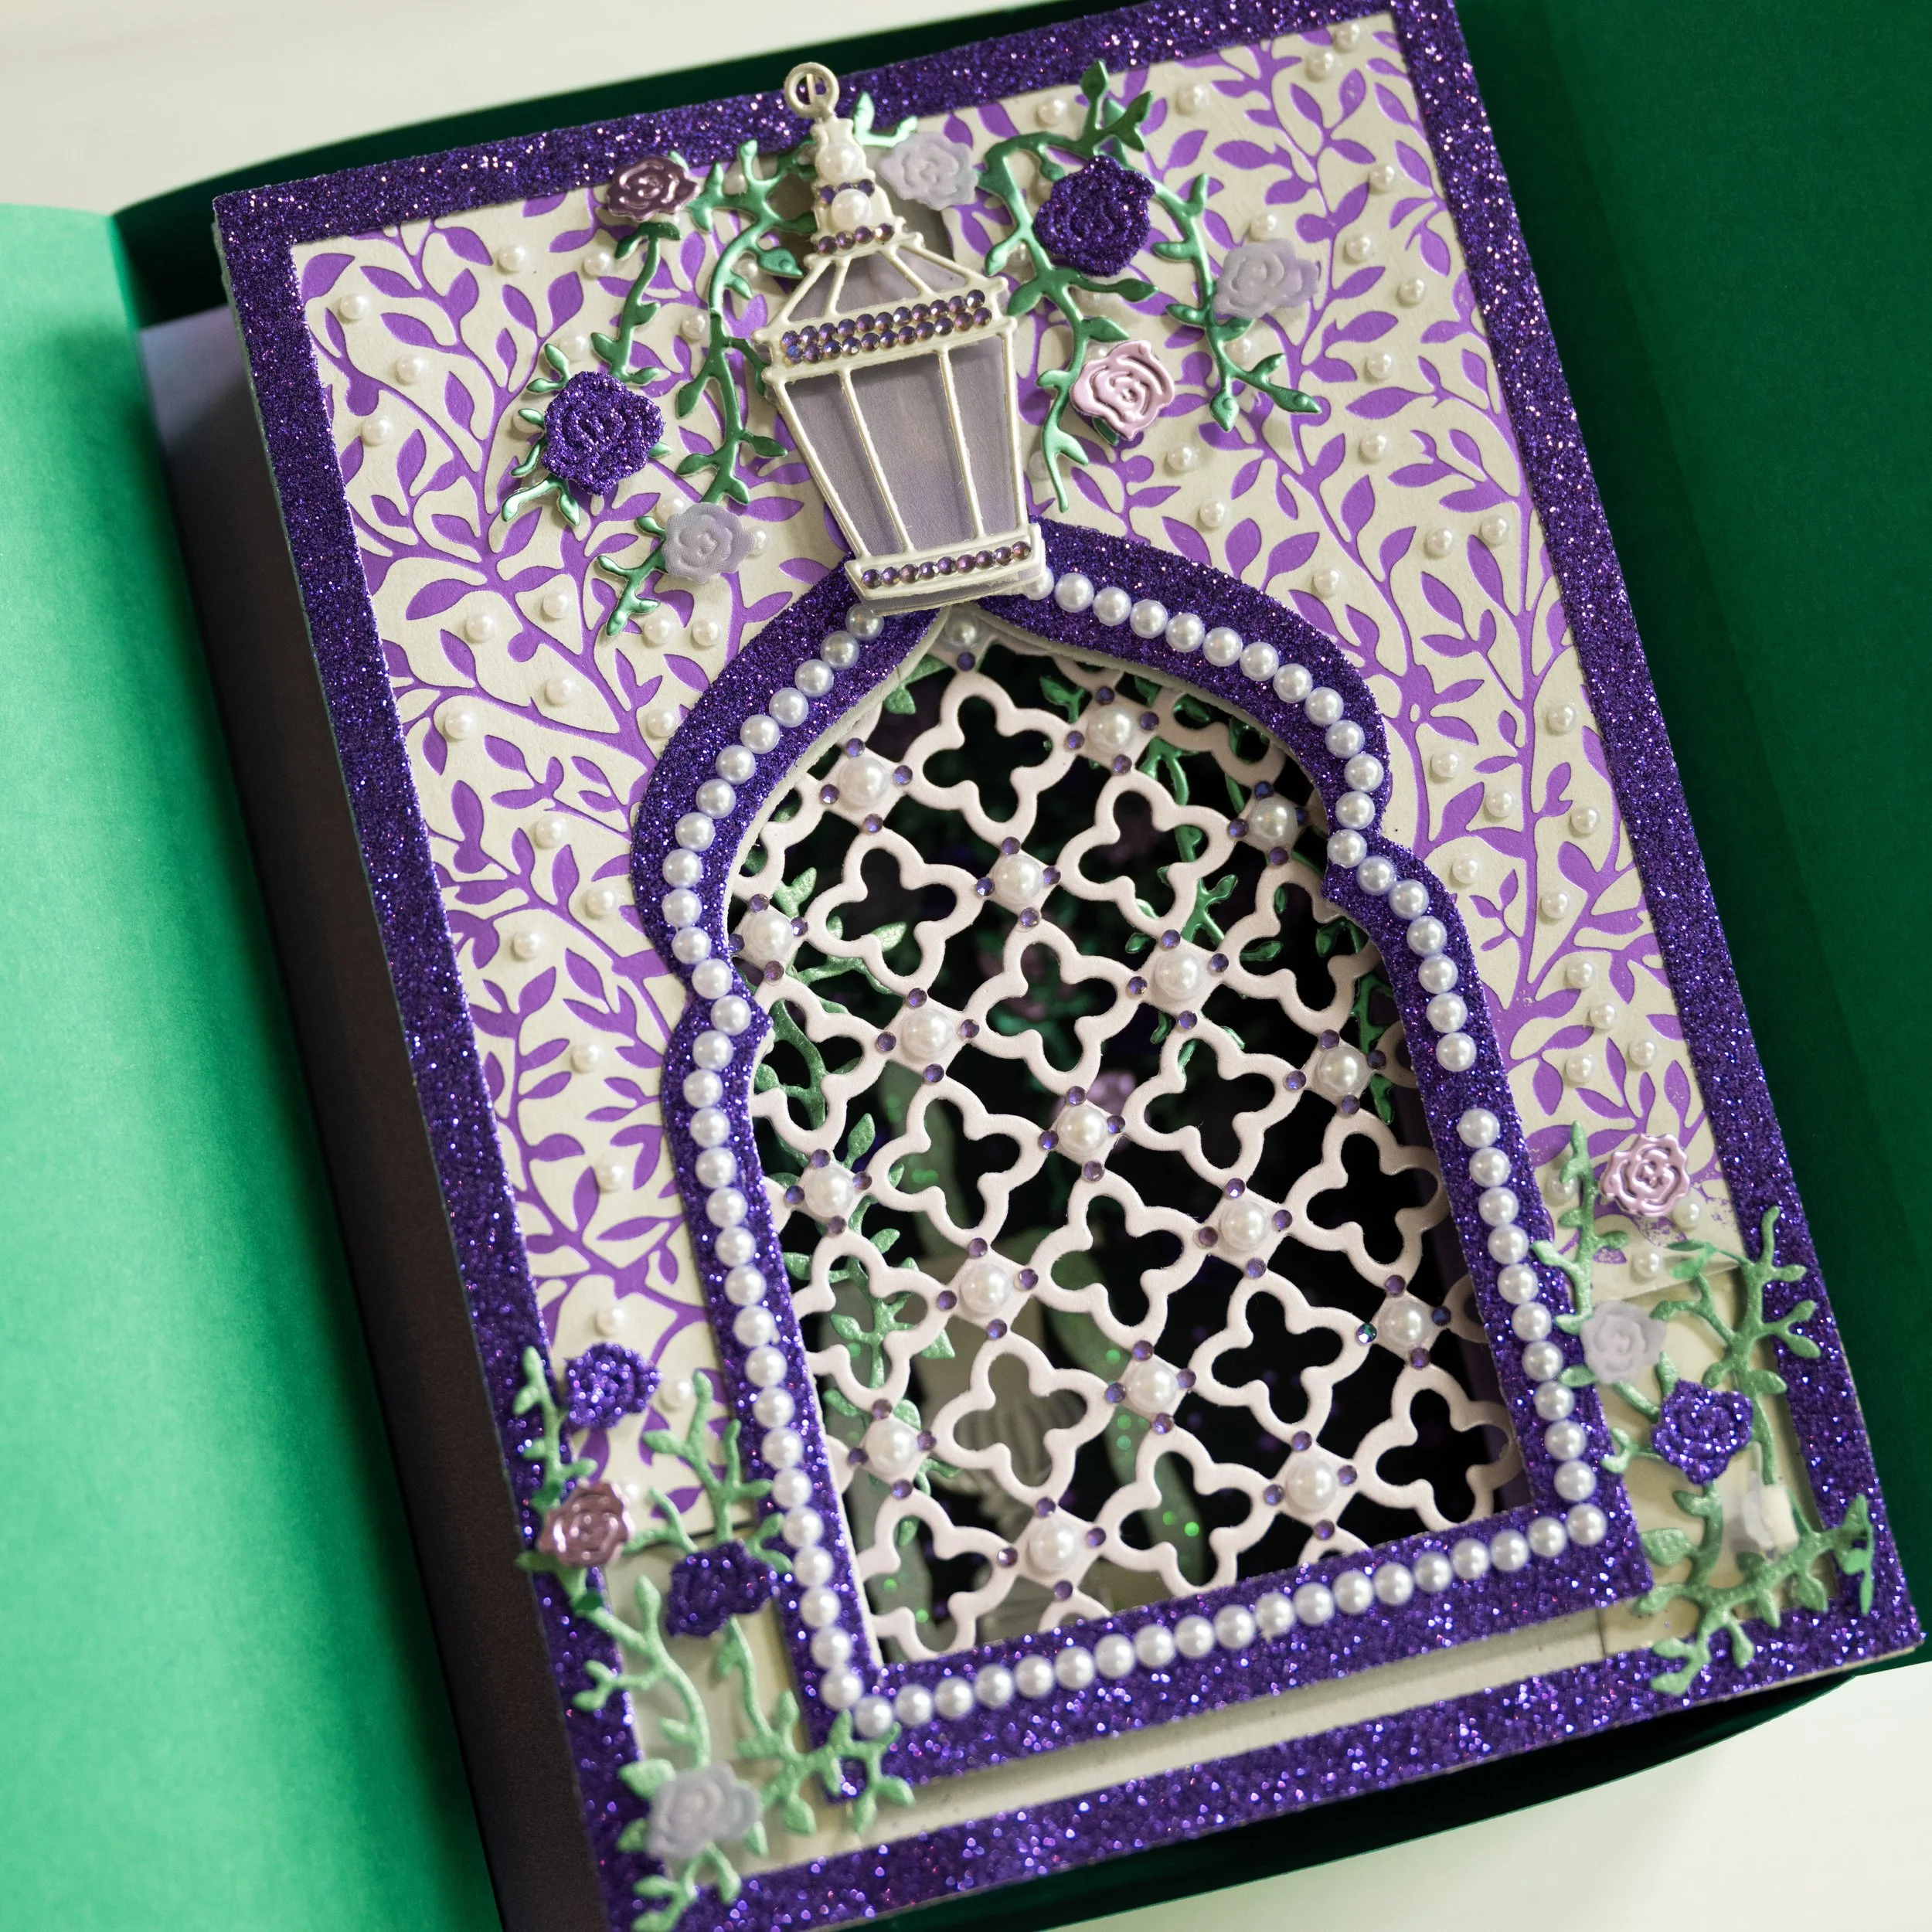
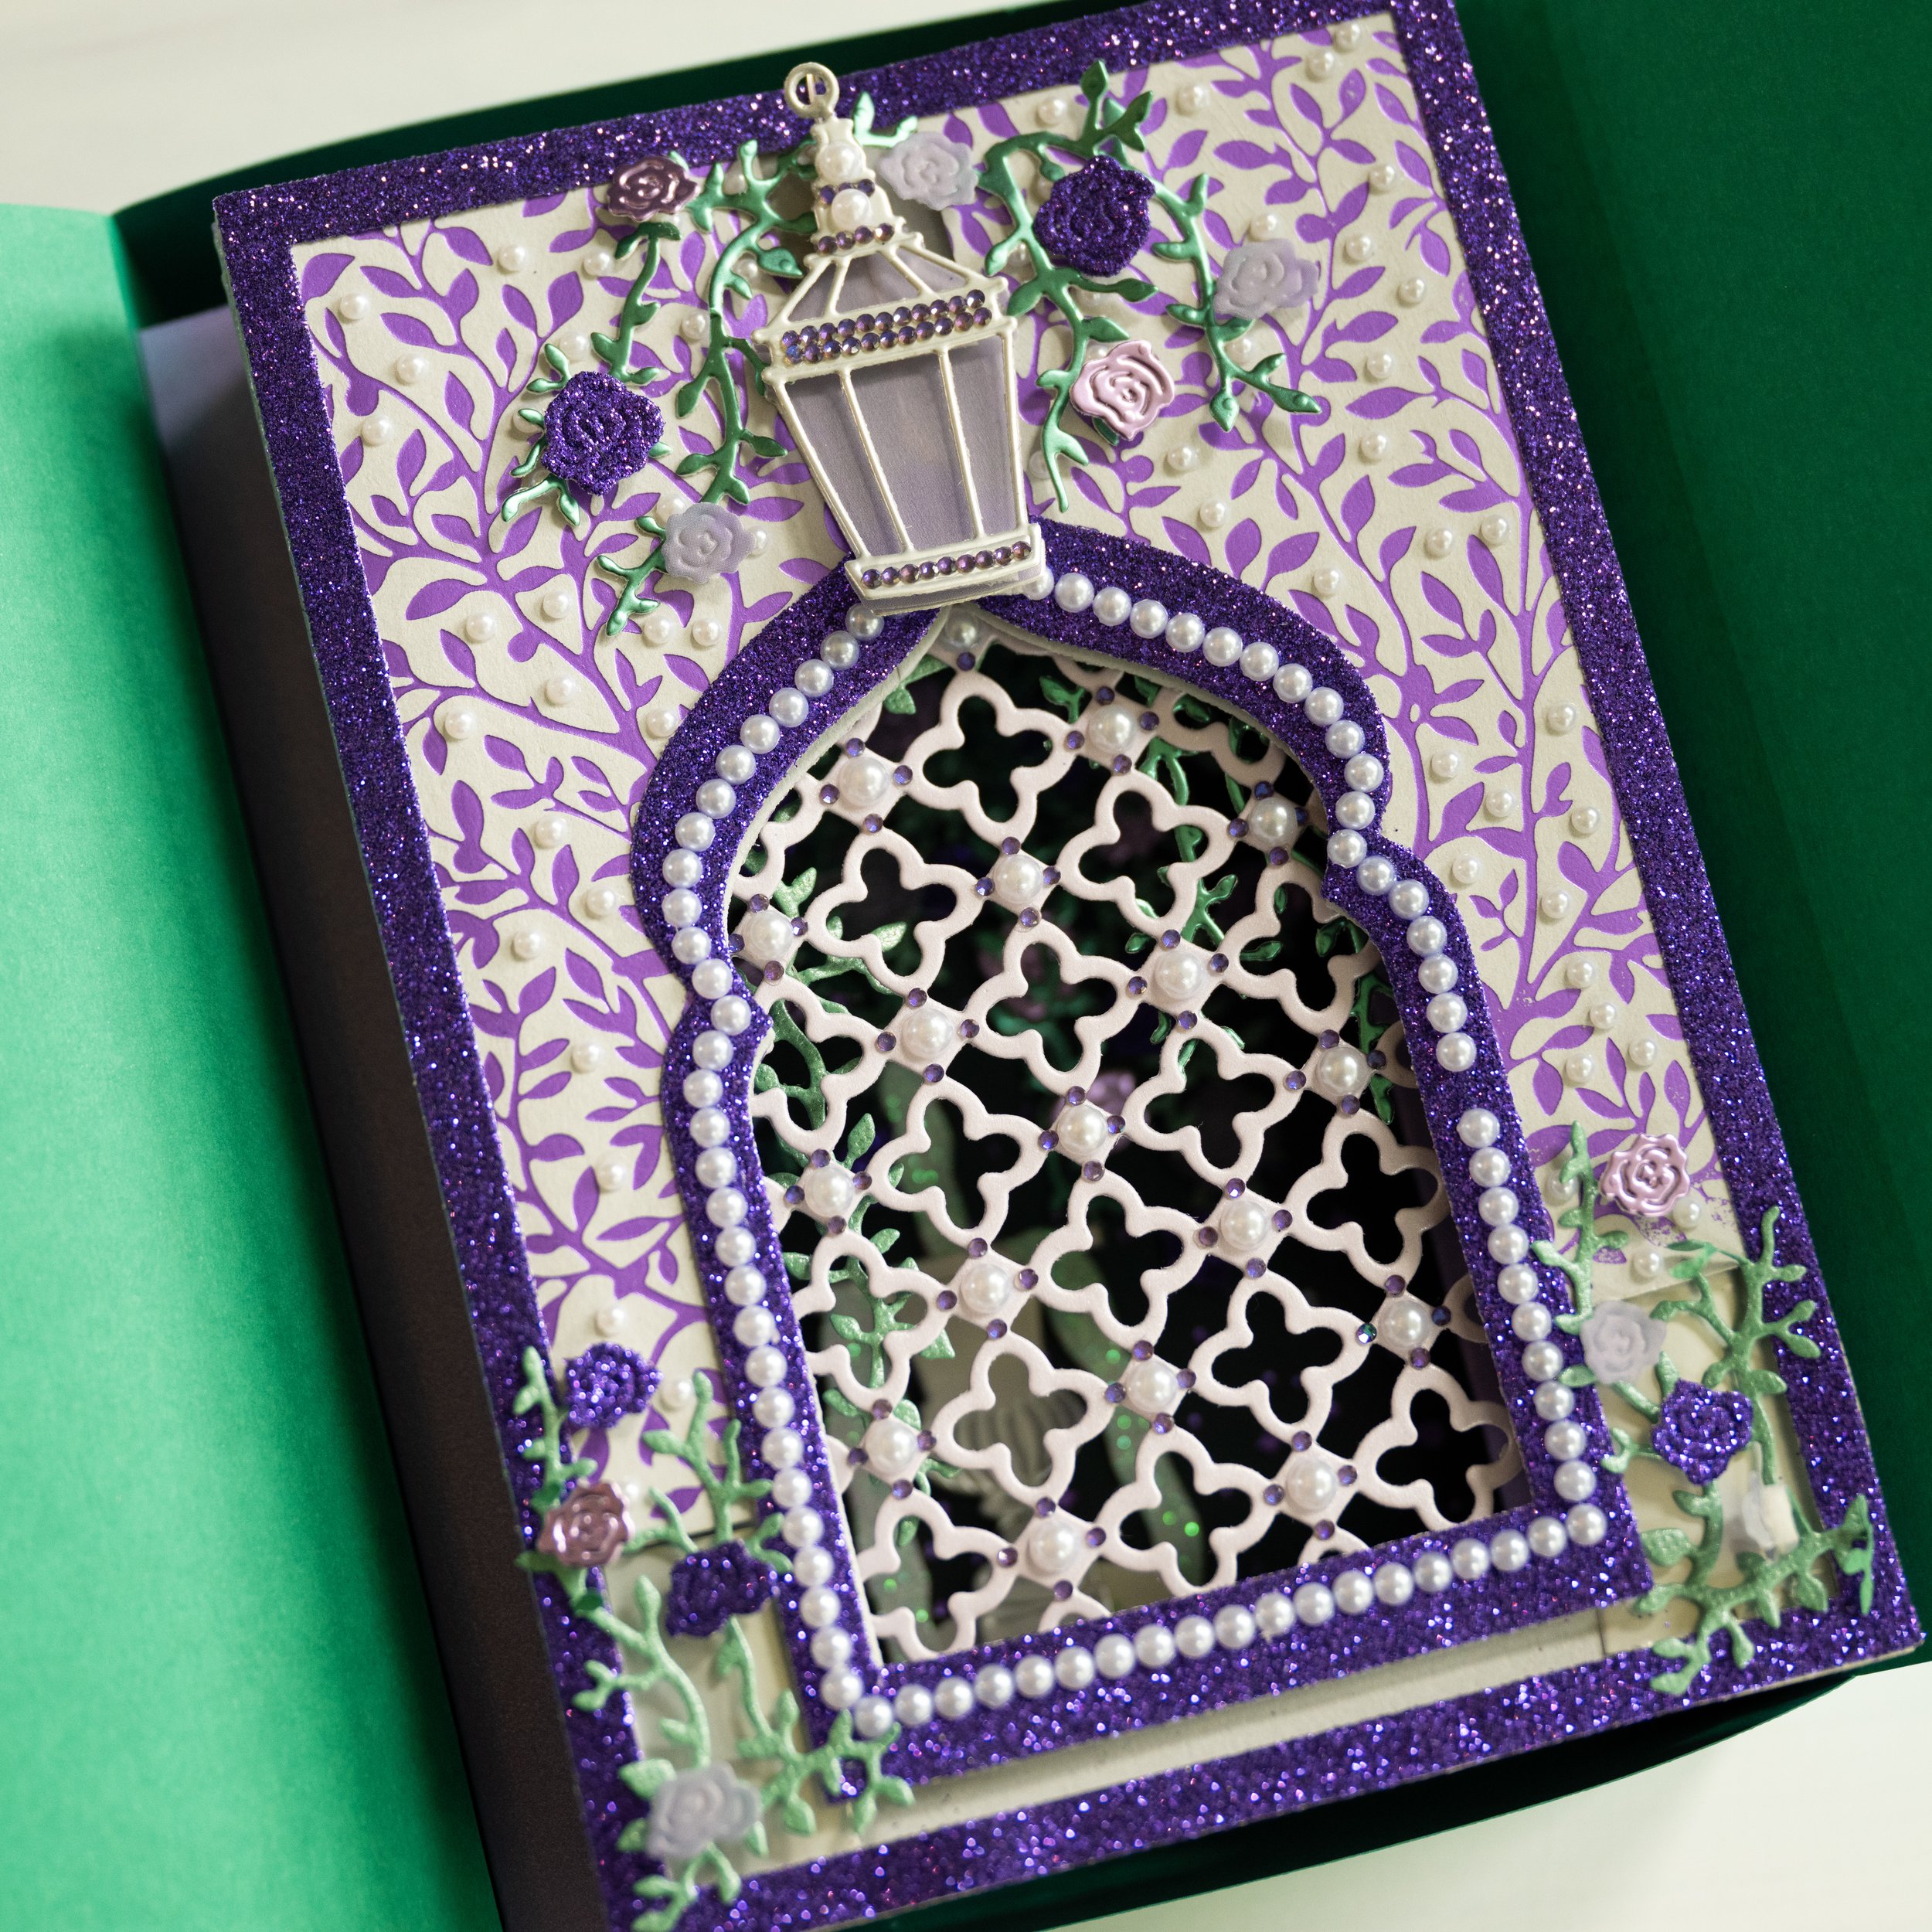
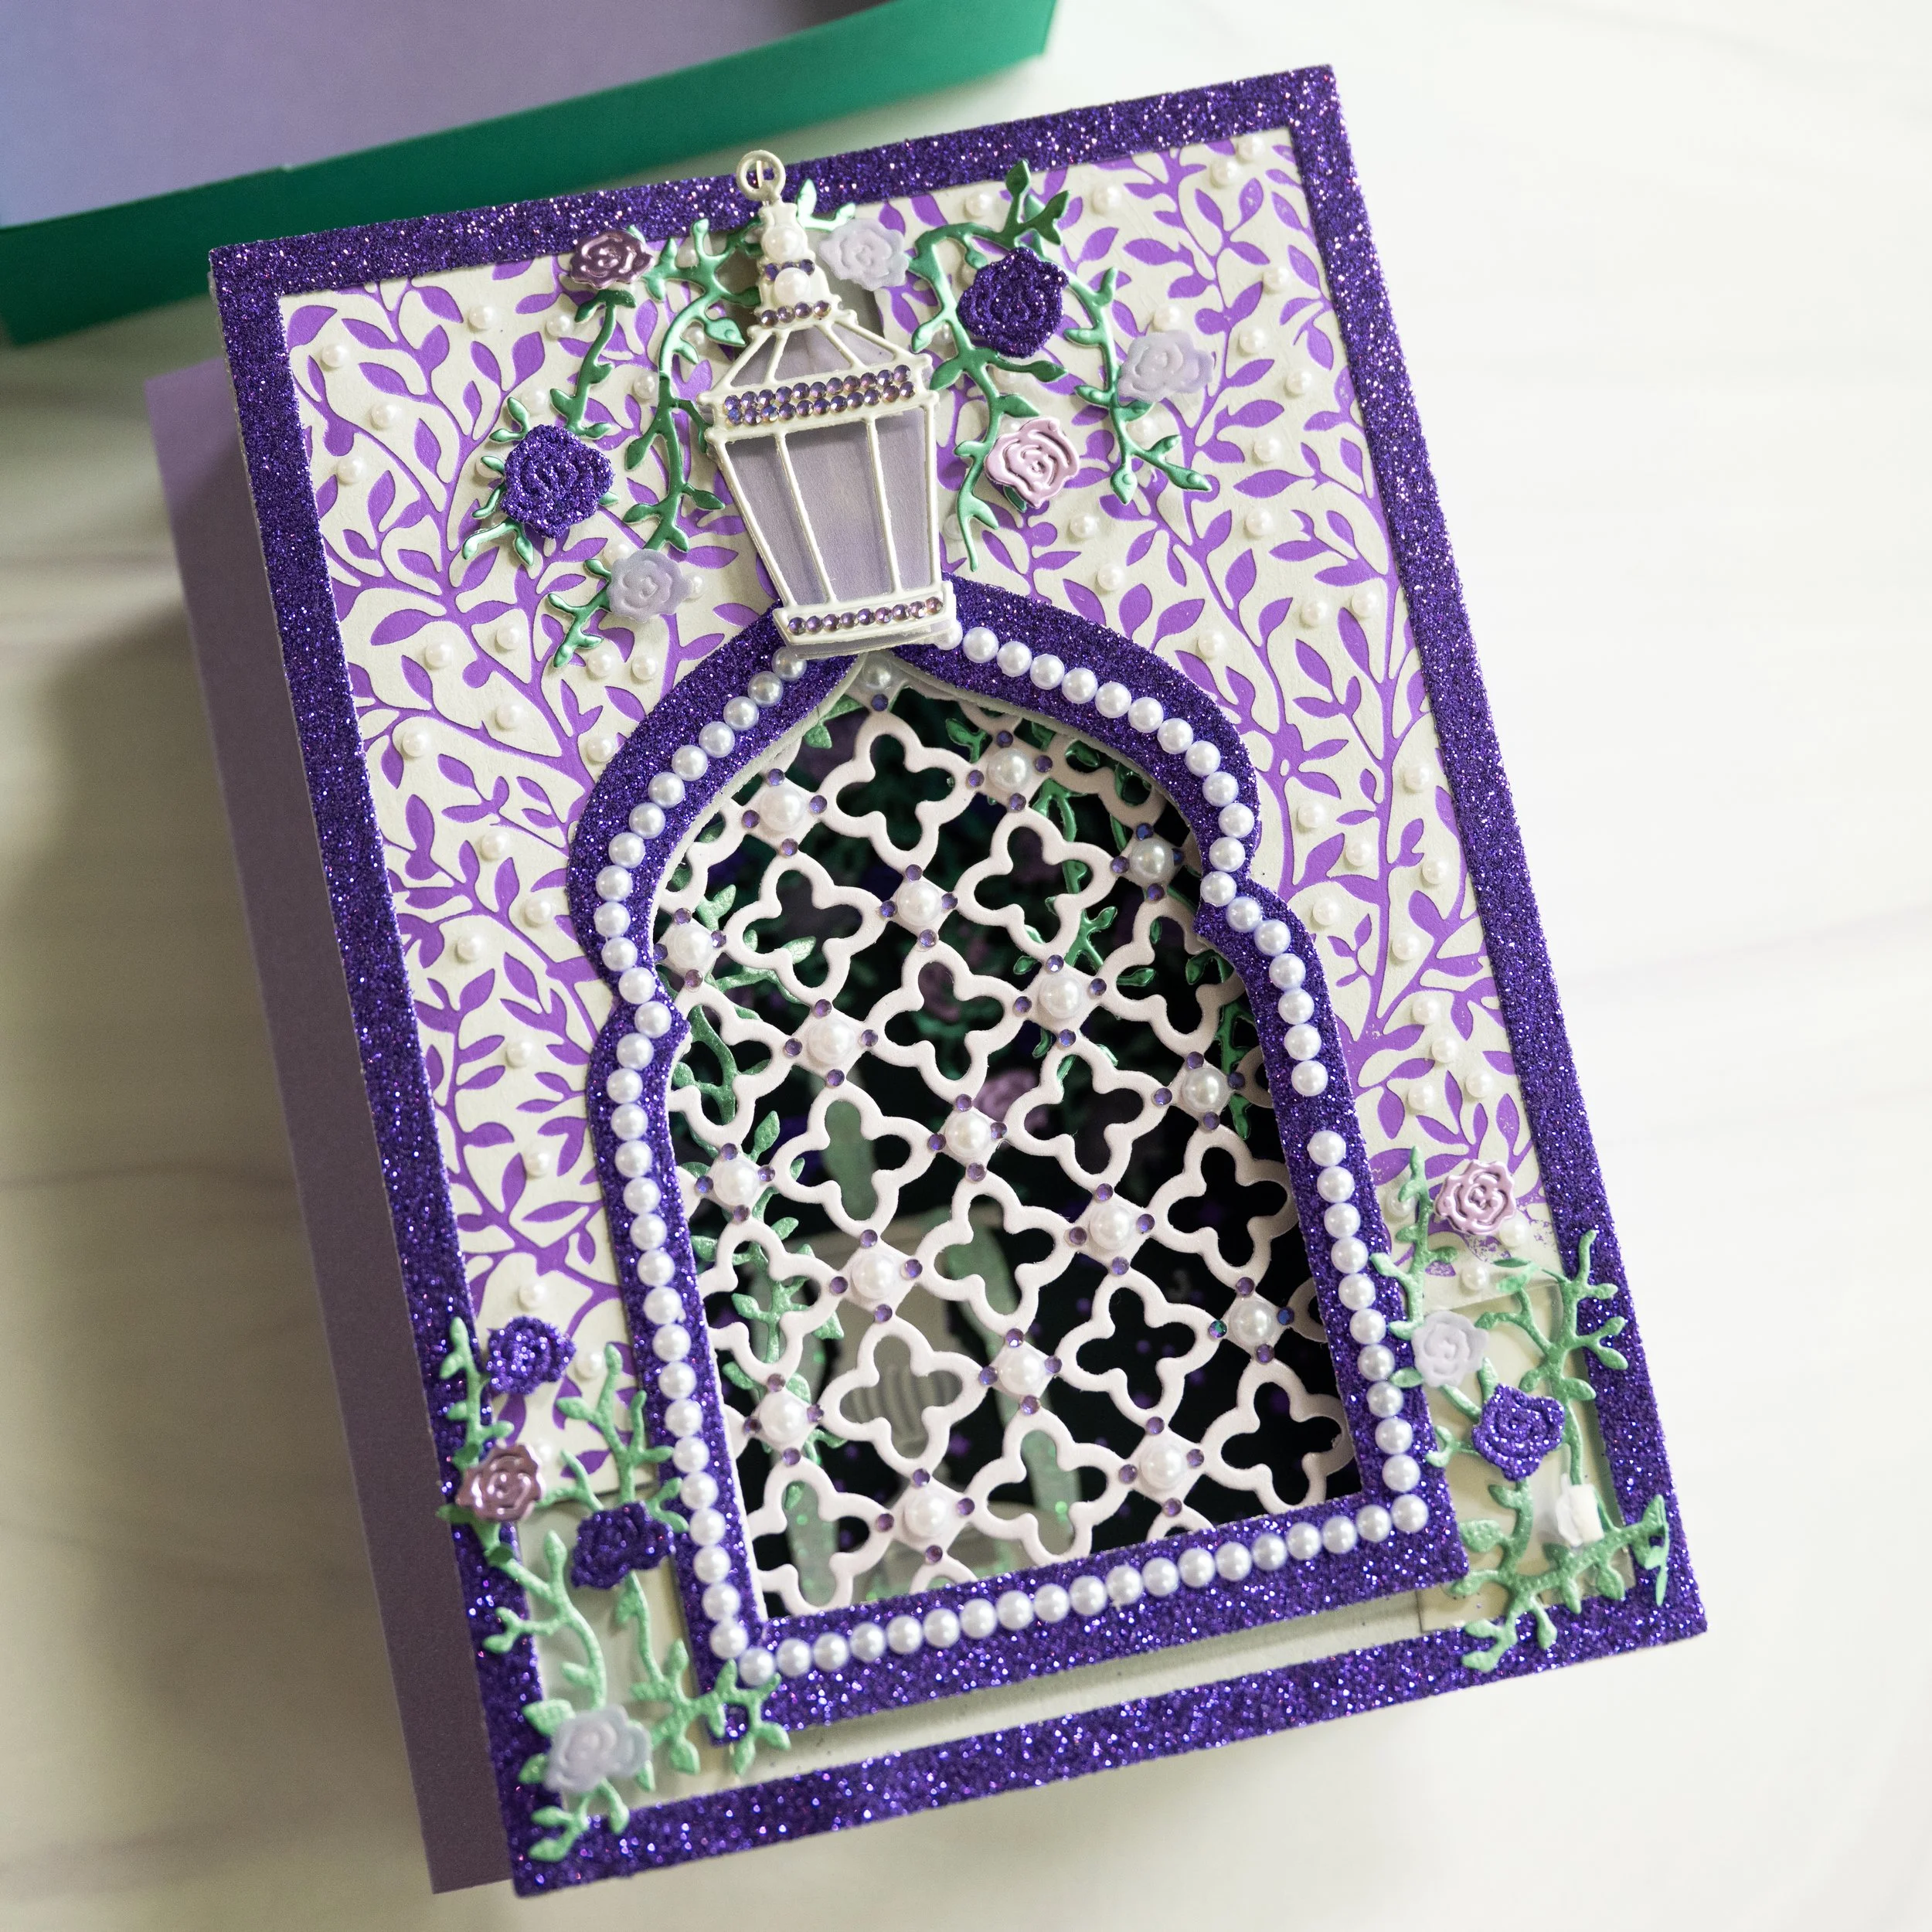
The tunnel card resting in its custom box.
I’ve been wanting to work on something like this for awhile and since my little neighbor turned 5, it seemed like a great opportunity to make something for her. I love creating little miniature paper gardens. This time, instead of wrapping the pop-up card with ribbon, I created a 5.5 × 7.5 inch paper box to open, sealed by a magnet.
1) I used a cover die to create a “grill” for a window (not sure where this die is from, but you could use a number of similar dies), then made a window shape in a 5×7 piece of cardstock using the Nested Serene Archways die from Altenew. I used foam tape to secure the grill behind the window, and add a little dimension so that the grill was not flush with the window opening, but slightly recessed.
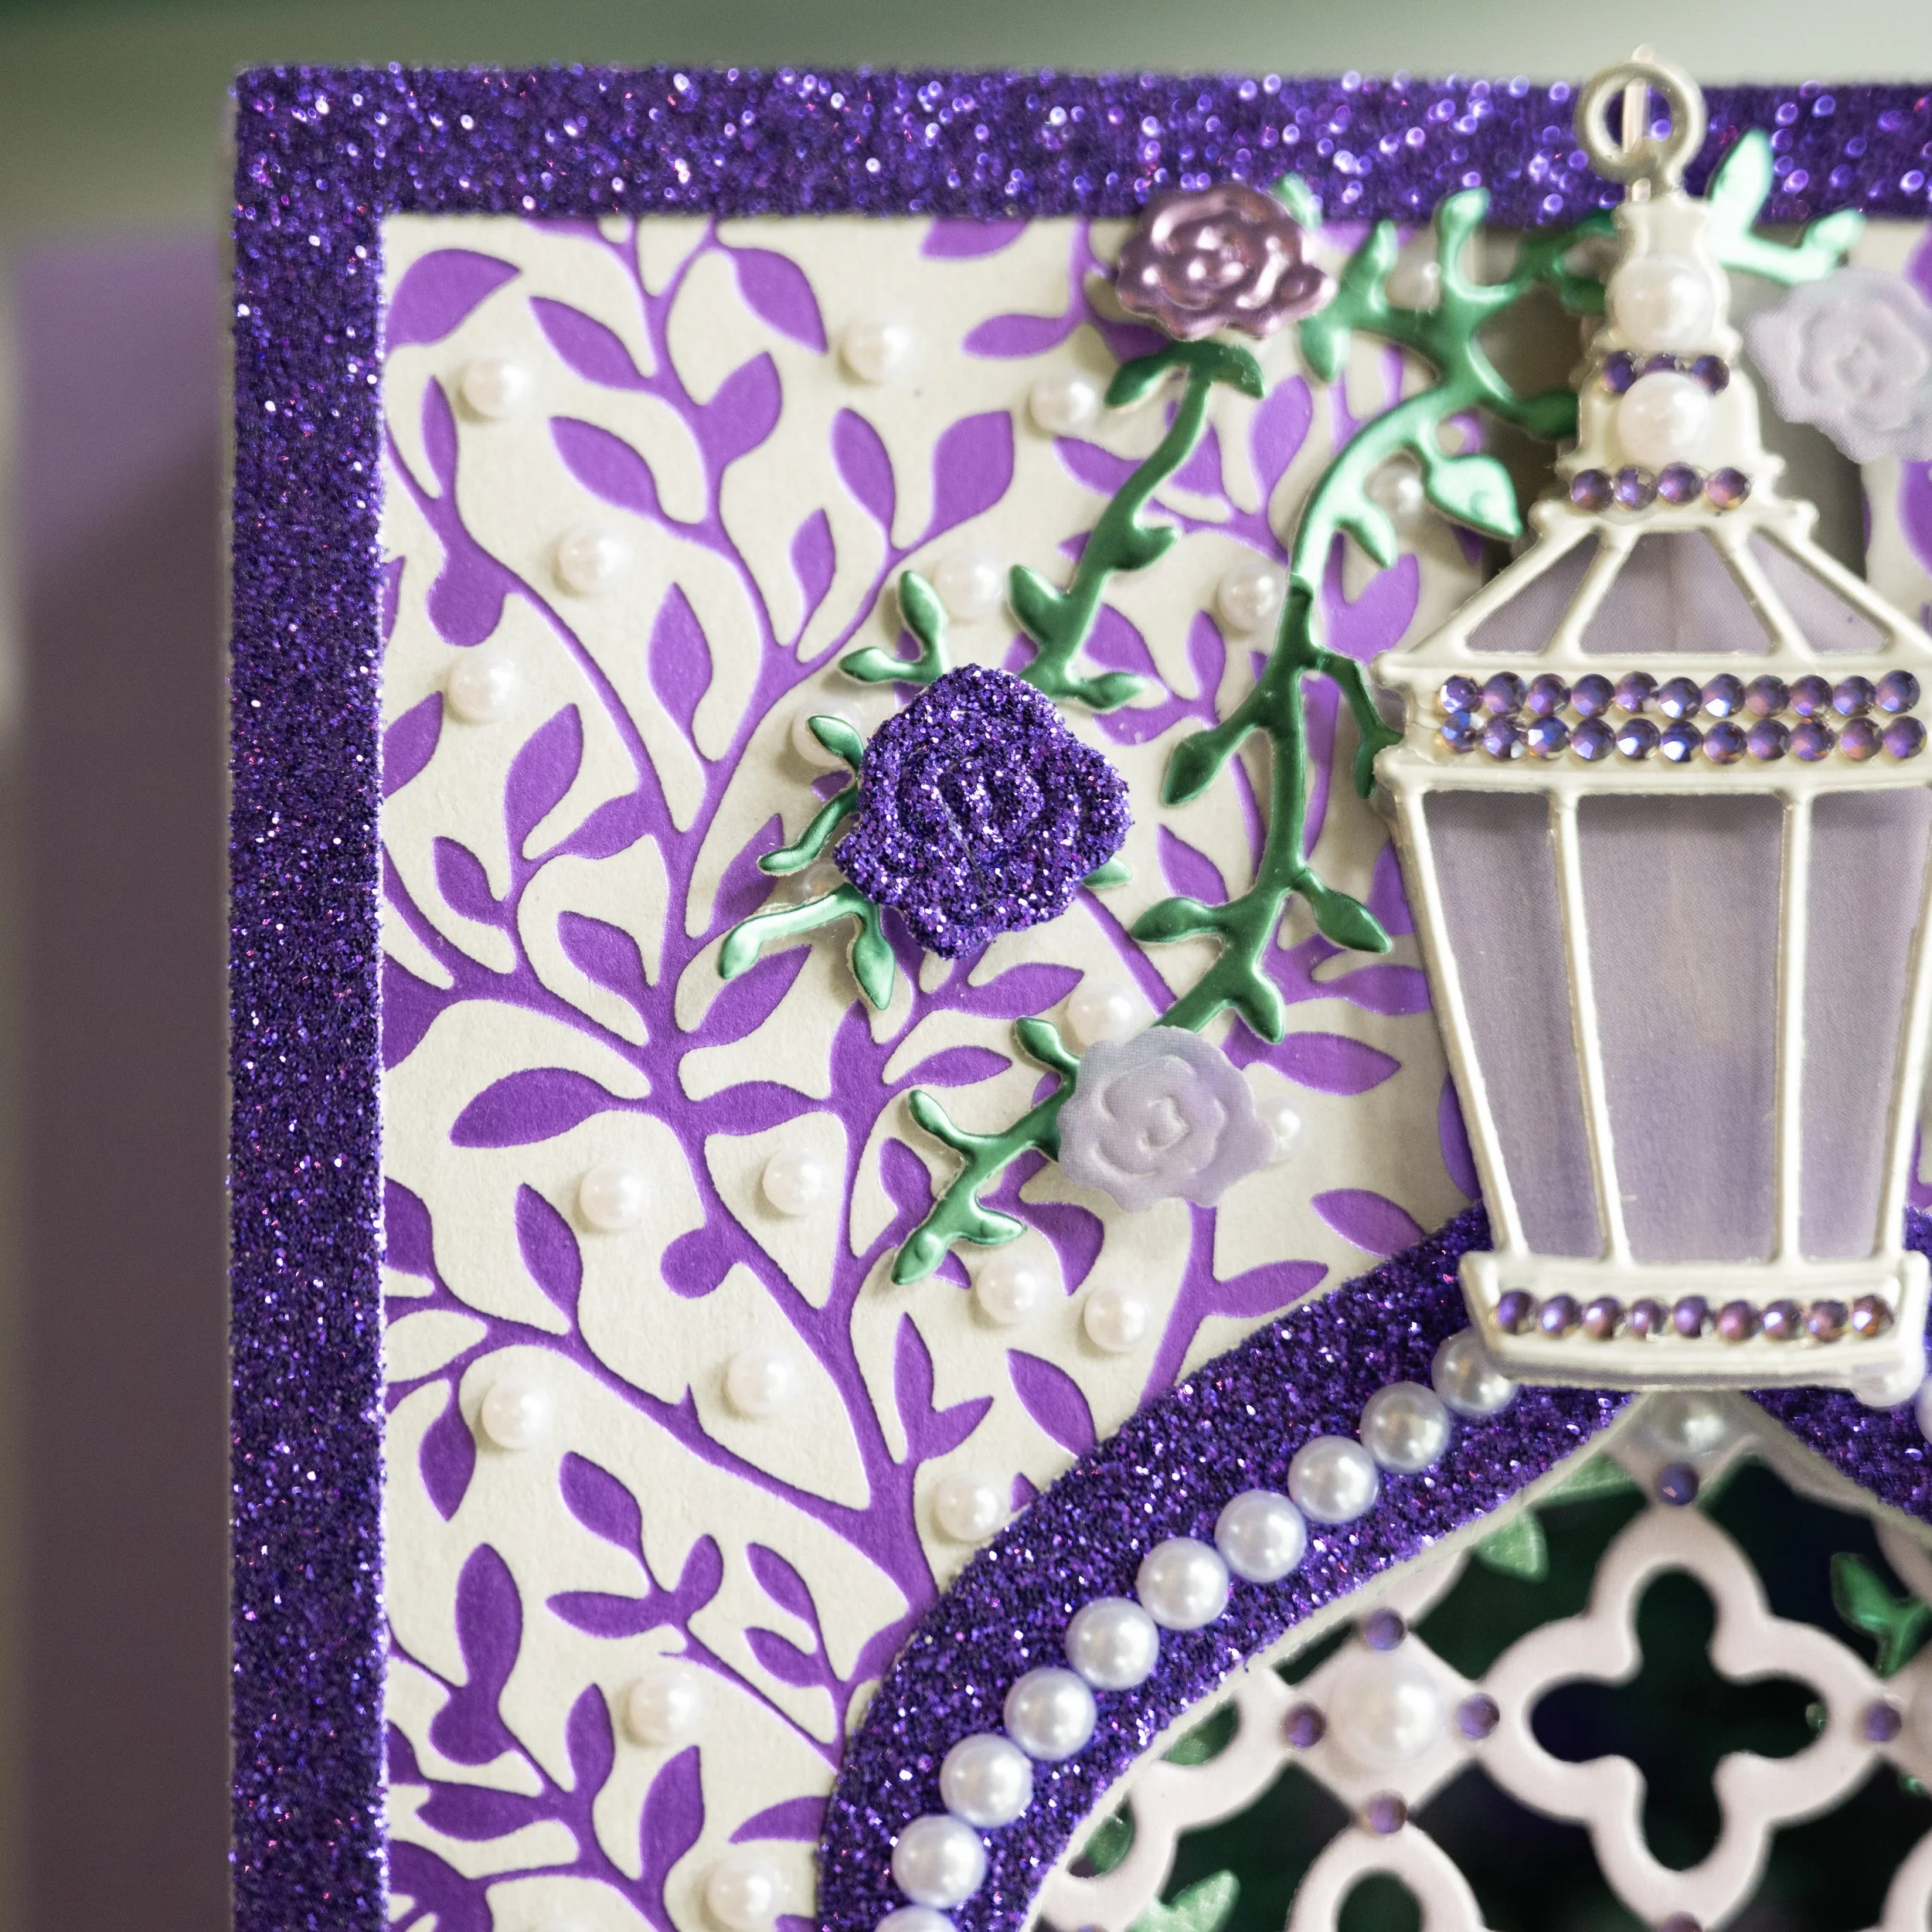
2) I used an older foiling plate from Hero Arts and purple foil to create the leaf design to go around the window. Because the plate was not large enough, I cut it into segments to cover the areas I needed. You will see I then used other elements to camoflauge where the foil isn’t present.
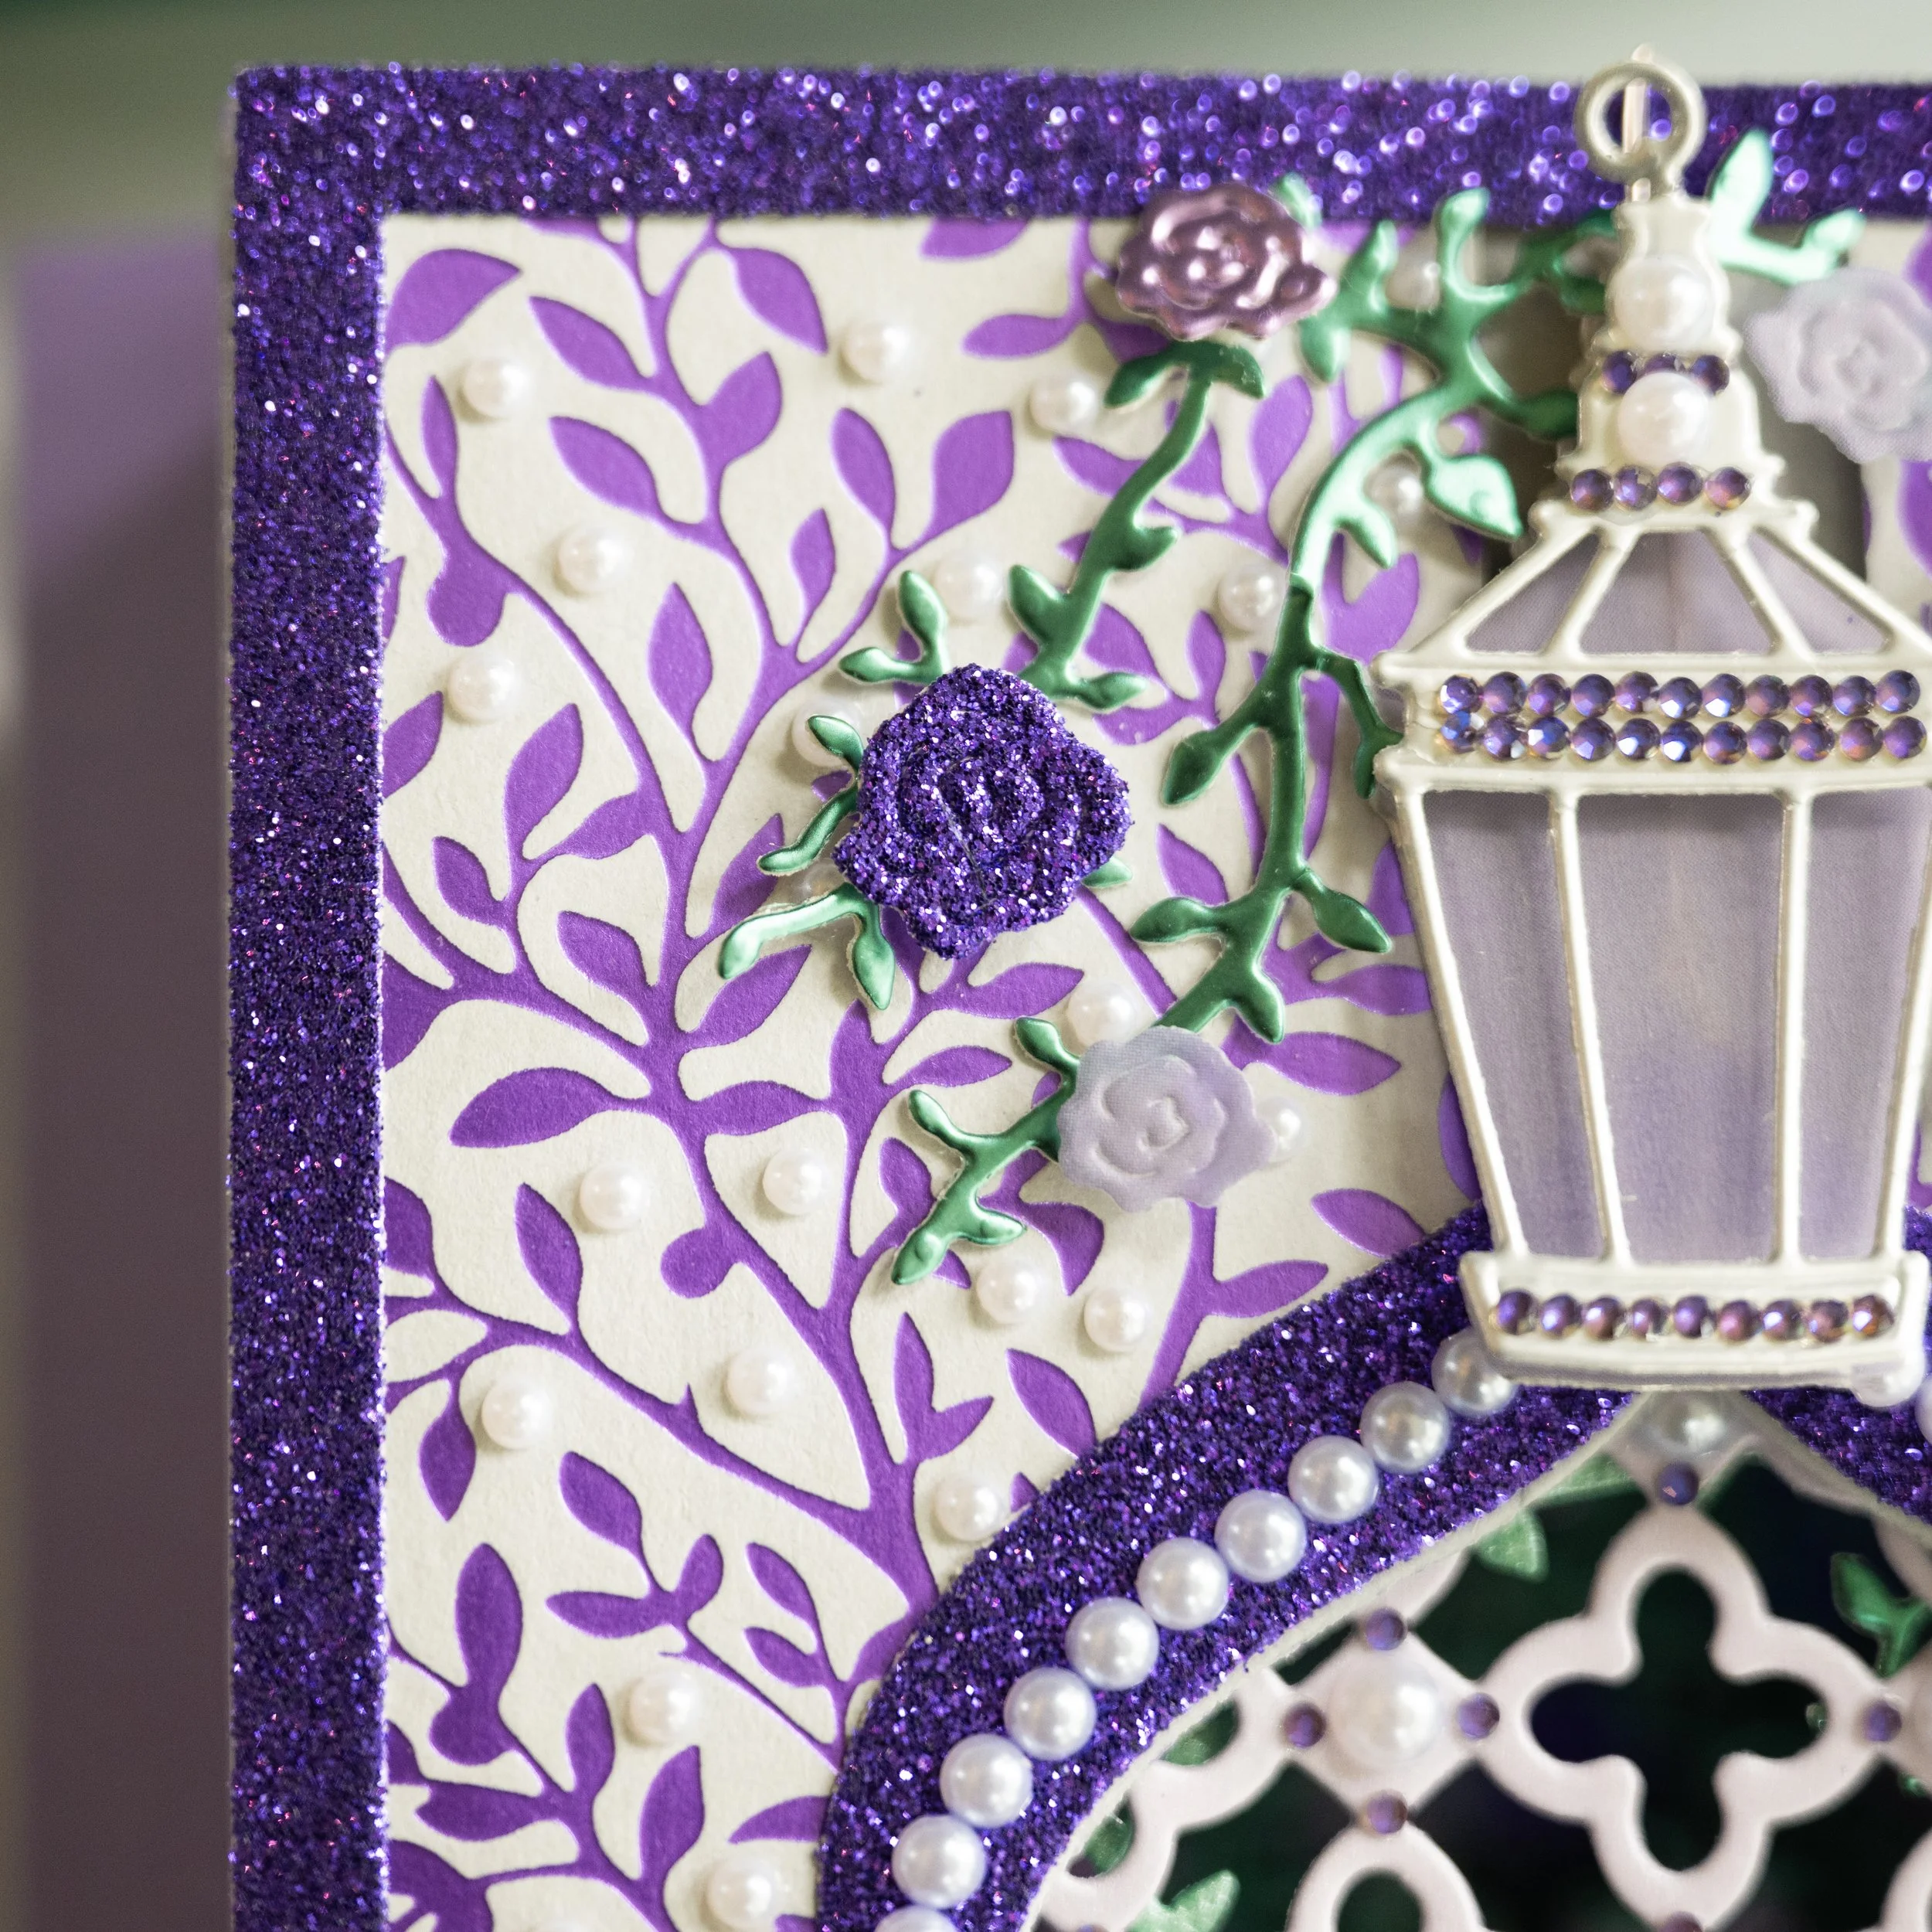
Detail of the hot foil and pearl ornamentation.
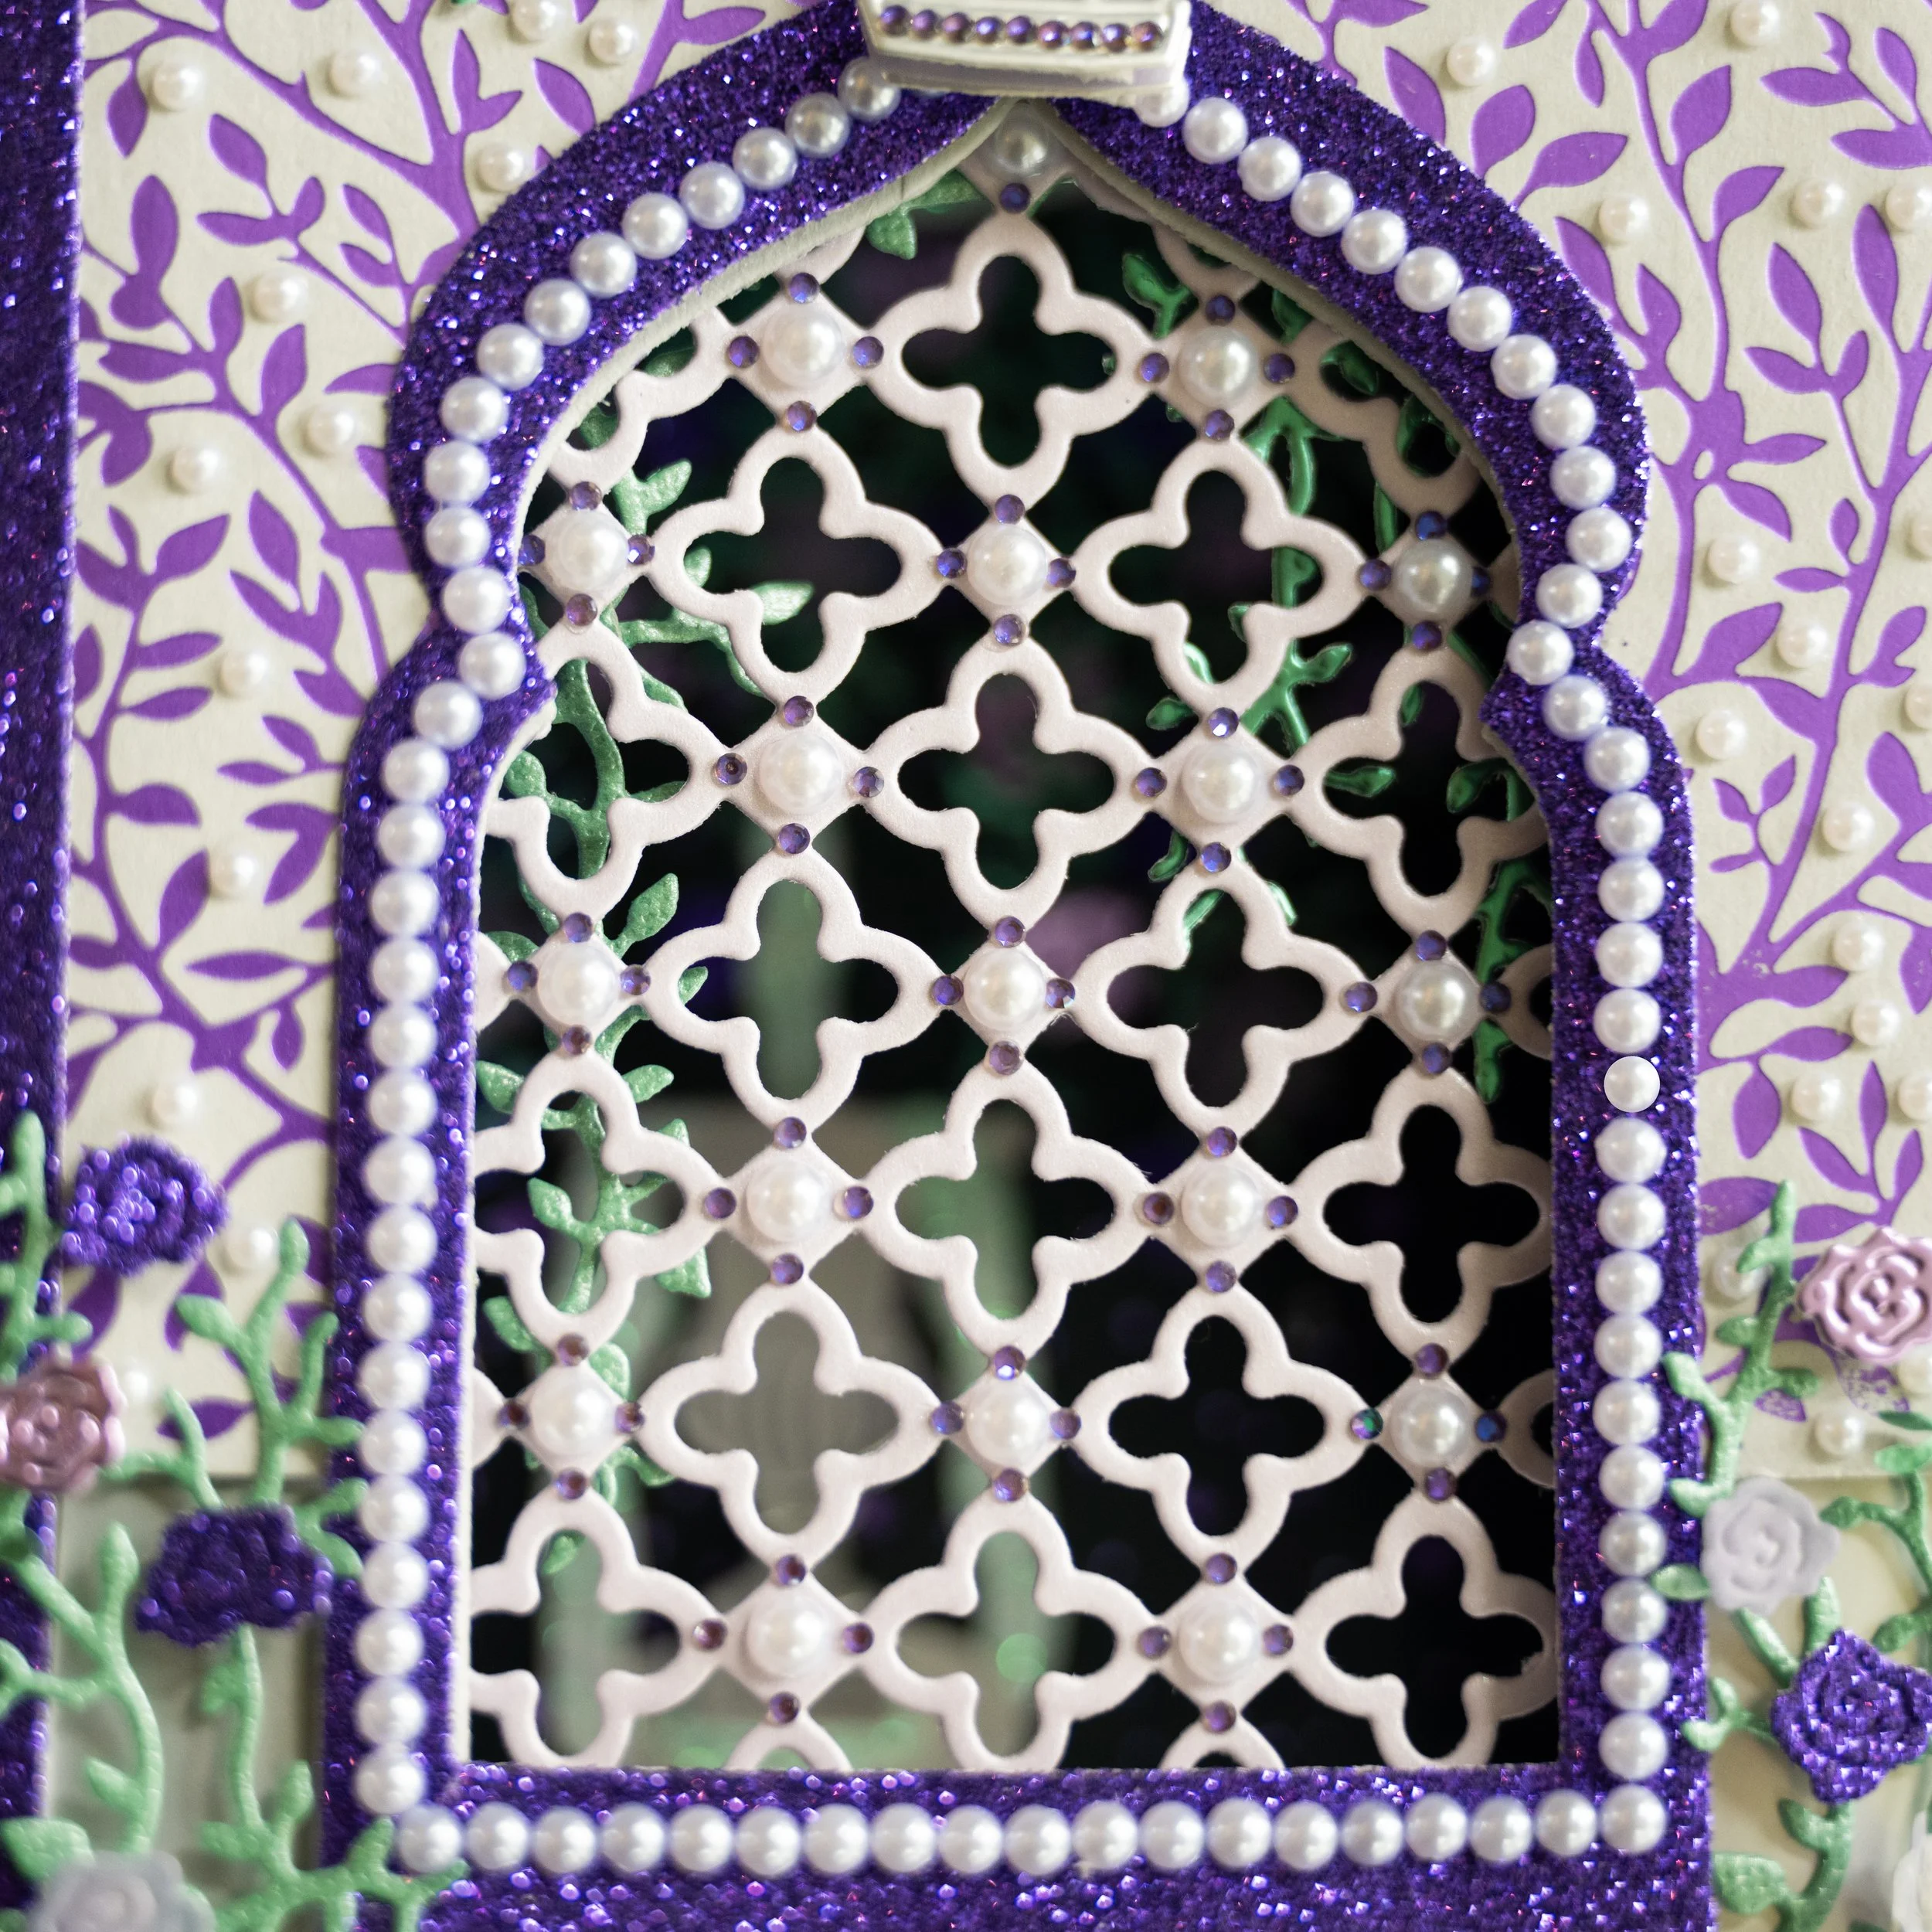
3) I added gemstones onto the grill, and around the archway, to make the card front shimmer as you walk by it. In my mind, this is the inside of a palace room looking out over a garden, so I wanted this tableau to be elaborate and ornate.
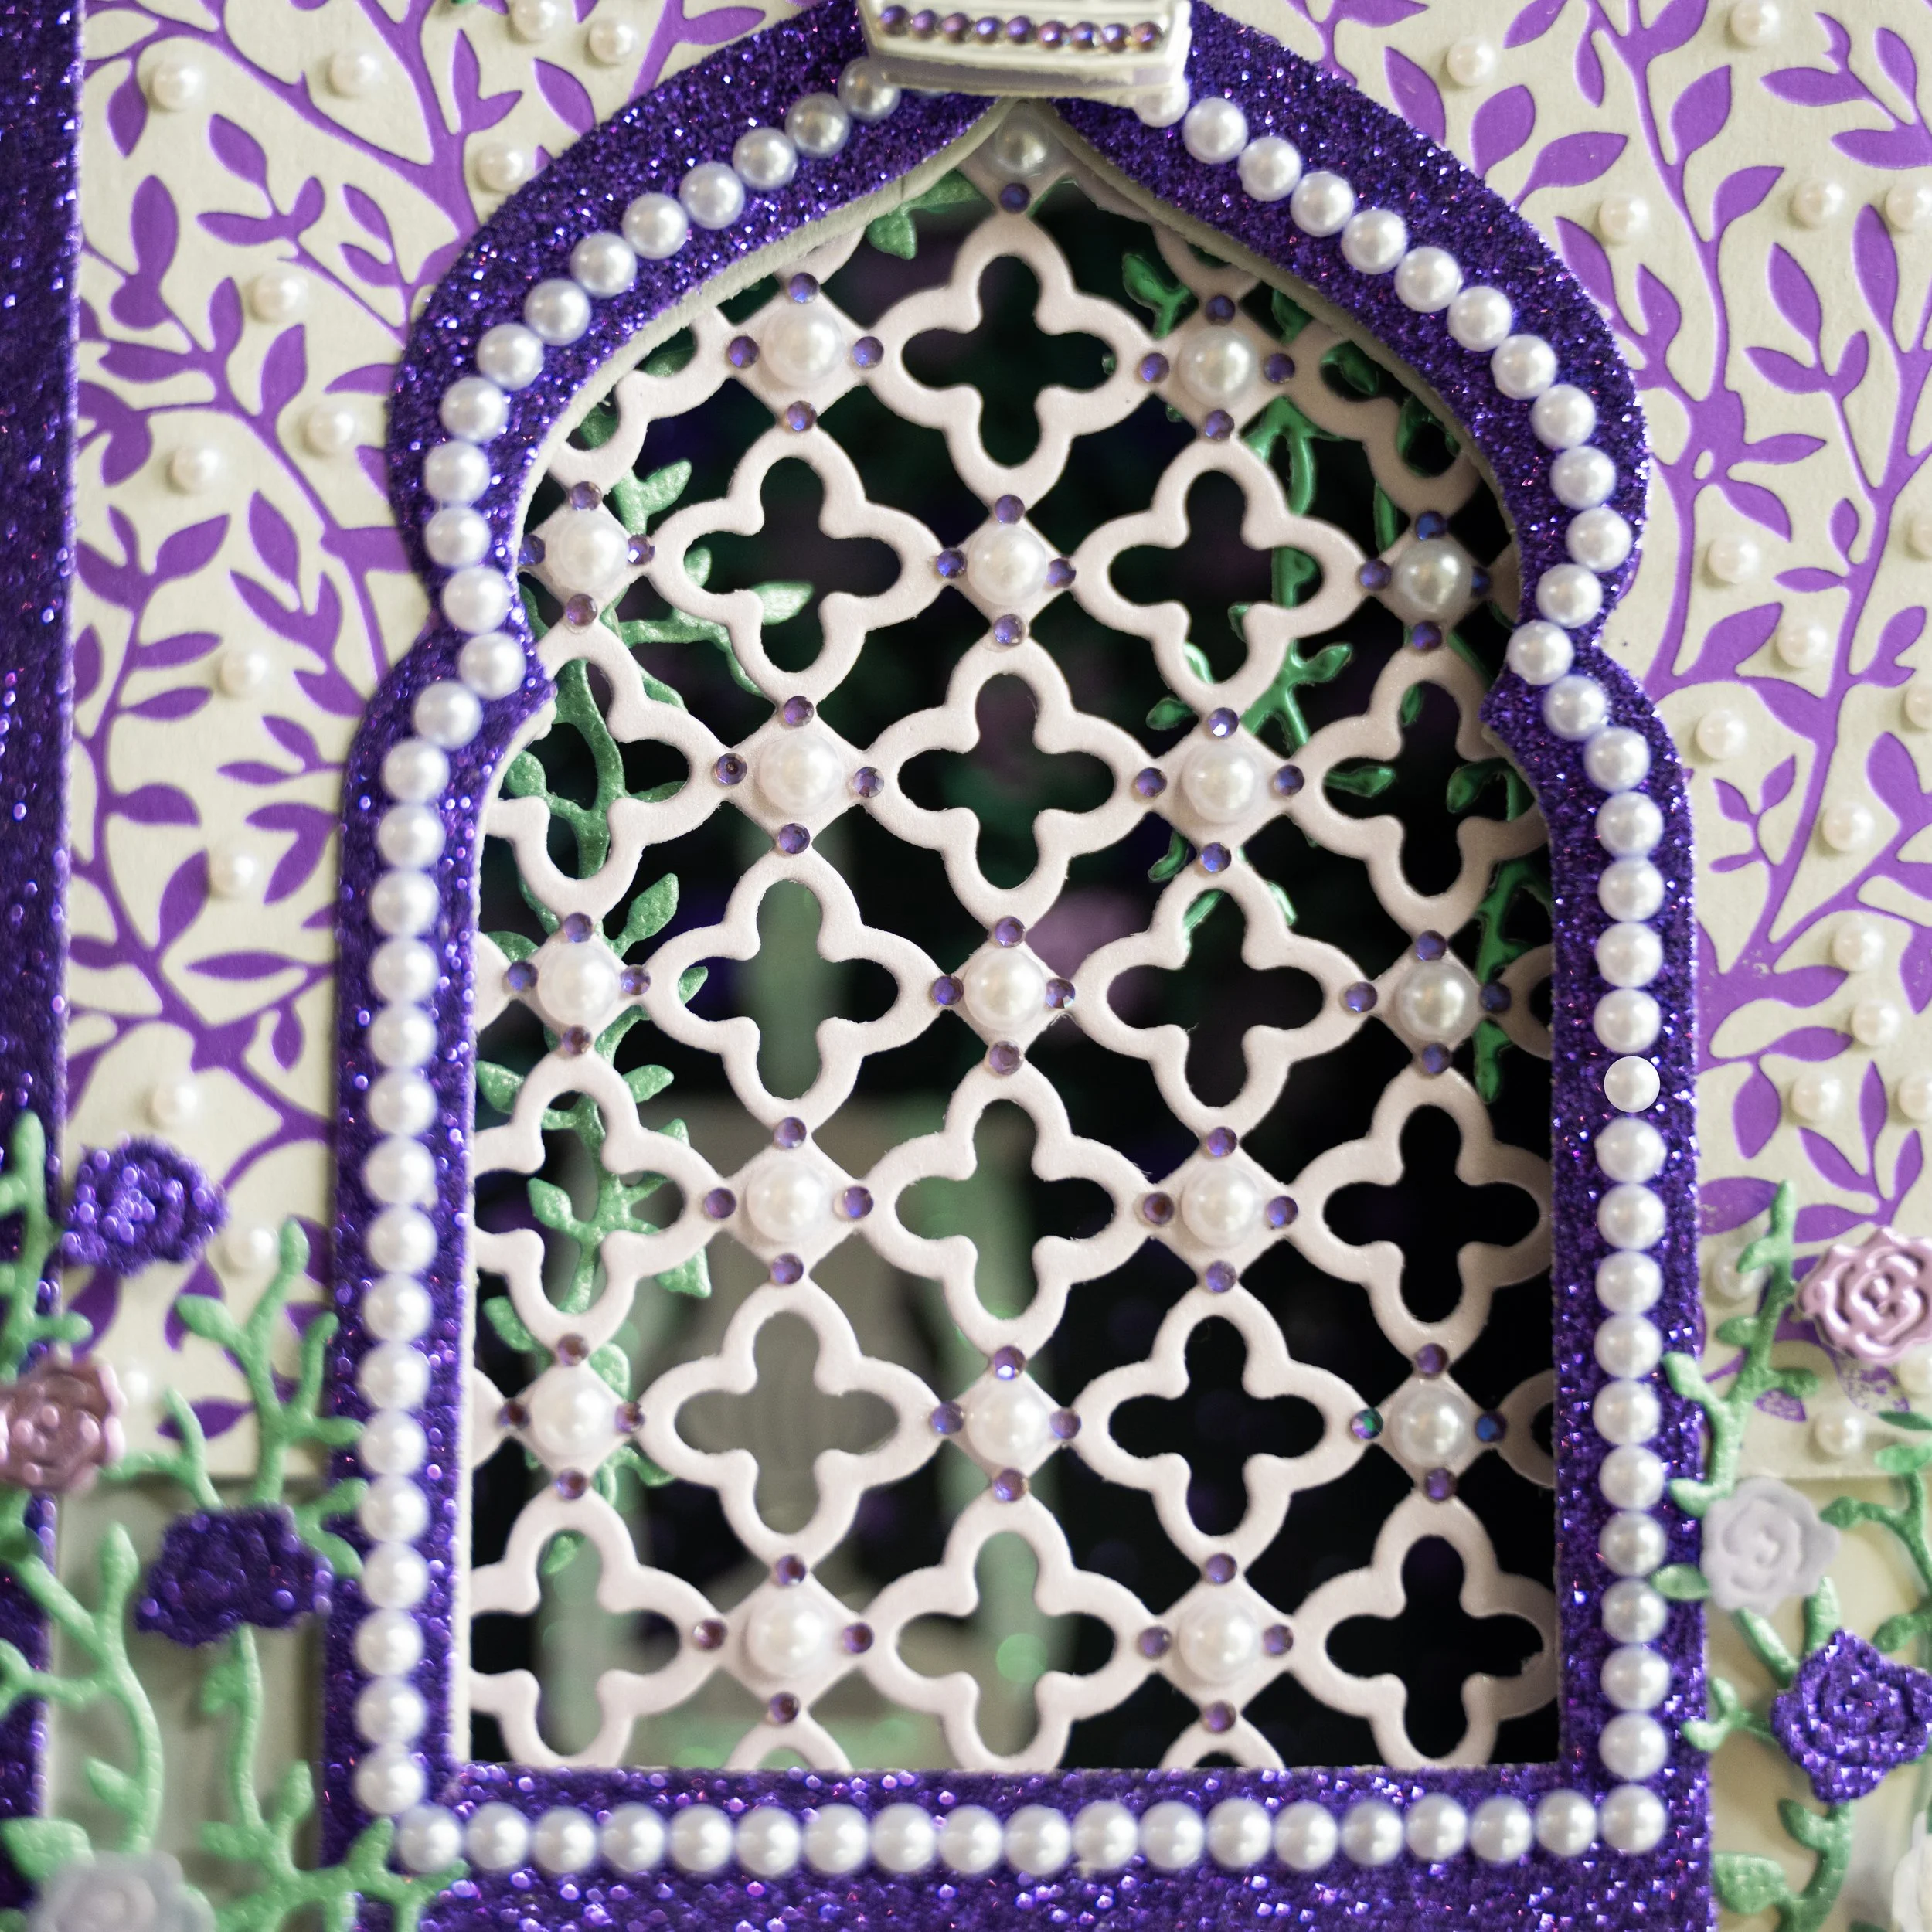
Detail of the bejewelled grill and window frame.
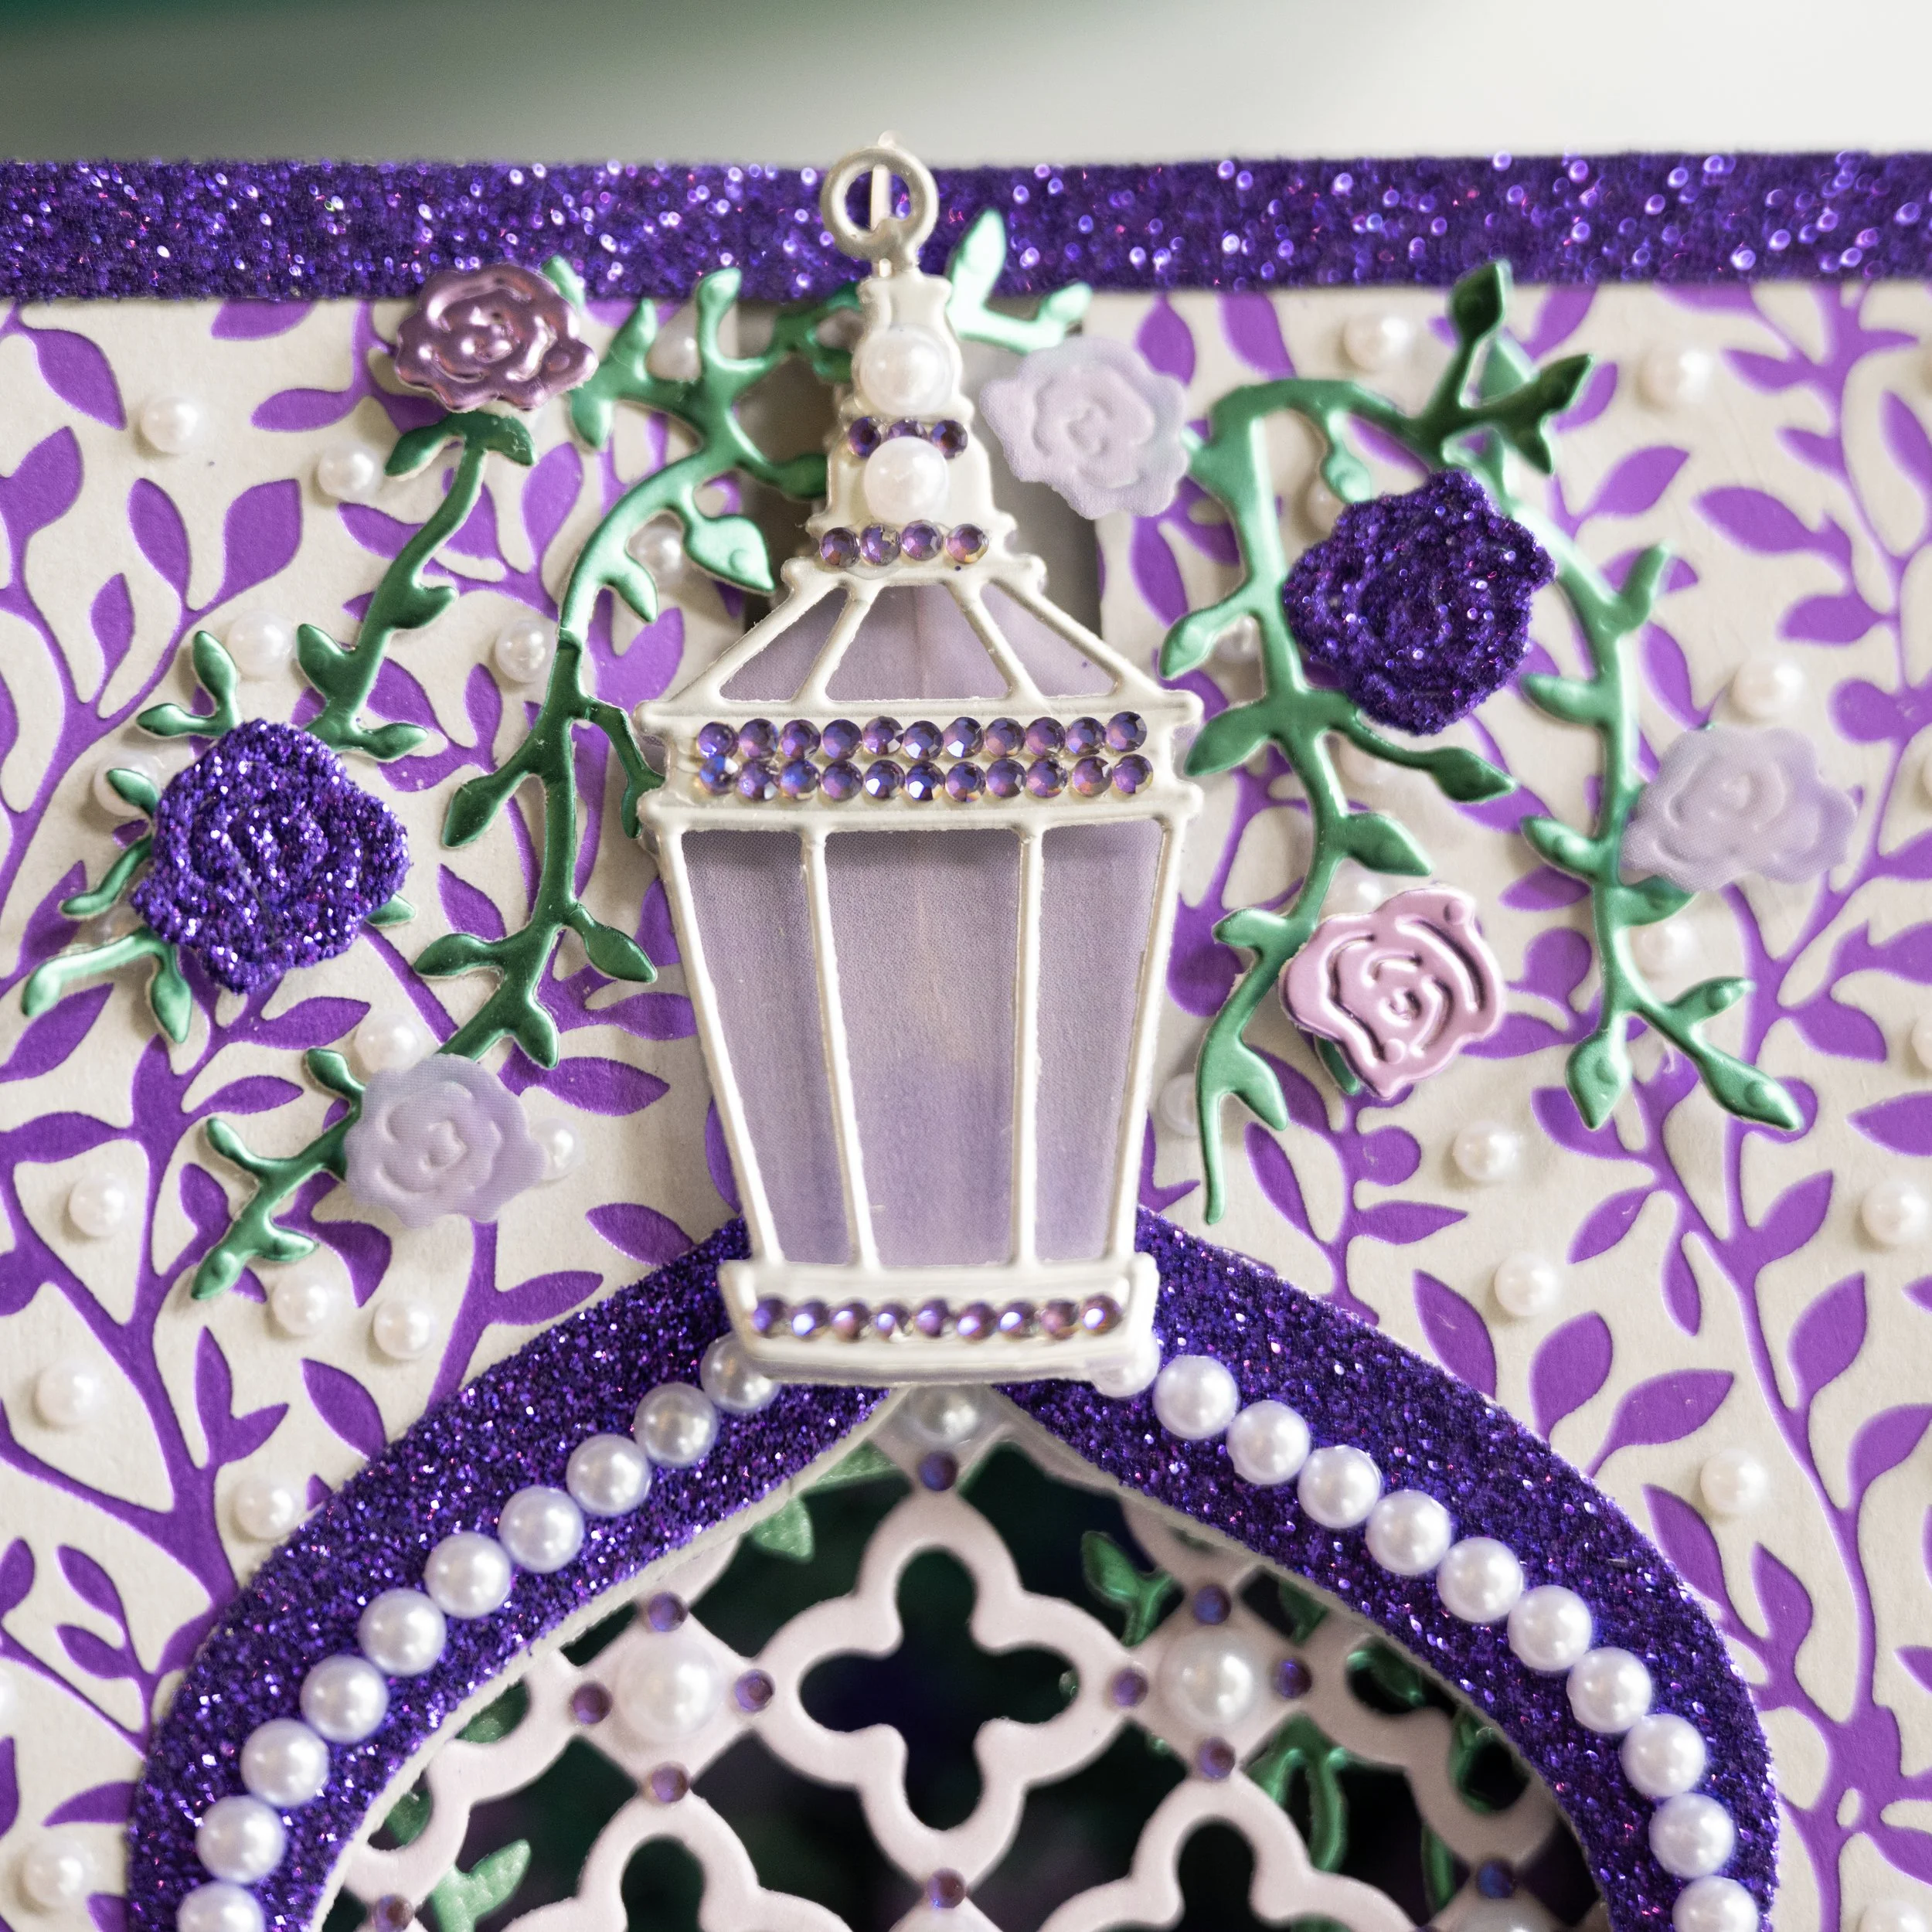
4) I added a lantern in silver matte foil, with a purple vellum layer between. I used the Antique Street Lantern die set from Altenew for this. I also created a frame in purple glitter cardstock that coordinated with the window outline to lead to the focal point of the window.
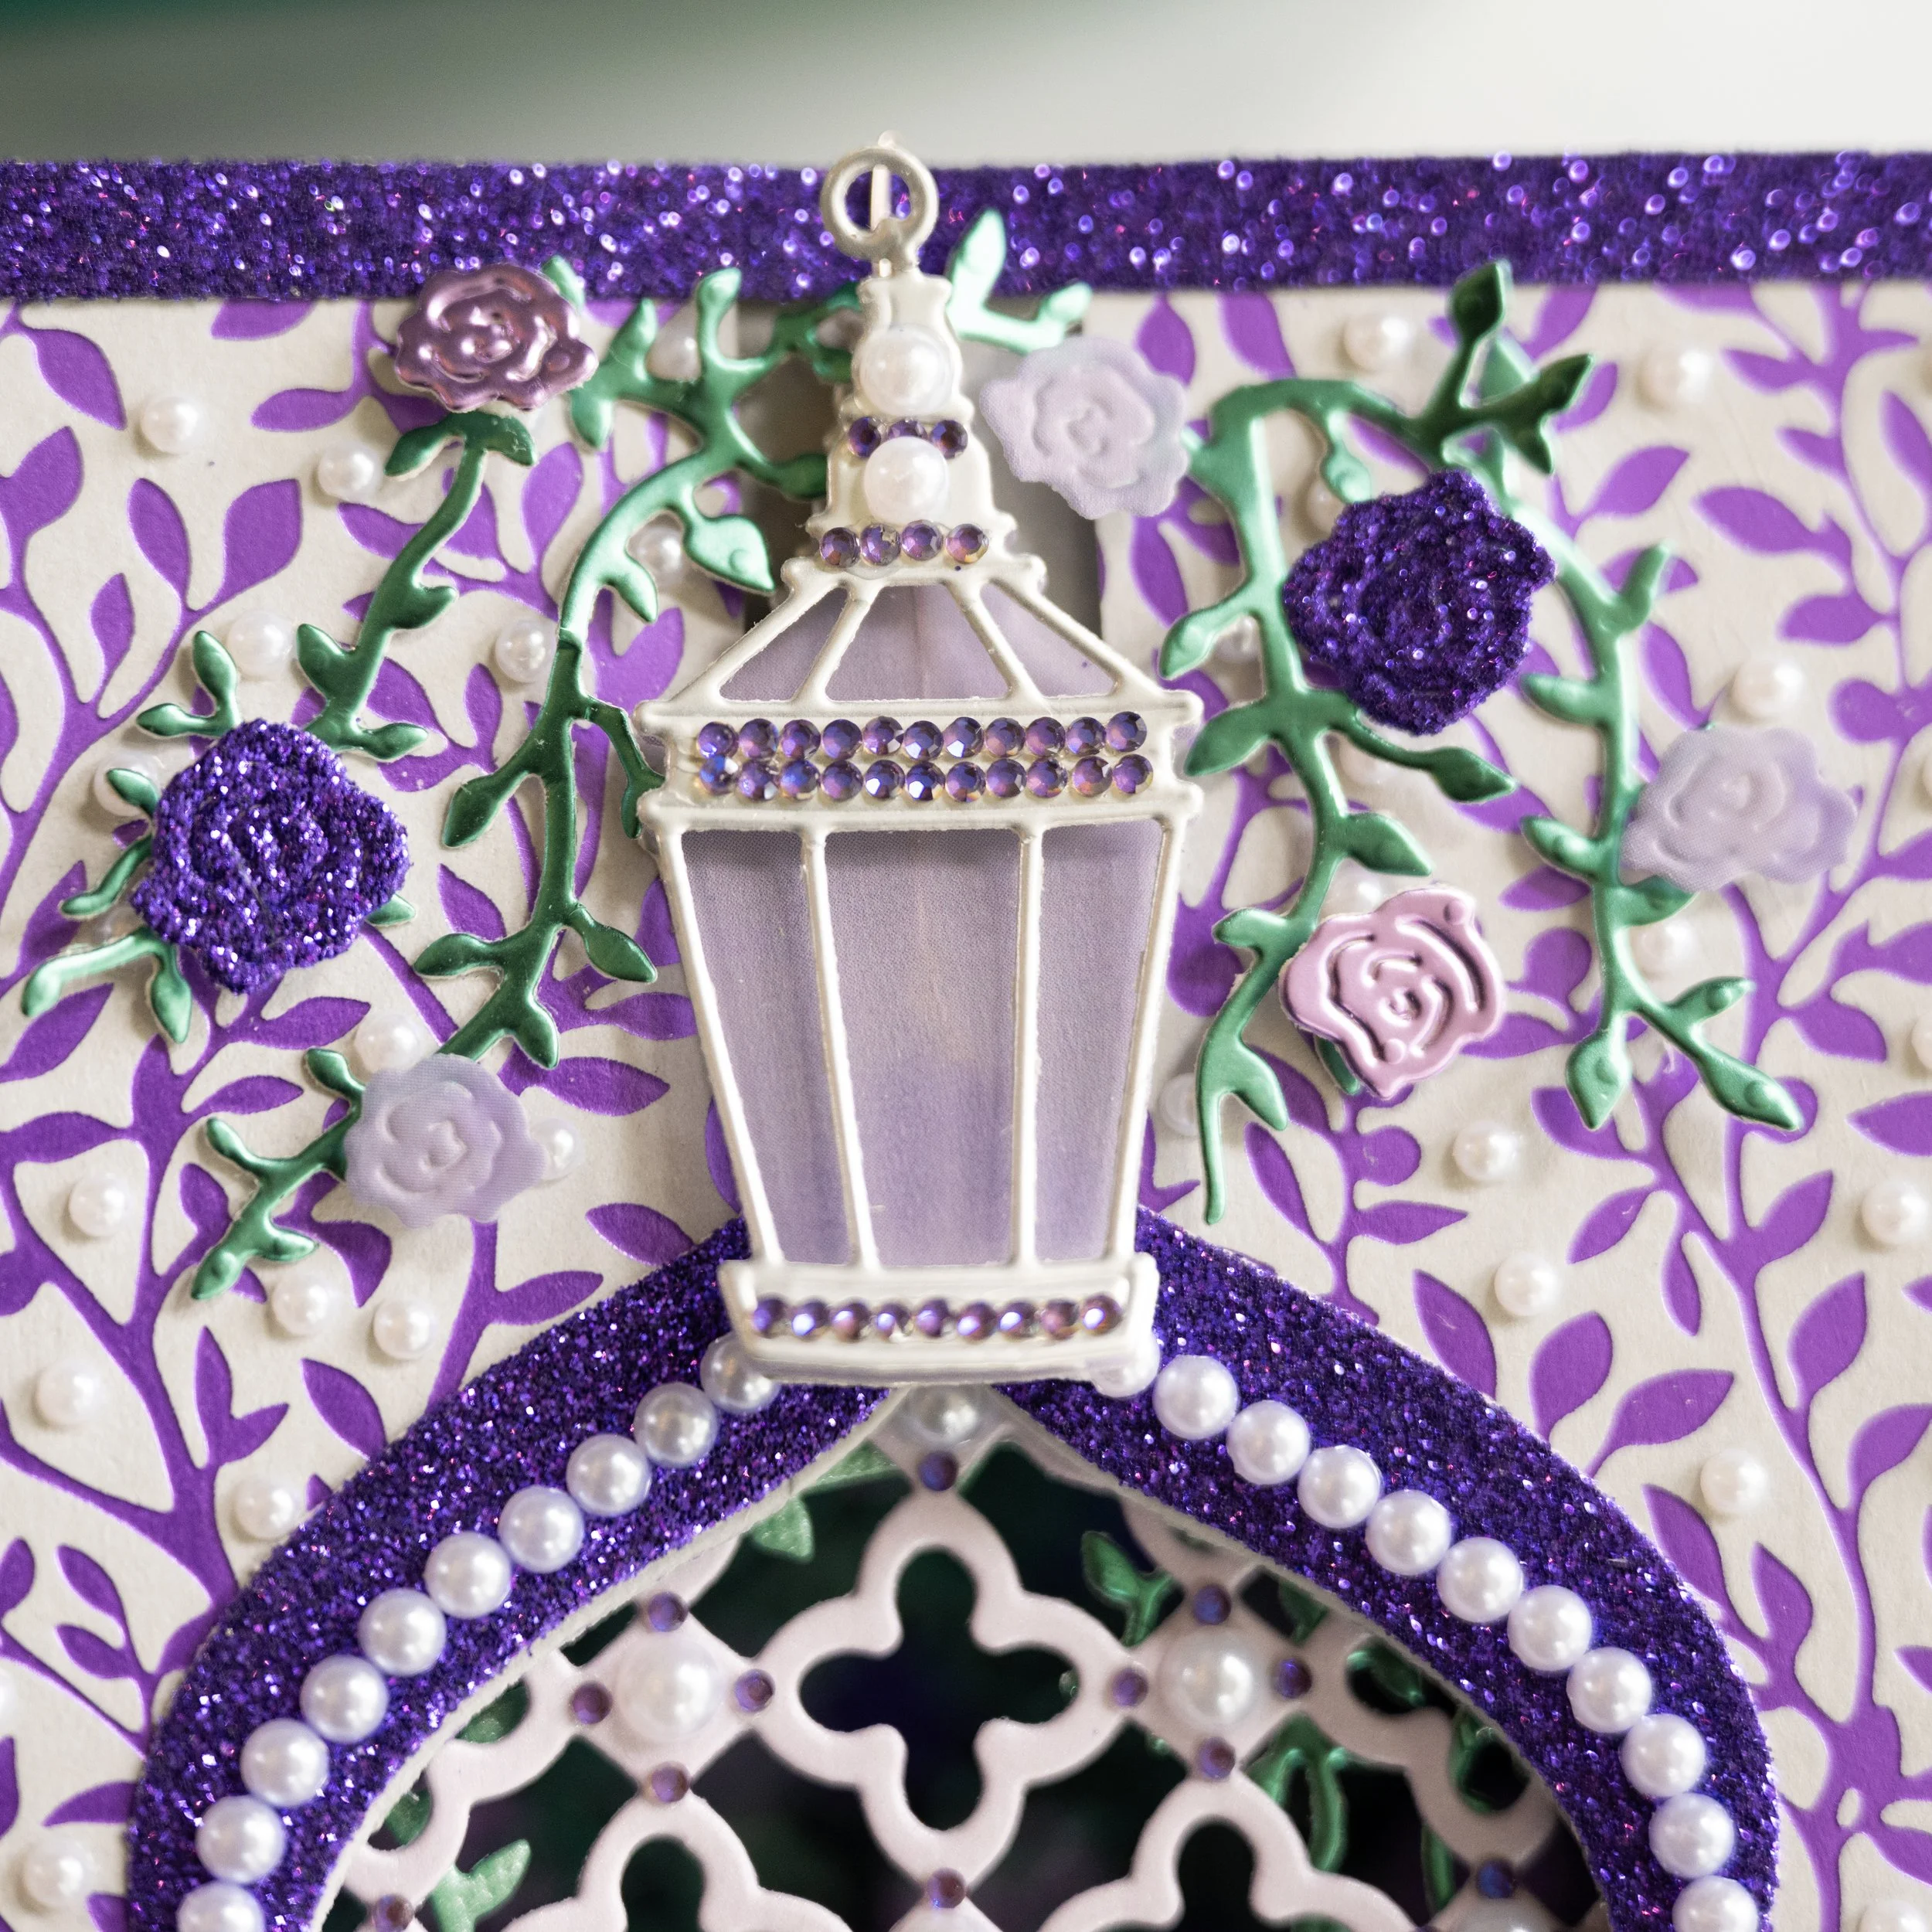
Detail of the lantern die.
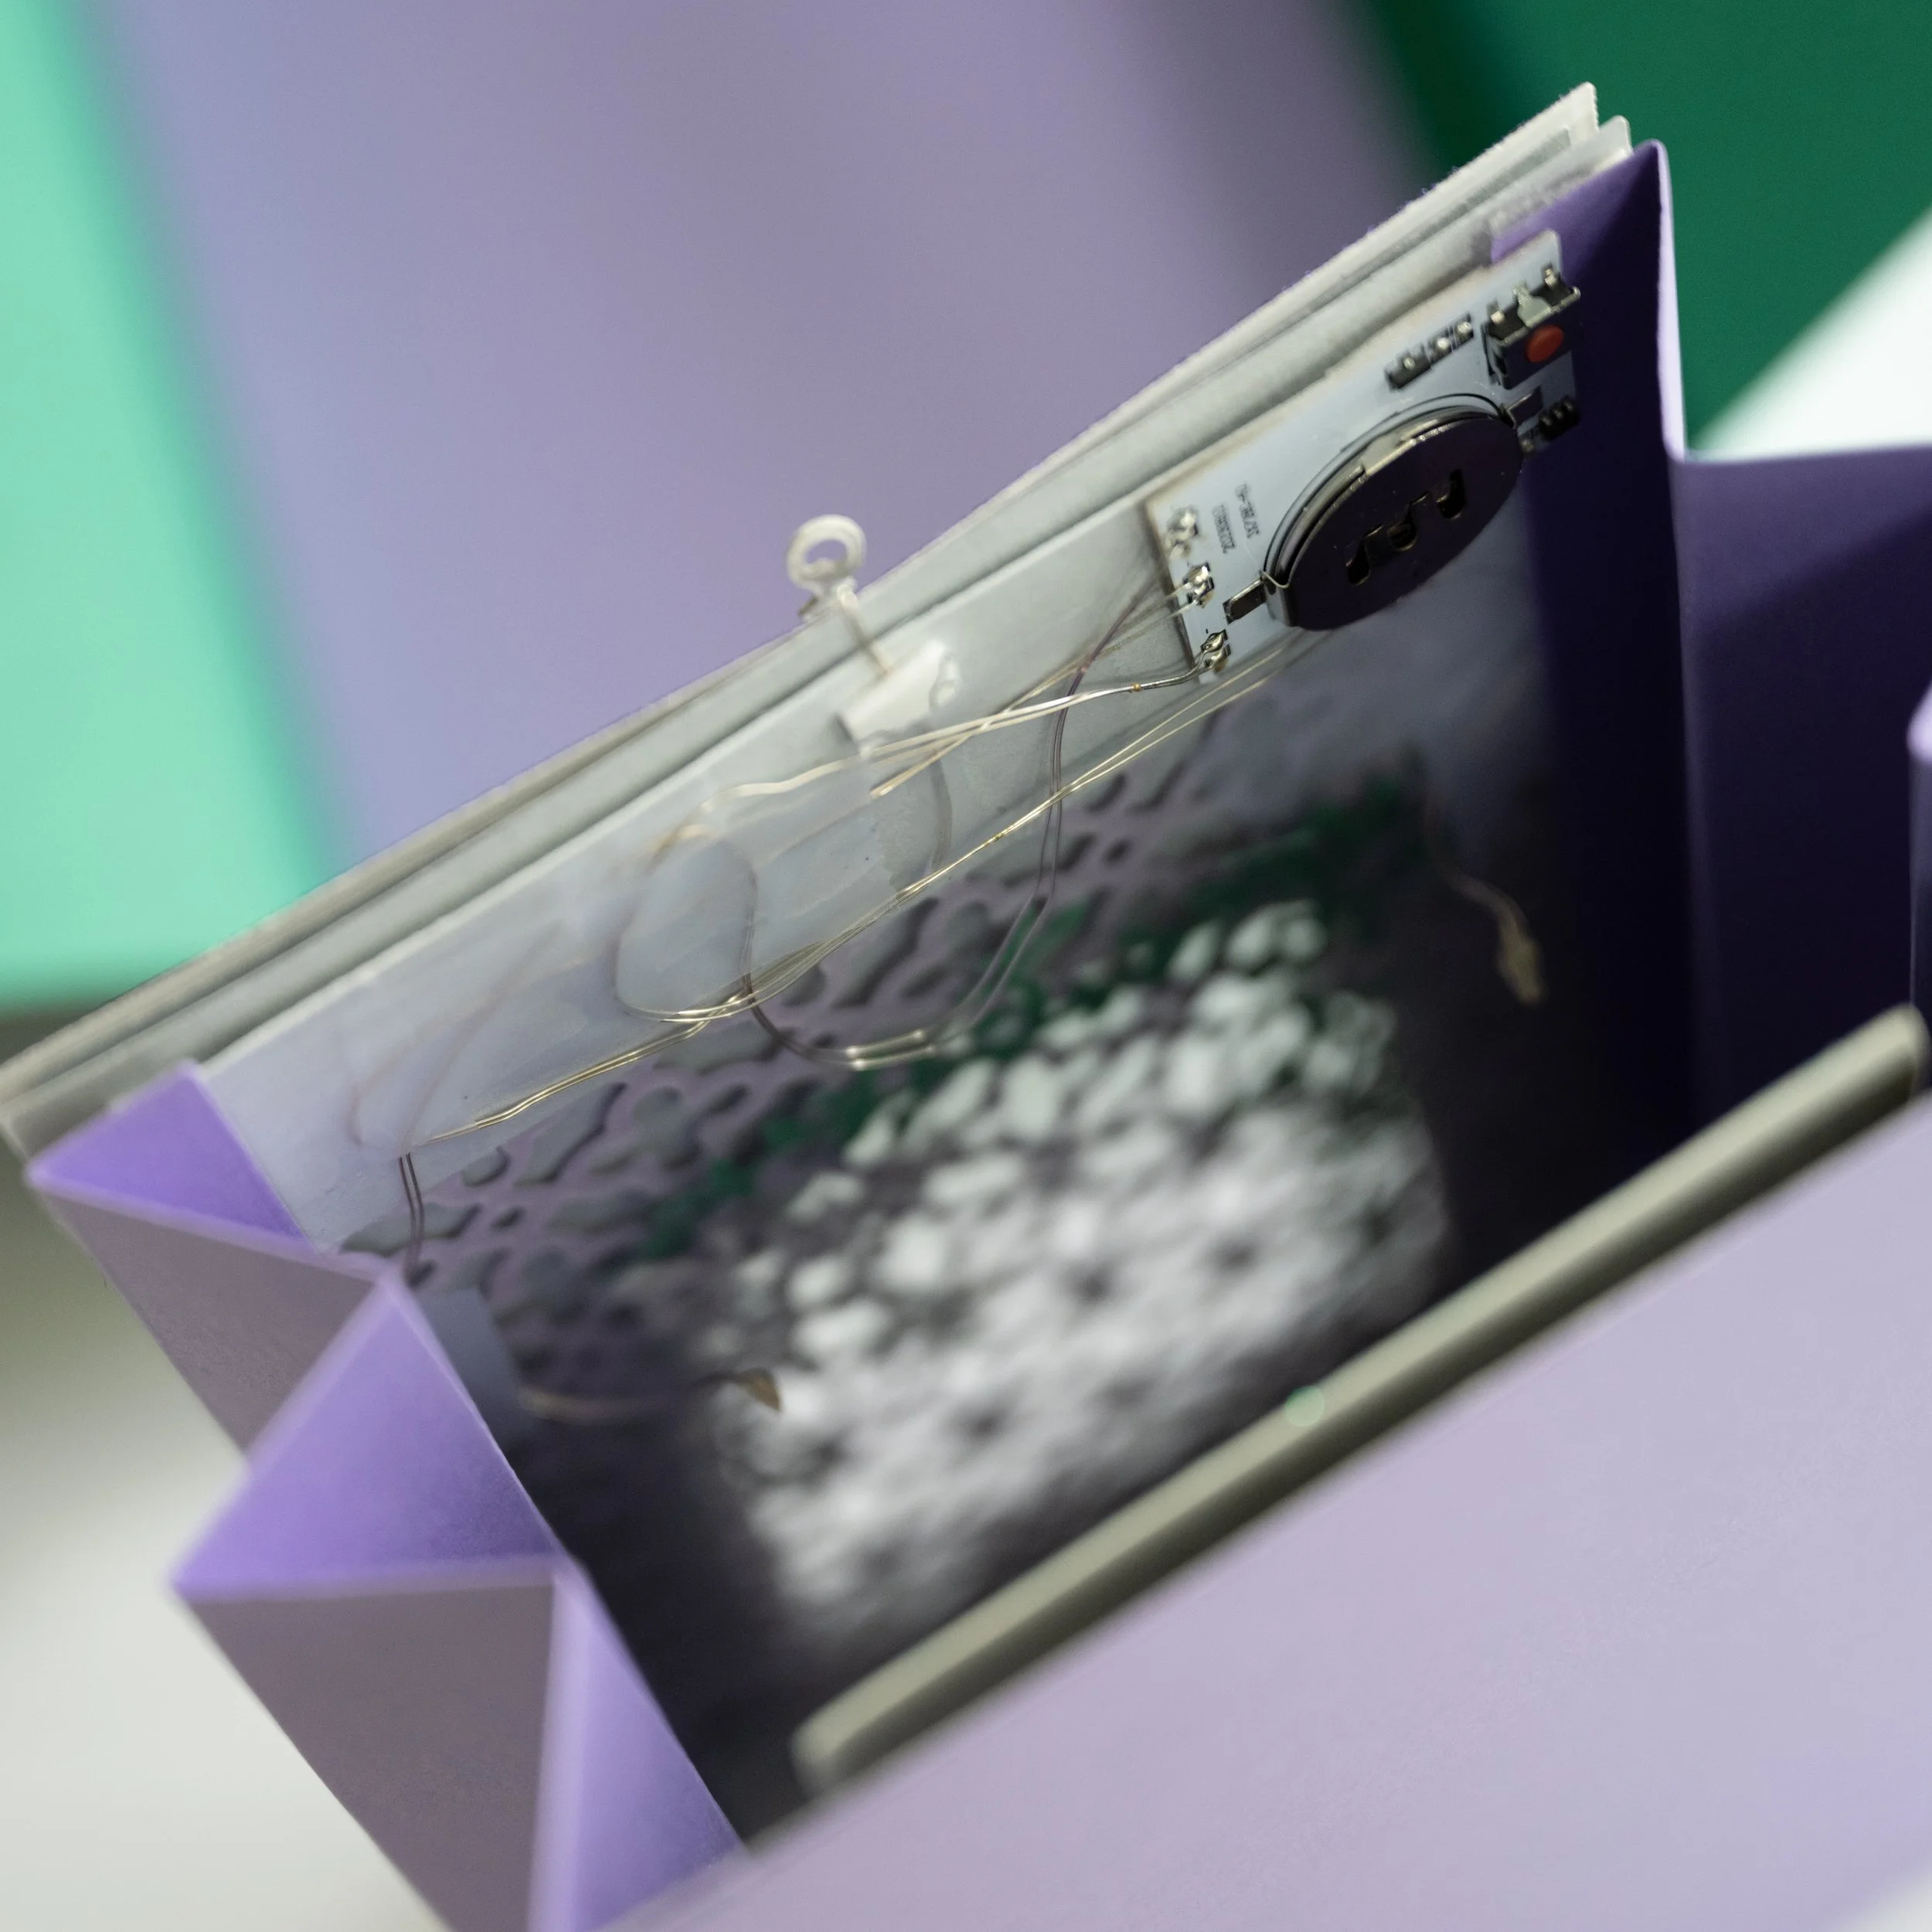
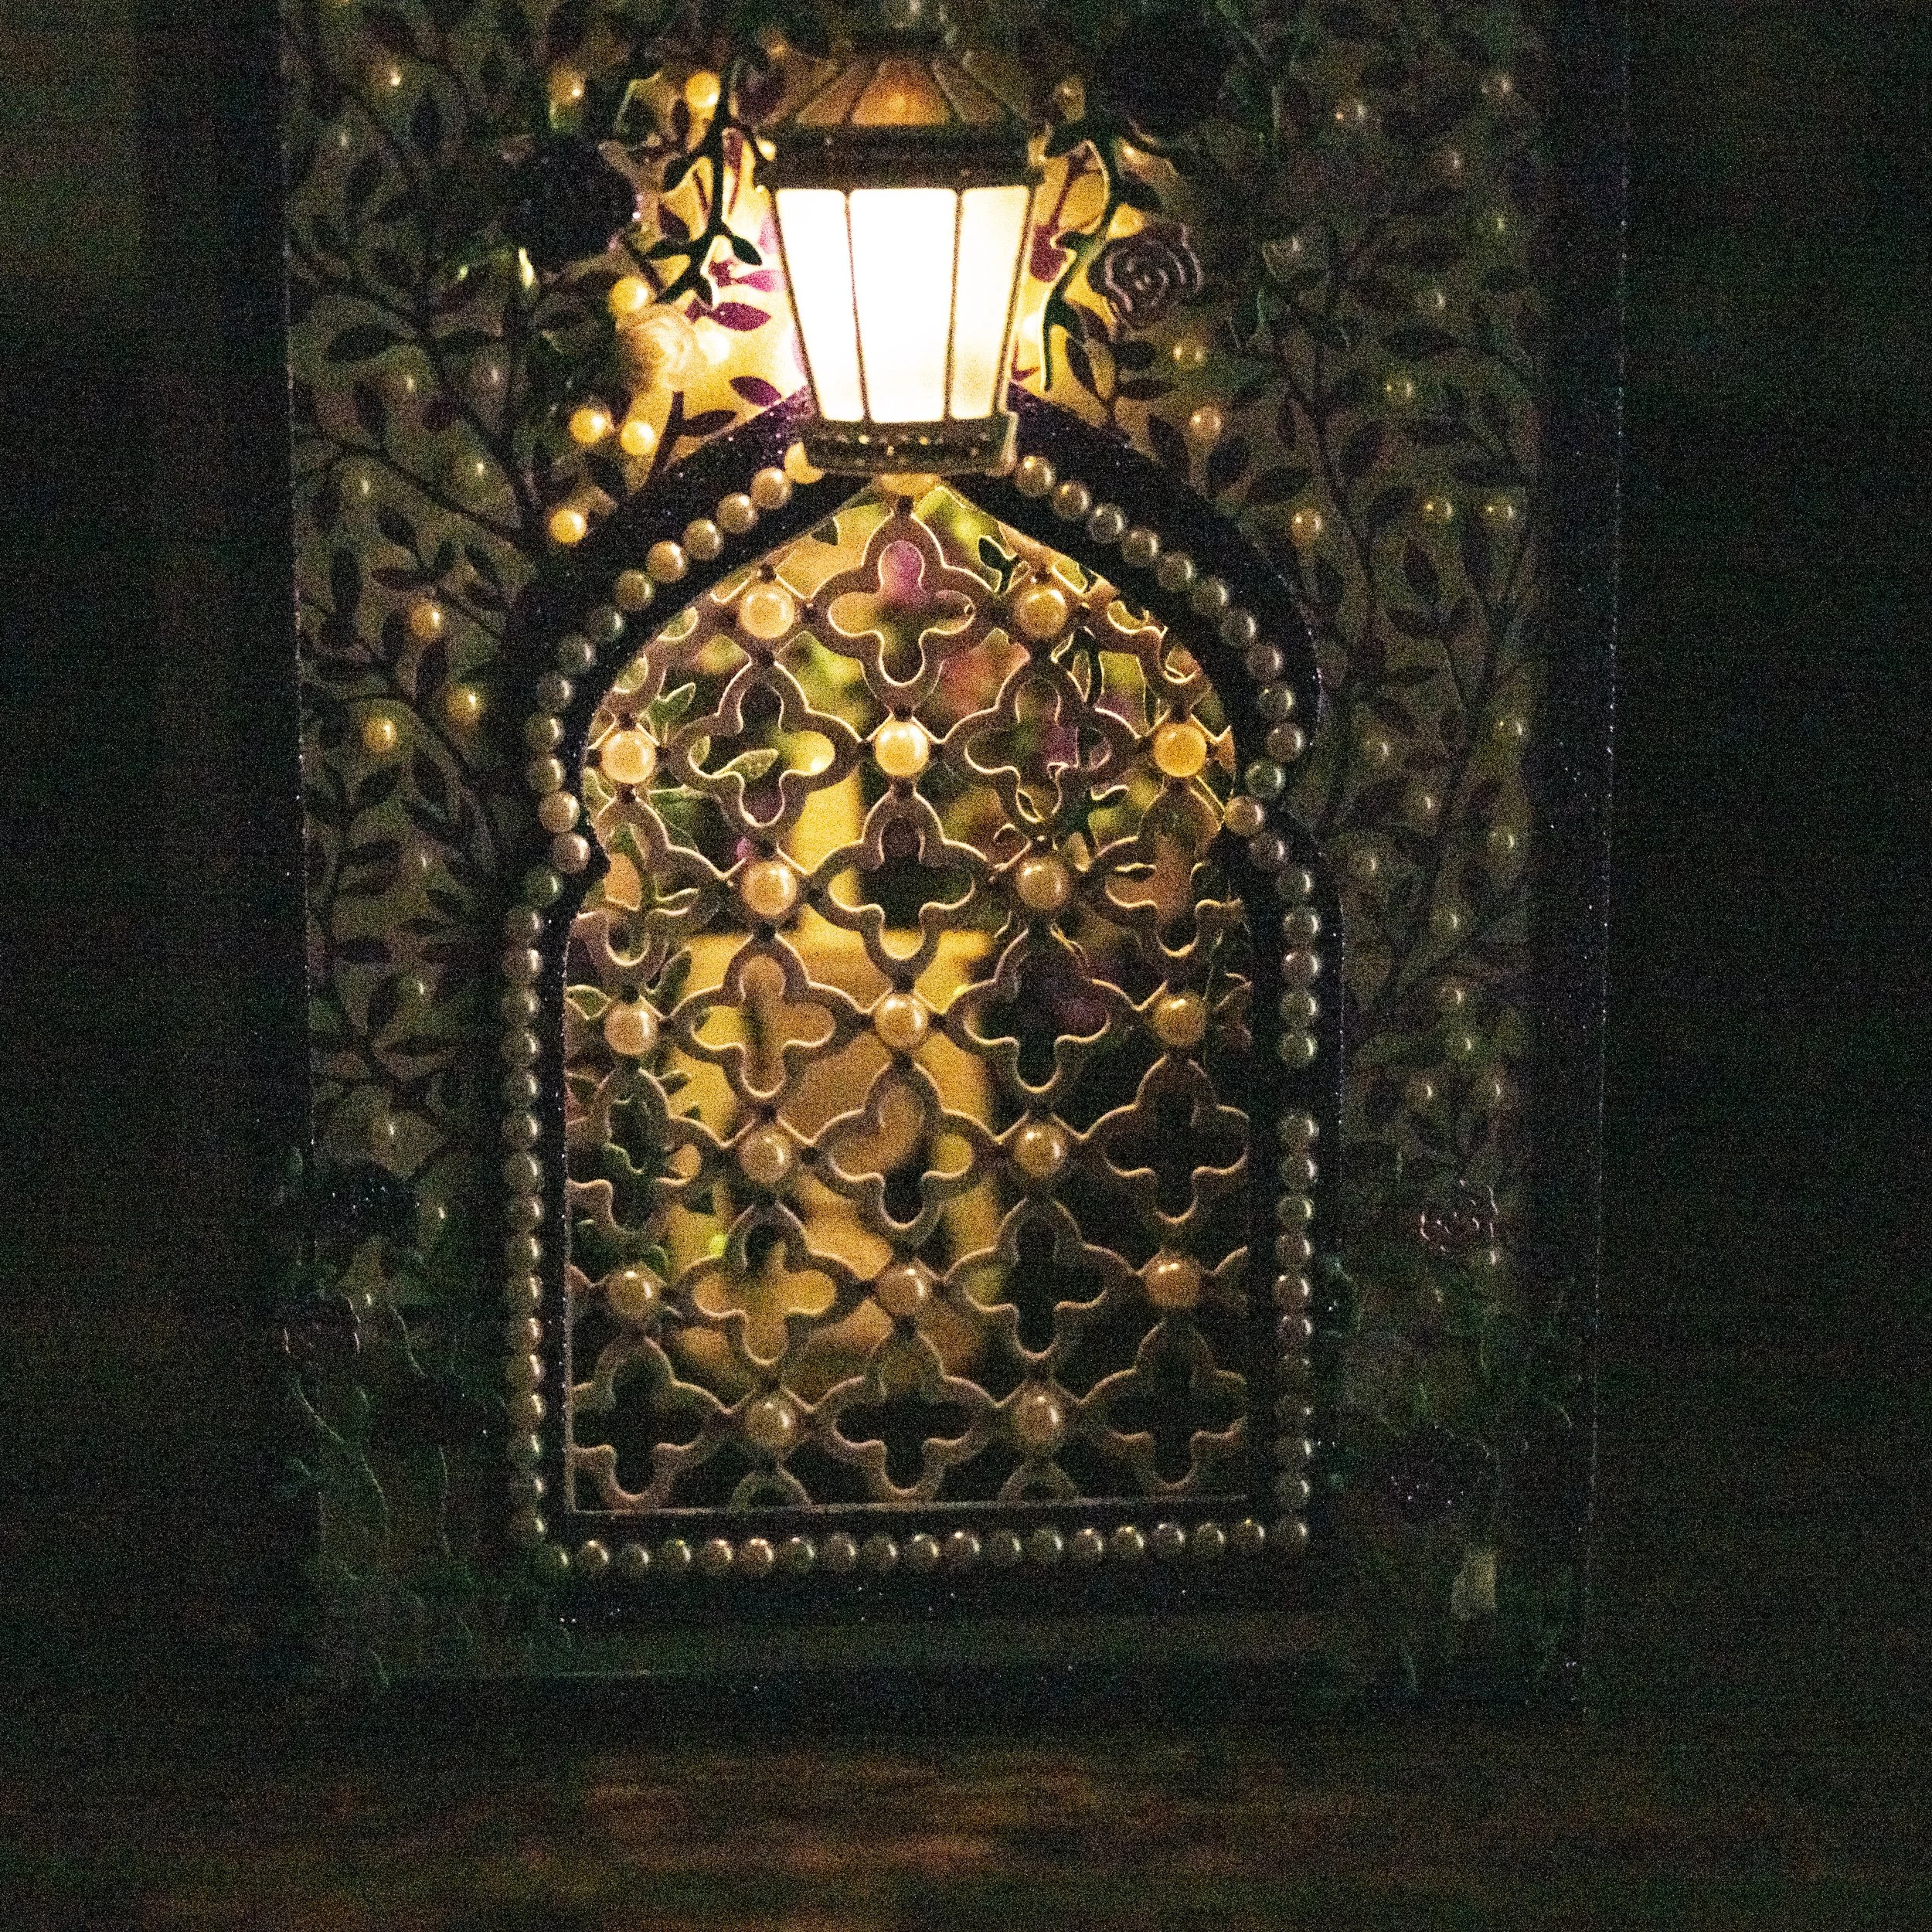
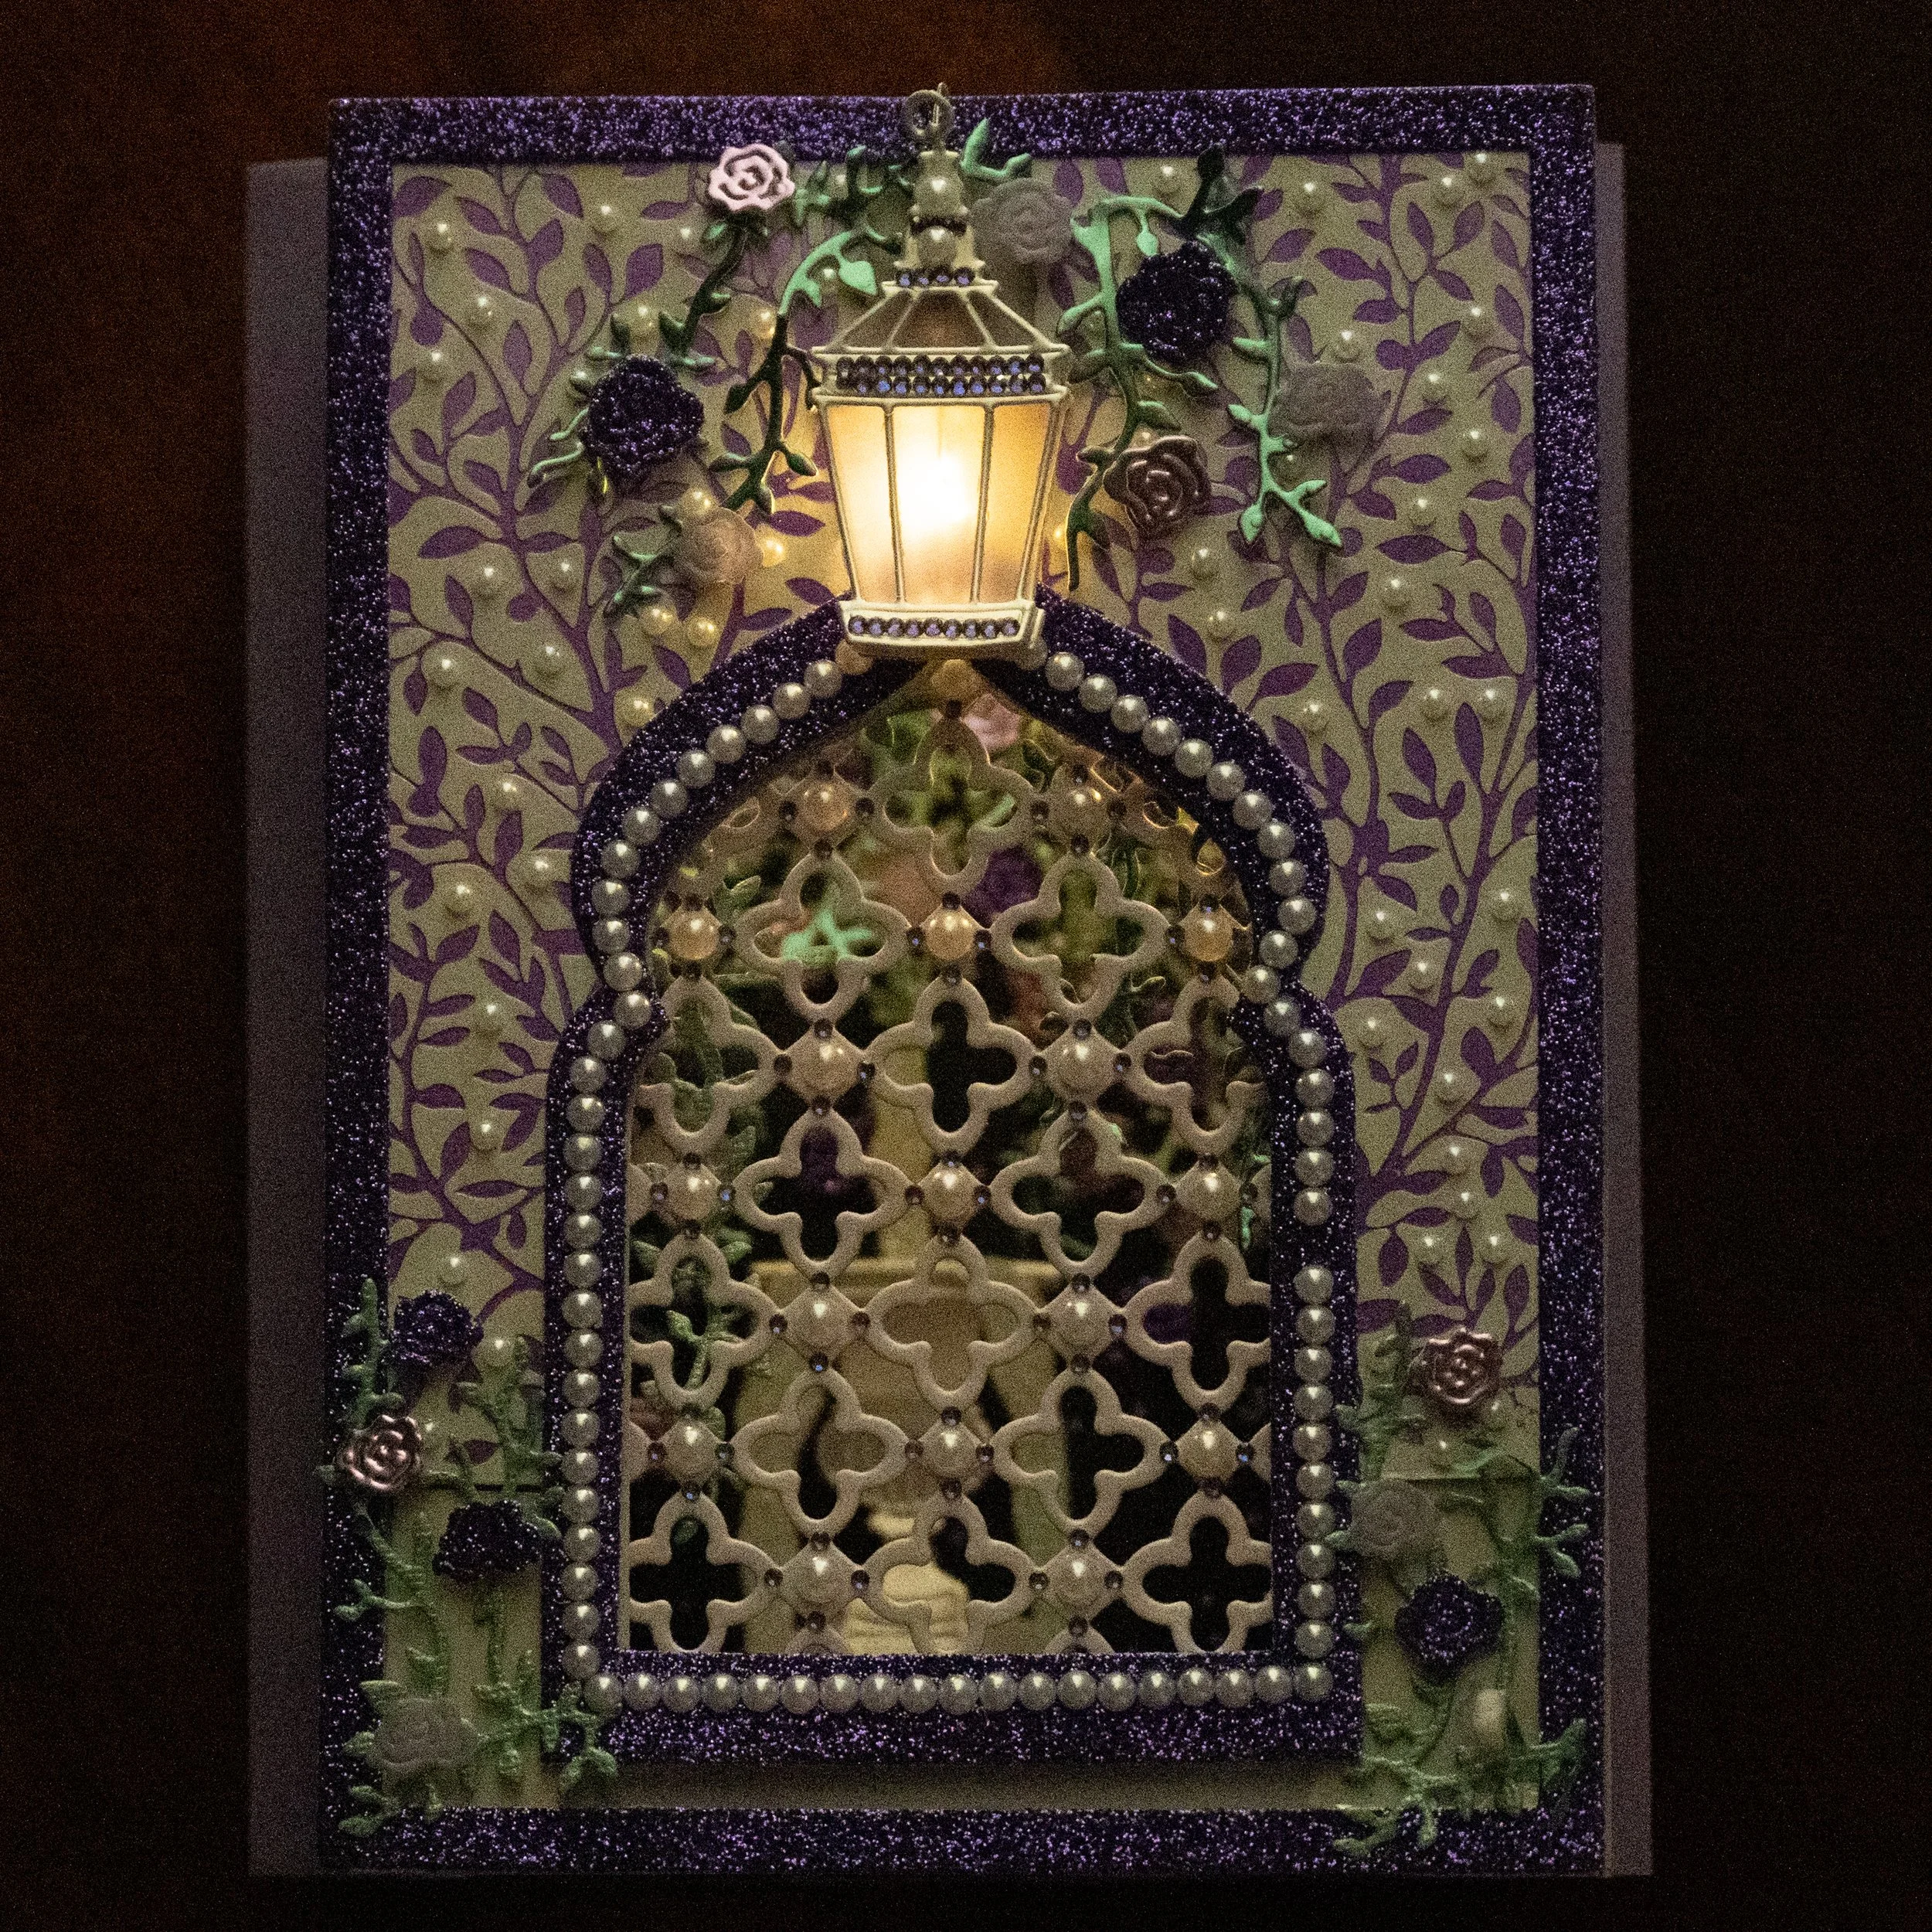
5) Now, I had the bejewelled window in place and a lantern, and I couldn’t wait until the end to add my illumination so I added an E-Z light from Pear Blossom Press inside the lantern. I used one light in the lantern and wired the other two to reflect into the garden layer behind the window layer. I love these lights - they really are “E-Z” and the batteries are included!
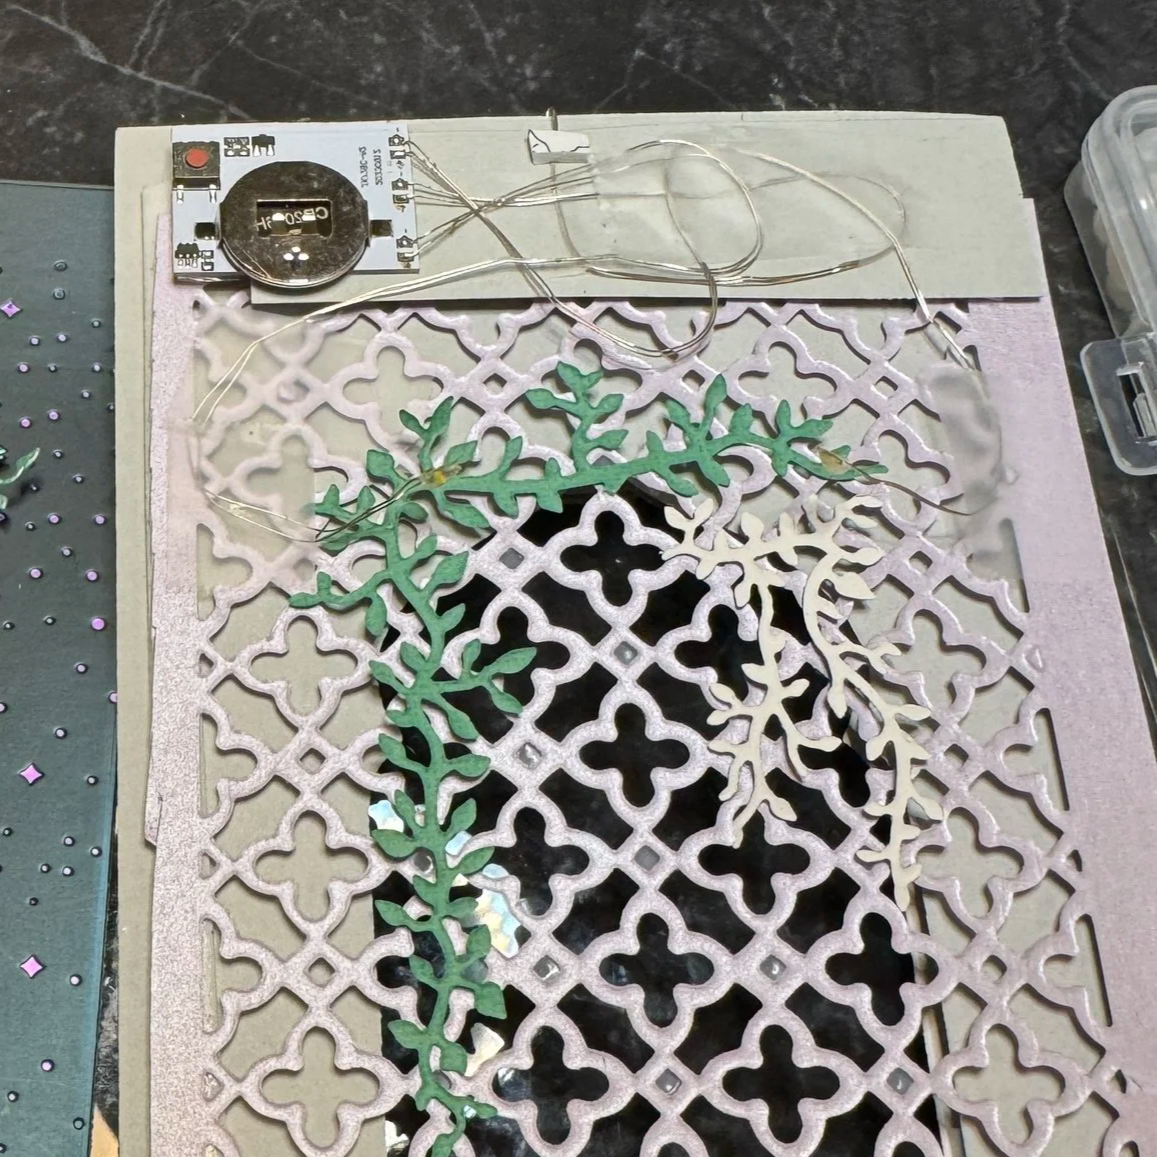
I added an additional couple of vines to the back of the grill for more dimension. Here you see the wiring and lights of the E-Z light.
6) This basically completed the top card layer, so now I moved on to the garden layer. I hot foiled a navy matte foil cardstock with a star design (sorry, source unknown) in the same purple foil as I used for the leaf design on the top layer. I then cut several of the the vine and rose dies from Scrappy Tails Crafts from the Gazebo Set in different papers, pearlescent, vellum, and matte foil to add dimension and sparkle. Sabrina has such beautiful ideas and sets, and I really appreciate that she makes them in a smaller scale so that I can use them to create teeny-tiny gardens. I love the life-size realistic flowers, but a tiny garden needs tiny little plants, and she has several sets that work wonderfully for these purposes. I cut a planter out (sorry, not sure where this die was from) in silver matte foil to use as a fountain because although Sabrina has a lovely fountain set, the proportions were too big for my tiny garden. I hand cut the water elements from a glitter cardstock sheet to turn the planter into a fountain. I then layered vines and roses above the fountain, making sure that everything was framed nicely within the opening of the cover layer with my window grill, and using foam tape to elevate certain layers so that there was dimension in my vines and roses. I also used extra vines and roses to ornament the front of the card to mask some areas where I didn’t have the purple foil pattern, and to add a little green to the front as it was looking way too purple. I also created a moon layer in the same glitter cardstock as the water to cover up the ugly foam tape that secured my vines.
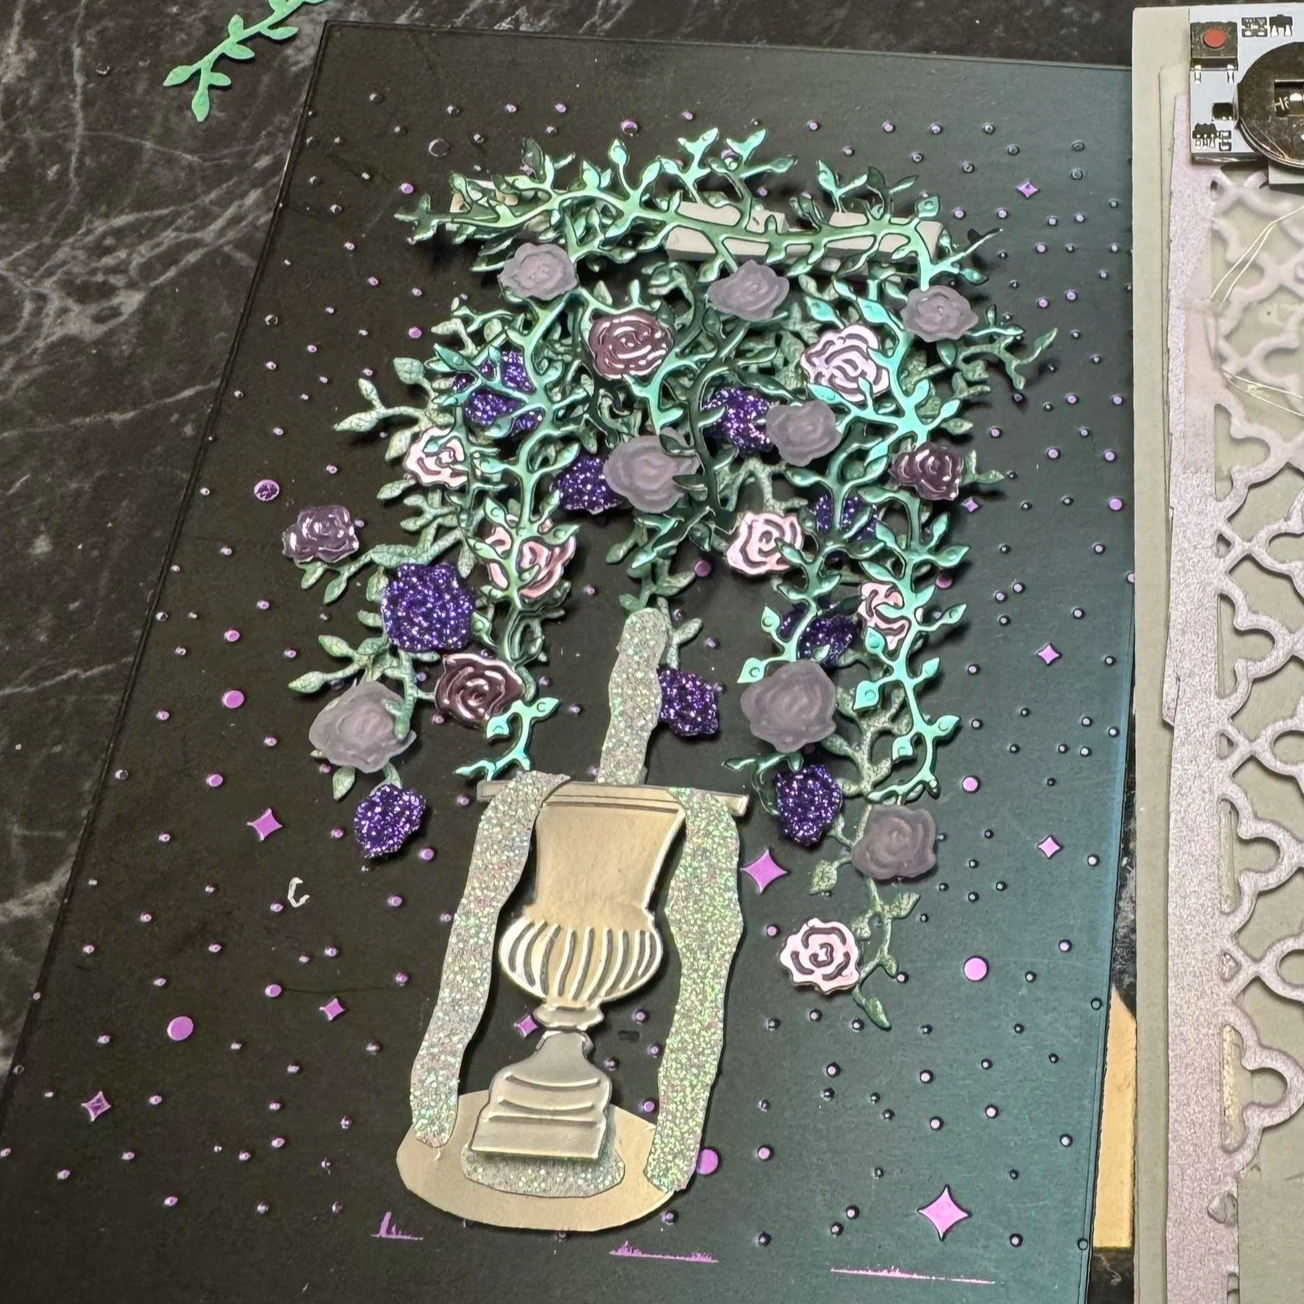
Moon layer not added yet to cover the foam tape!
7) I cut 3 sheets of 5 × 7 pearlescent cardstock to create the back and sides of the tunnel card. I scored .5 inch on either of the longer sides to adhere to the bottom and top layers, and then scored every inch between those to create mountain/valley folds to help the card expand when opened to about 3 inches - enough to make my garden a little mysterious but not too much to make it unwieldy.
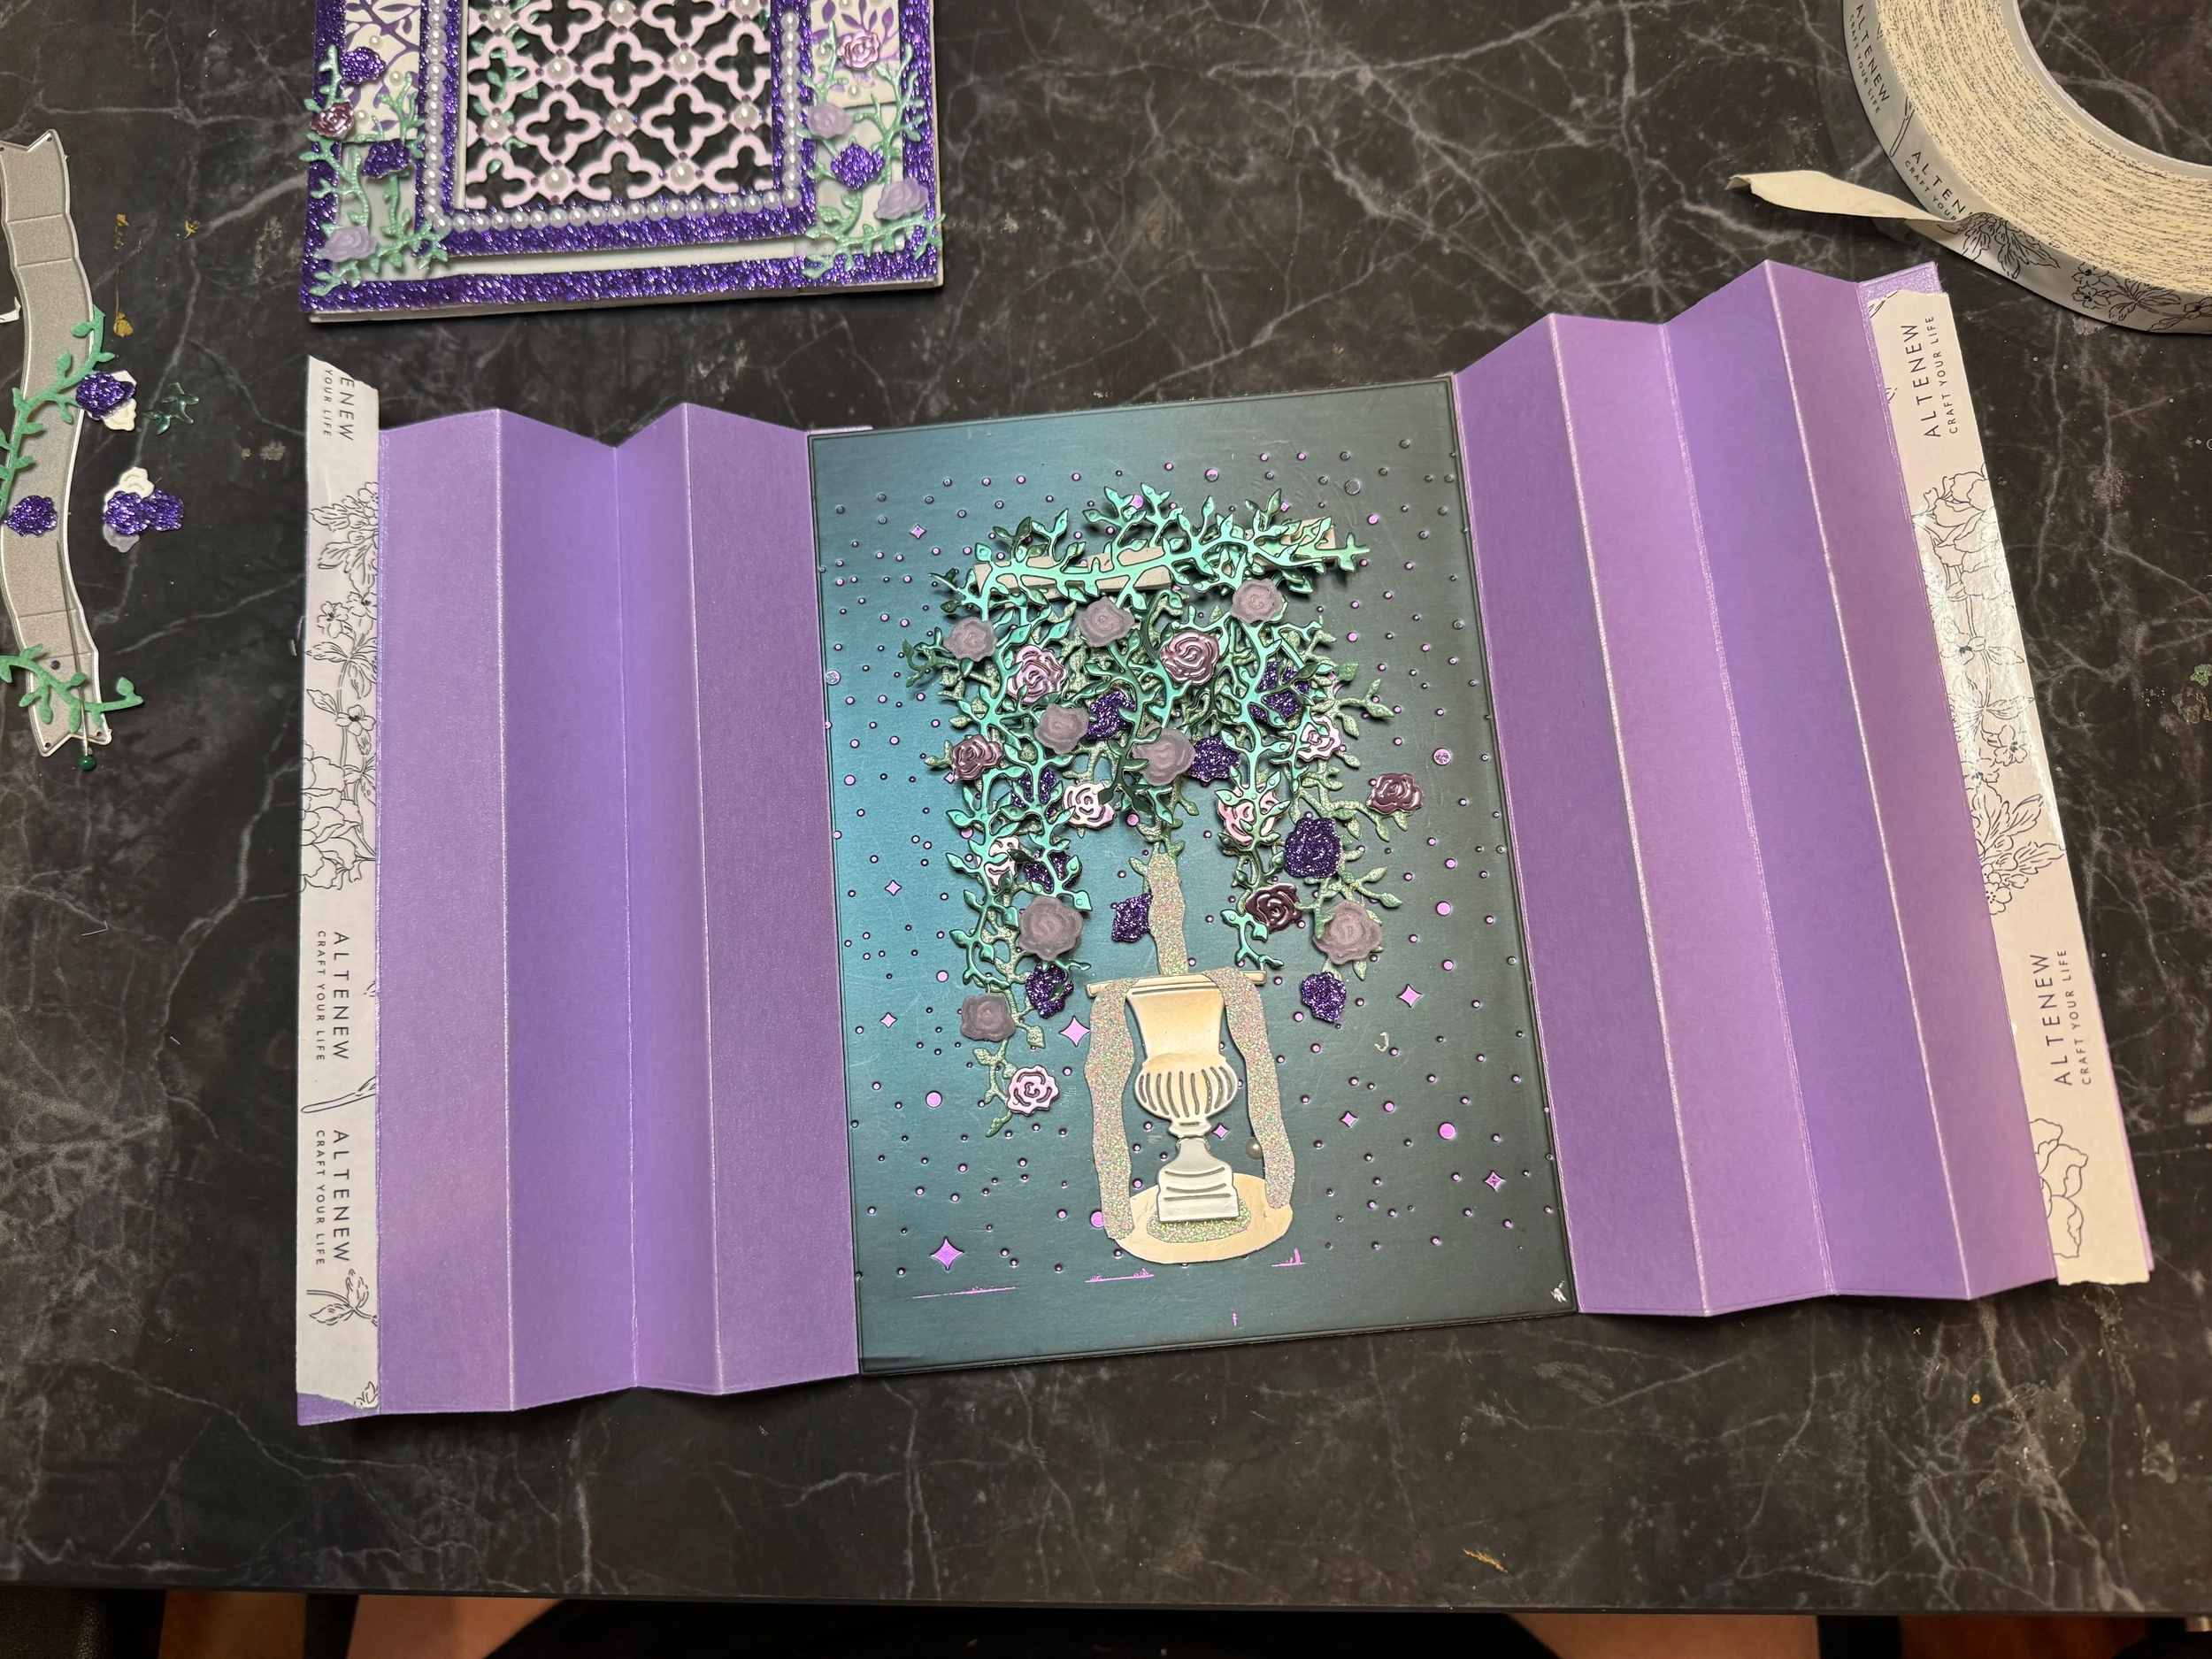
The tunnel sides open and not yet adhered to the front window layer.
8) I then secured the other two lights to reflect in the right position, and adhered all the pieces together with the 3rd piece of 5×7 pearlescent cardstock to cover the back of the bottom/garden layer. This finished the card!
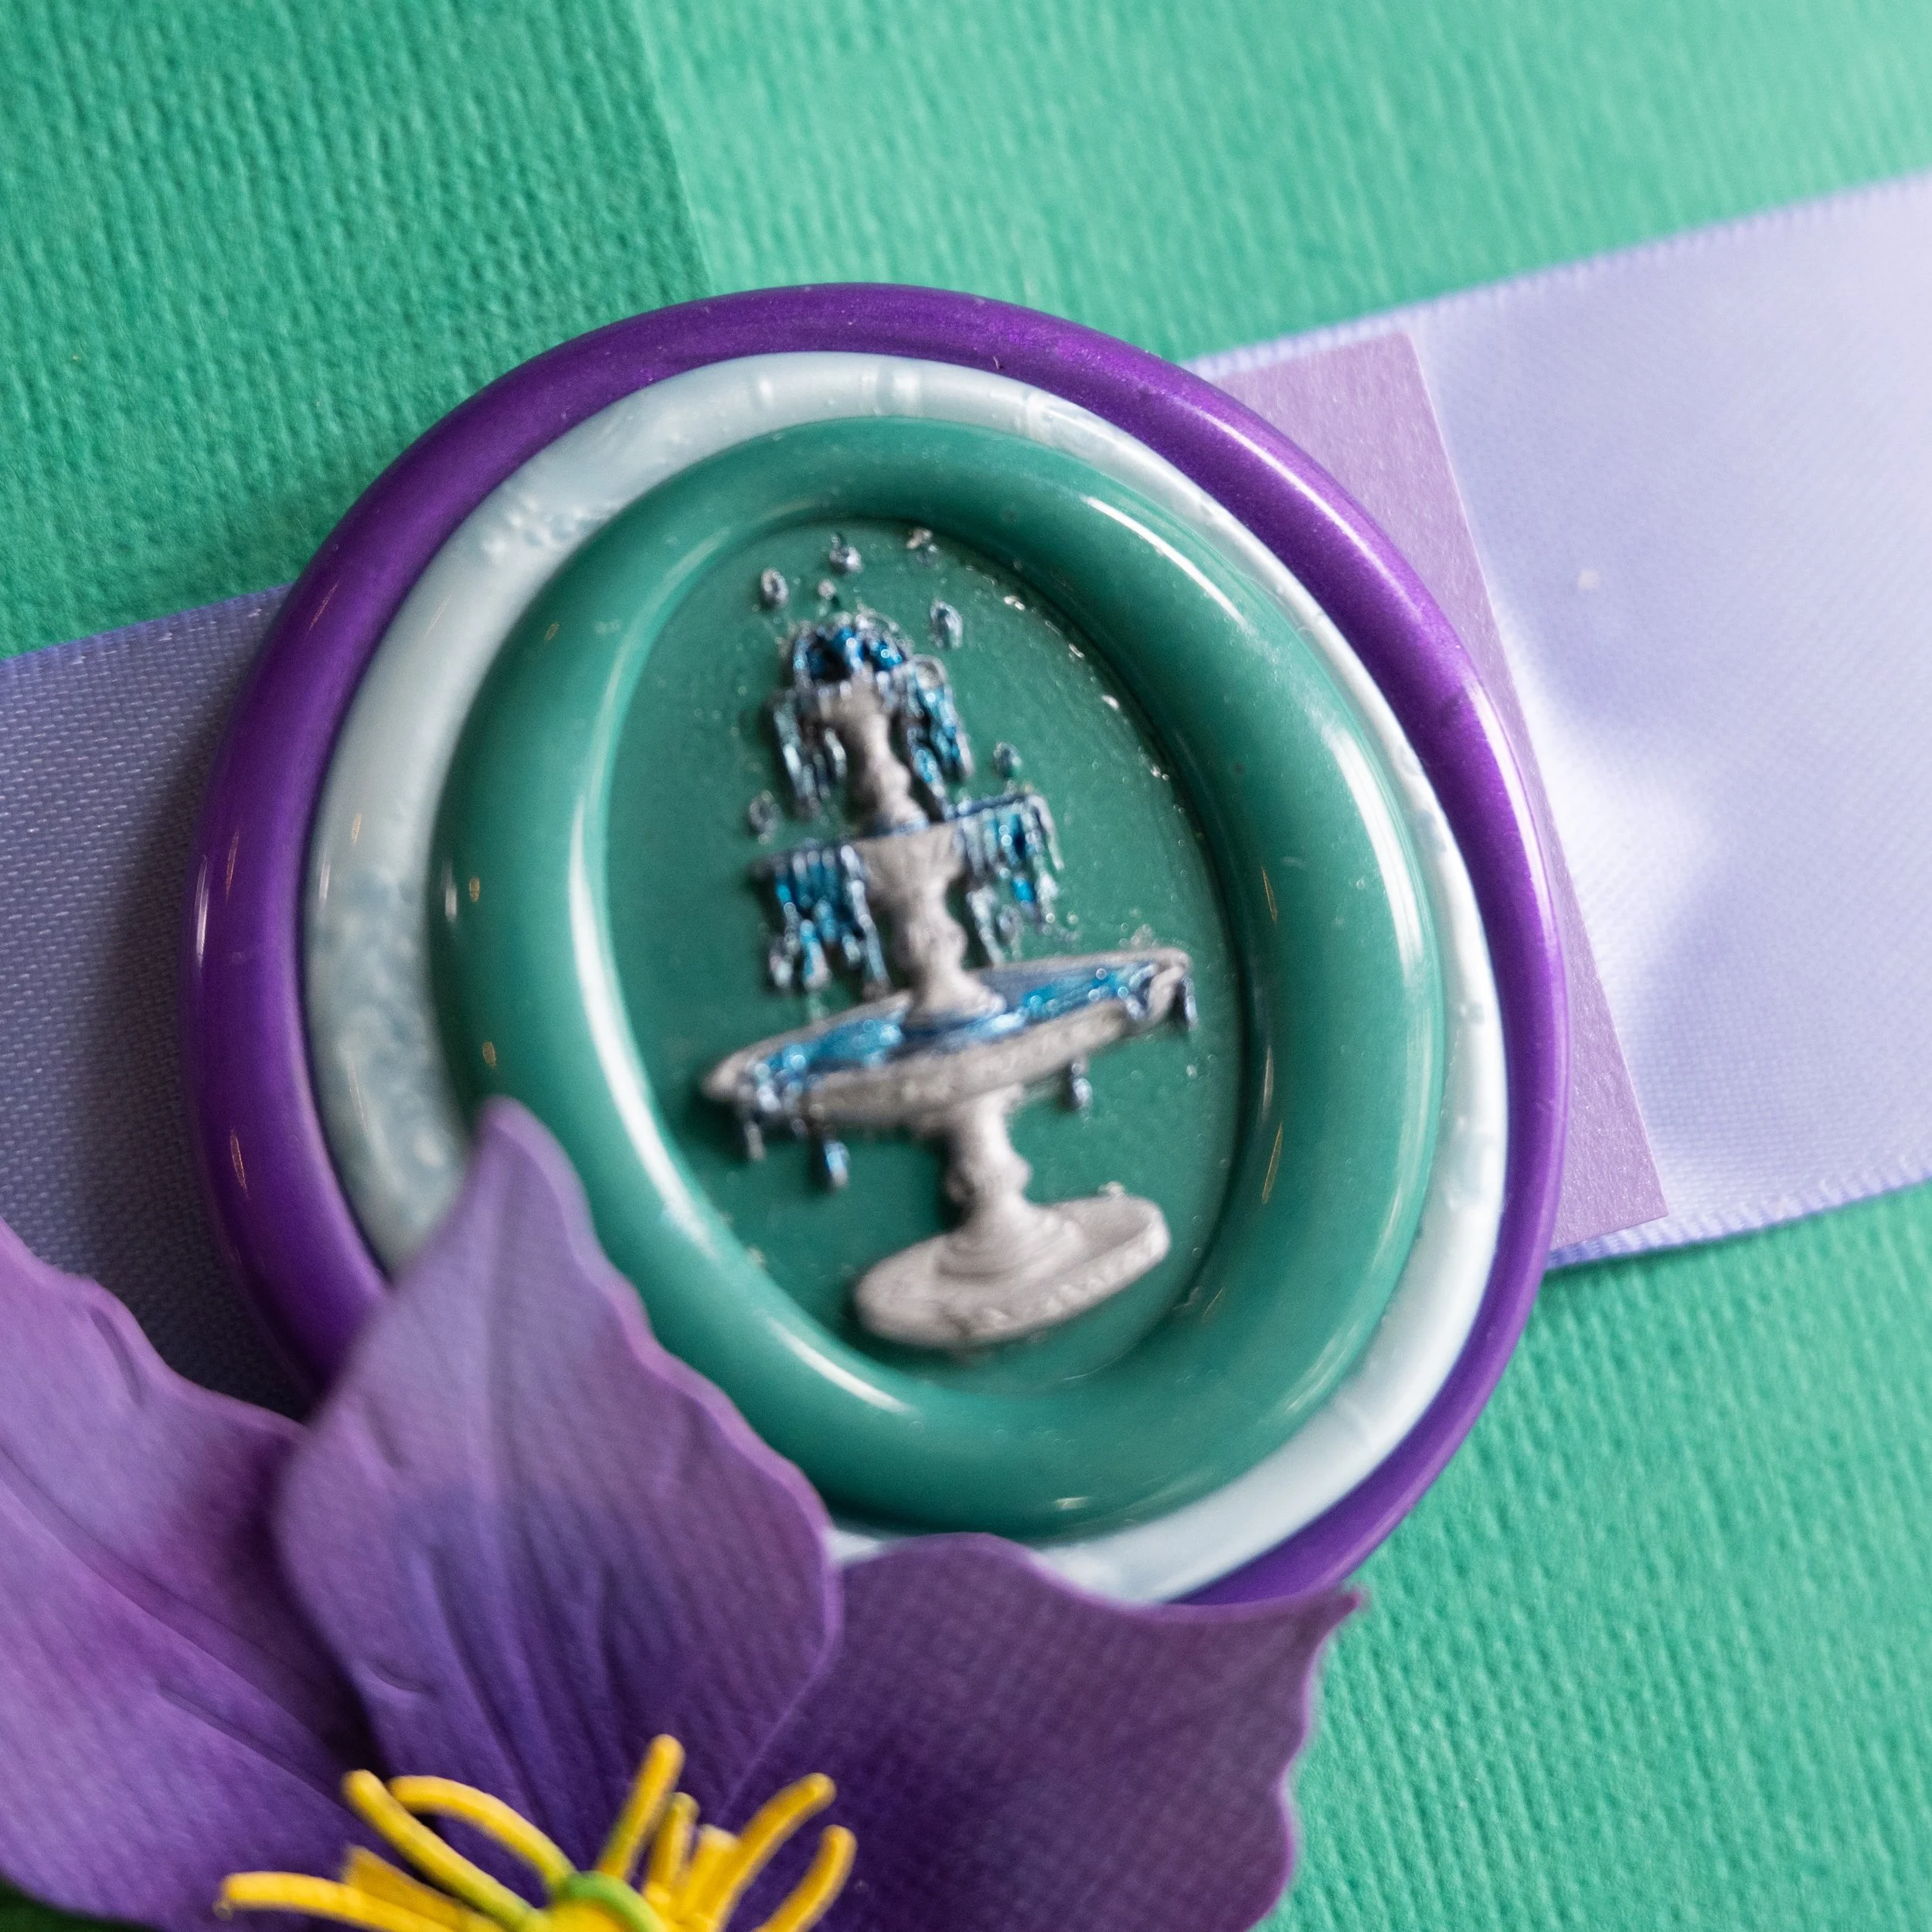
9) I made a wax seal with several colors from Air of Secrecy. I used a variation of pour and scrape to create the fountain in the pewter wax color. I did this by heating a palette knife blade on a candle warmer. I also heated the stamp itself briefly on the warmer. I poured about 3 beads of wax onto a marble coaster and then swiped the stamp over it to wipe off some of the wax, then quickly used the heated palette knife to scrape away the excess wax, wiping it on a silicone wax seal mat. I then wiped away any small remaining bits of pewter wax with my finger and let the stamp with the wax cool off. I then pressed it into the green wax layer. I should have iced the seal before pressing it into the green wax layer as I had a little trouble peeling the pewter wax out of the stamp - but now I know for next time! I painted the water with metallic and glitter blue acrylic paint that I pumped onto a piece of plastic to act as a palette and applied with a tiny brush.
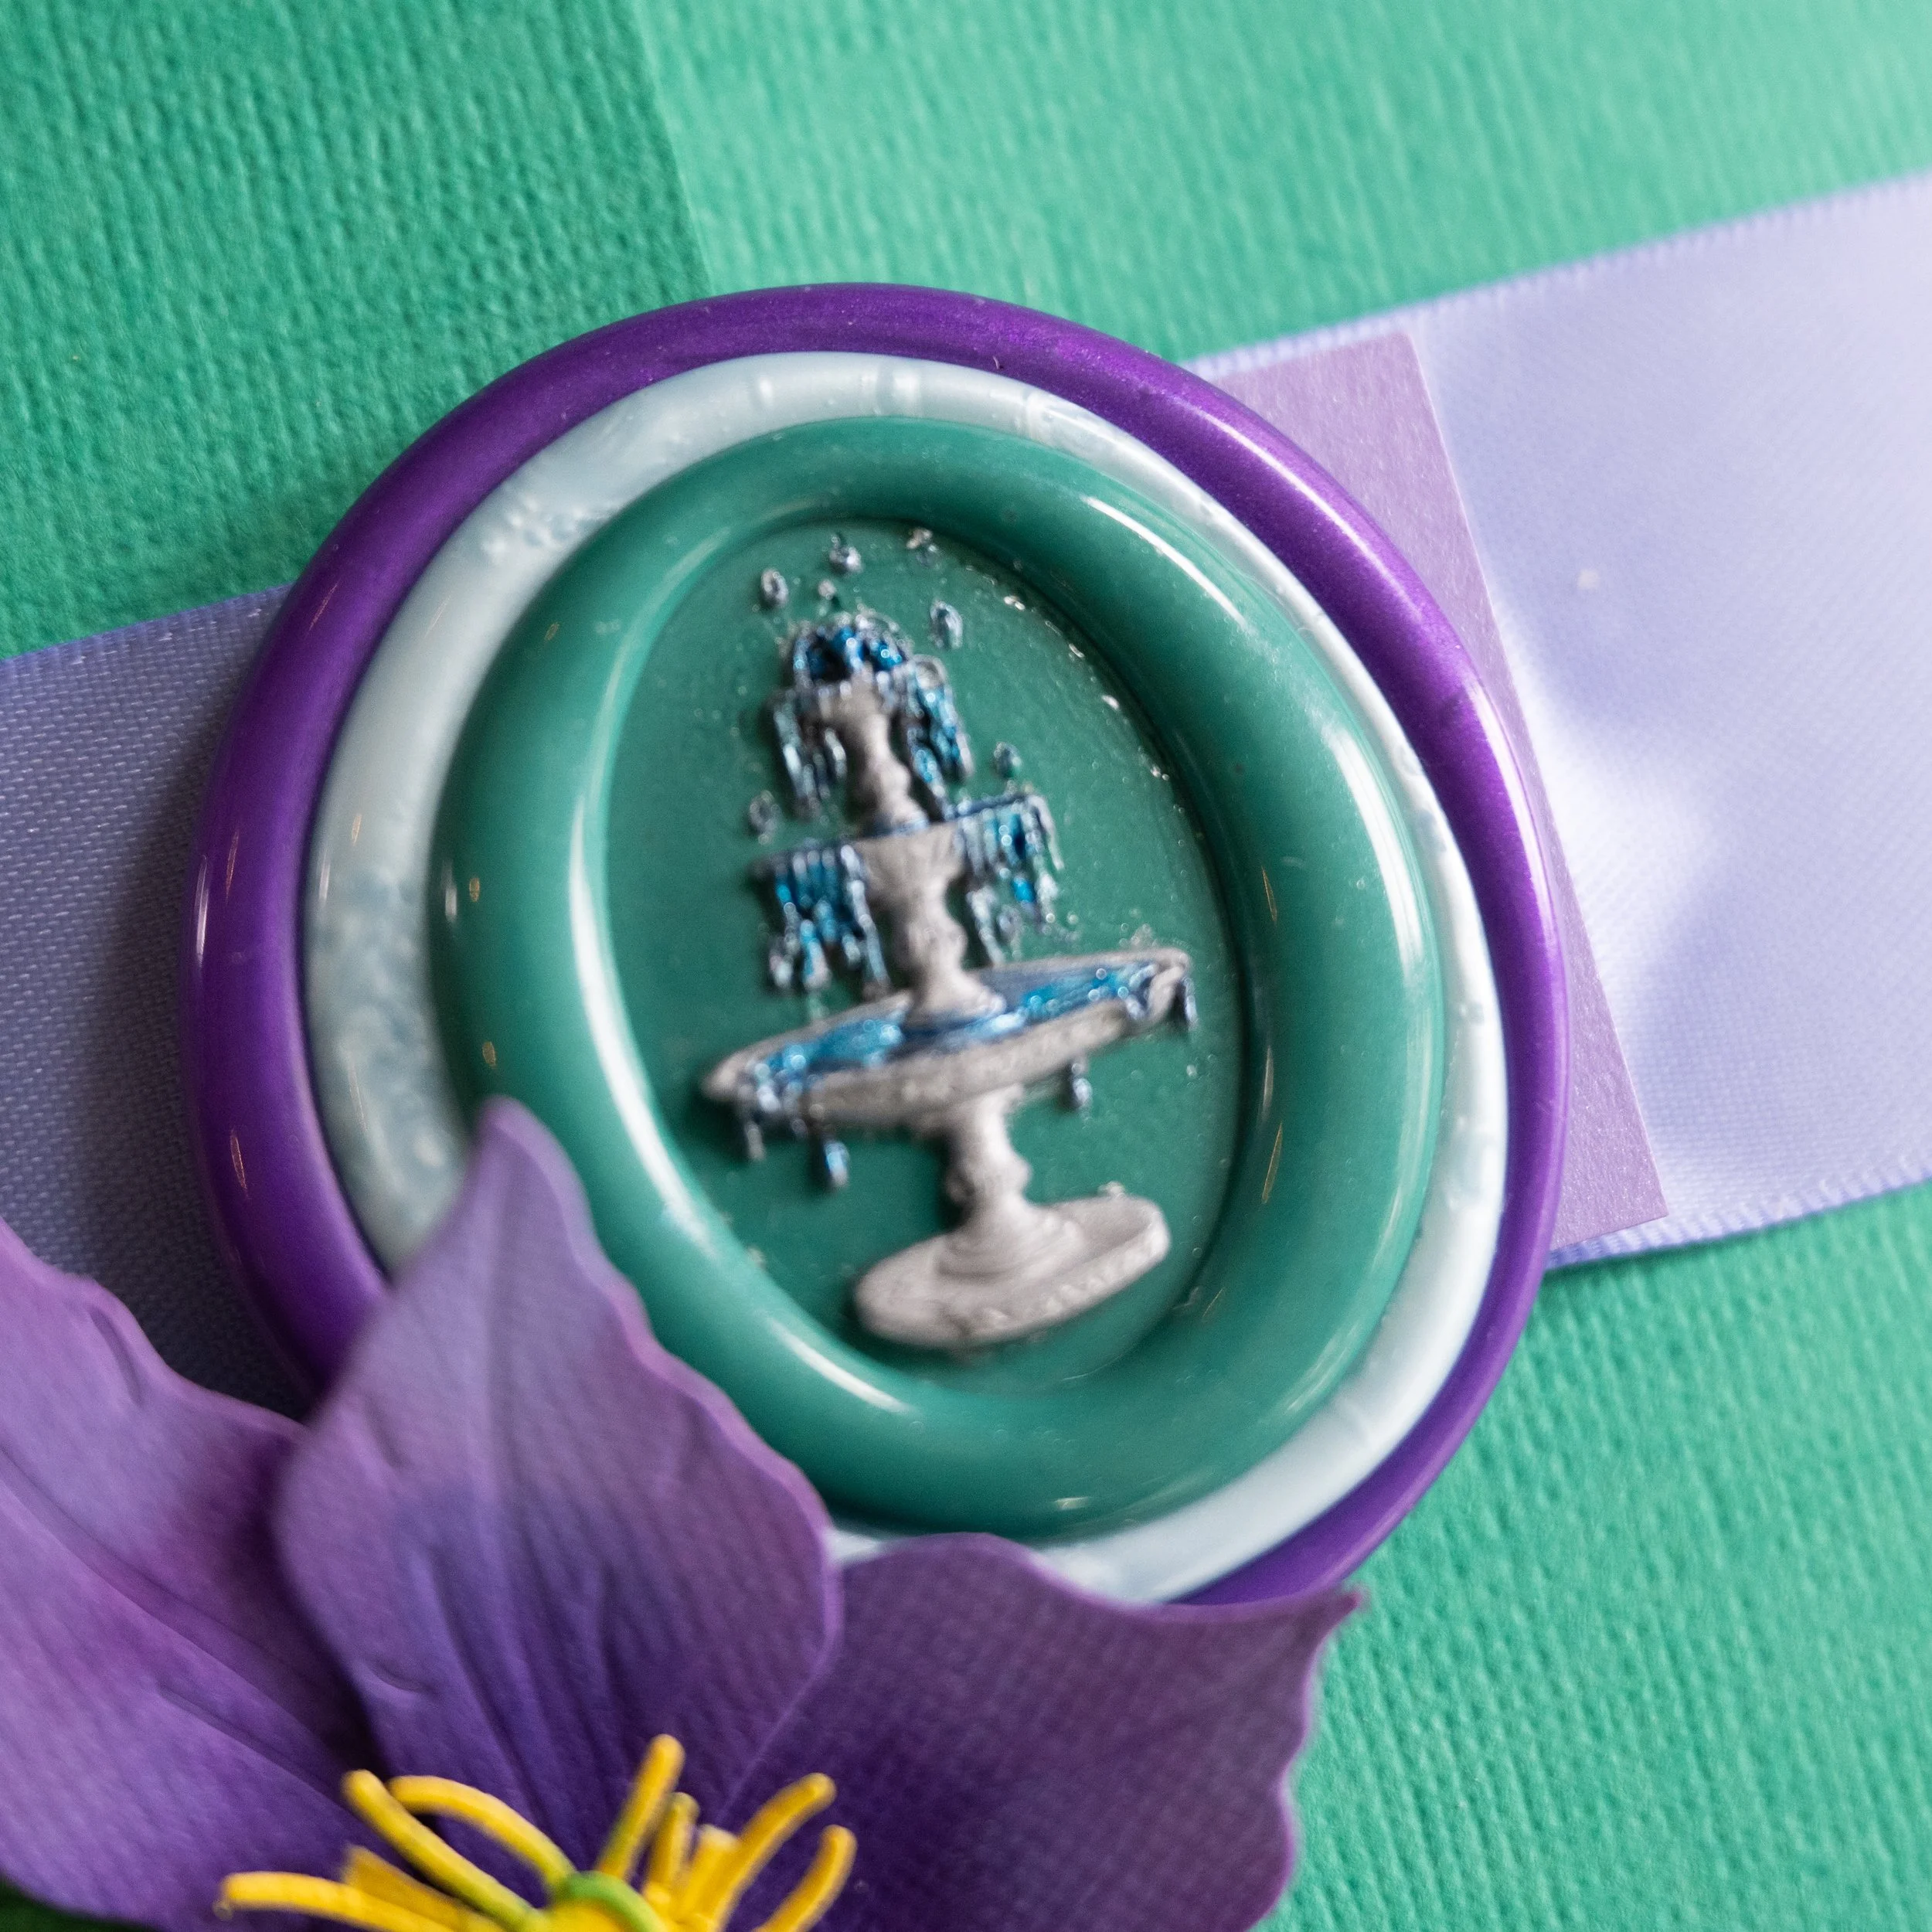
I got overambitious on my f-stop here so sorry things aren’t in great focus!
10) I created a box by scoring at 8.5 × 10.5 and then trimming, and then scoring again at 1.5 inches from each side (to create a box bottom that is 5.5 × 7.5 inches). I then cut into the bottom downward scoring line of each corner, rotating the paper to ensure that I trimmed at the same point, so that I could fold those pieces in and tape them with double sided tape to secure the box. I then cut two sheets of matching cardstock at 4.25 × 7.5 inches, and scored 1.5 inches up the long side, and then used these to create flaps for the top of my box. I had to trim them down to just a little in length to fit inside easily. I also made yet another sheet of matching purple pearlescent 5 × 7 cardstock on which I could write a note to the recipient.
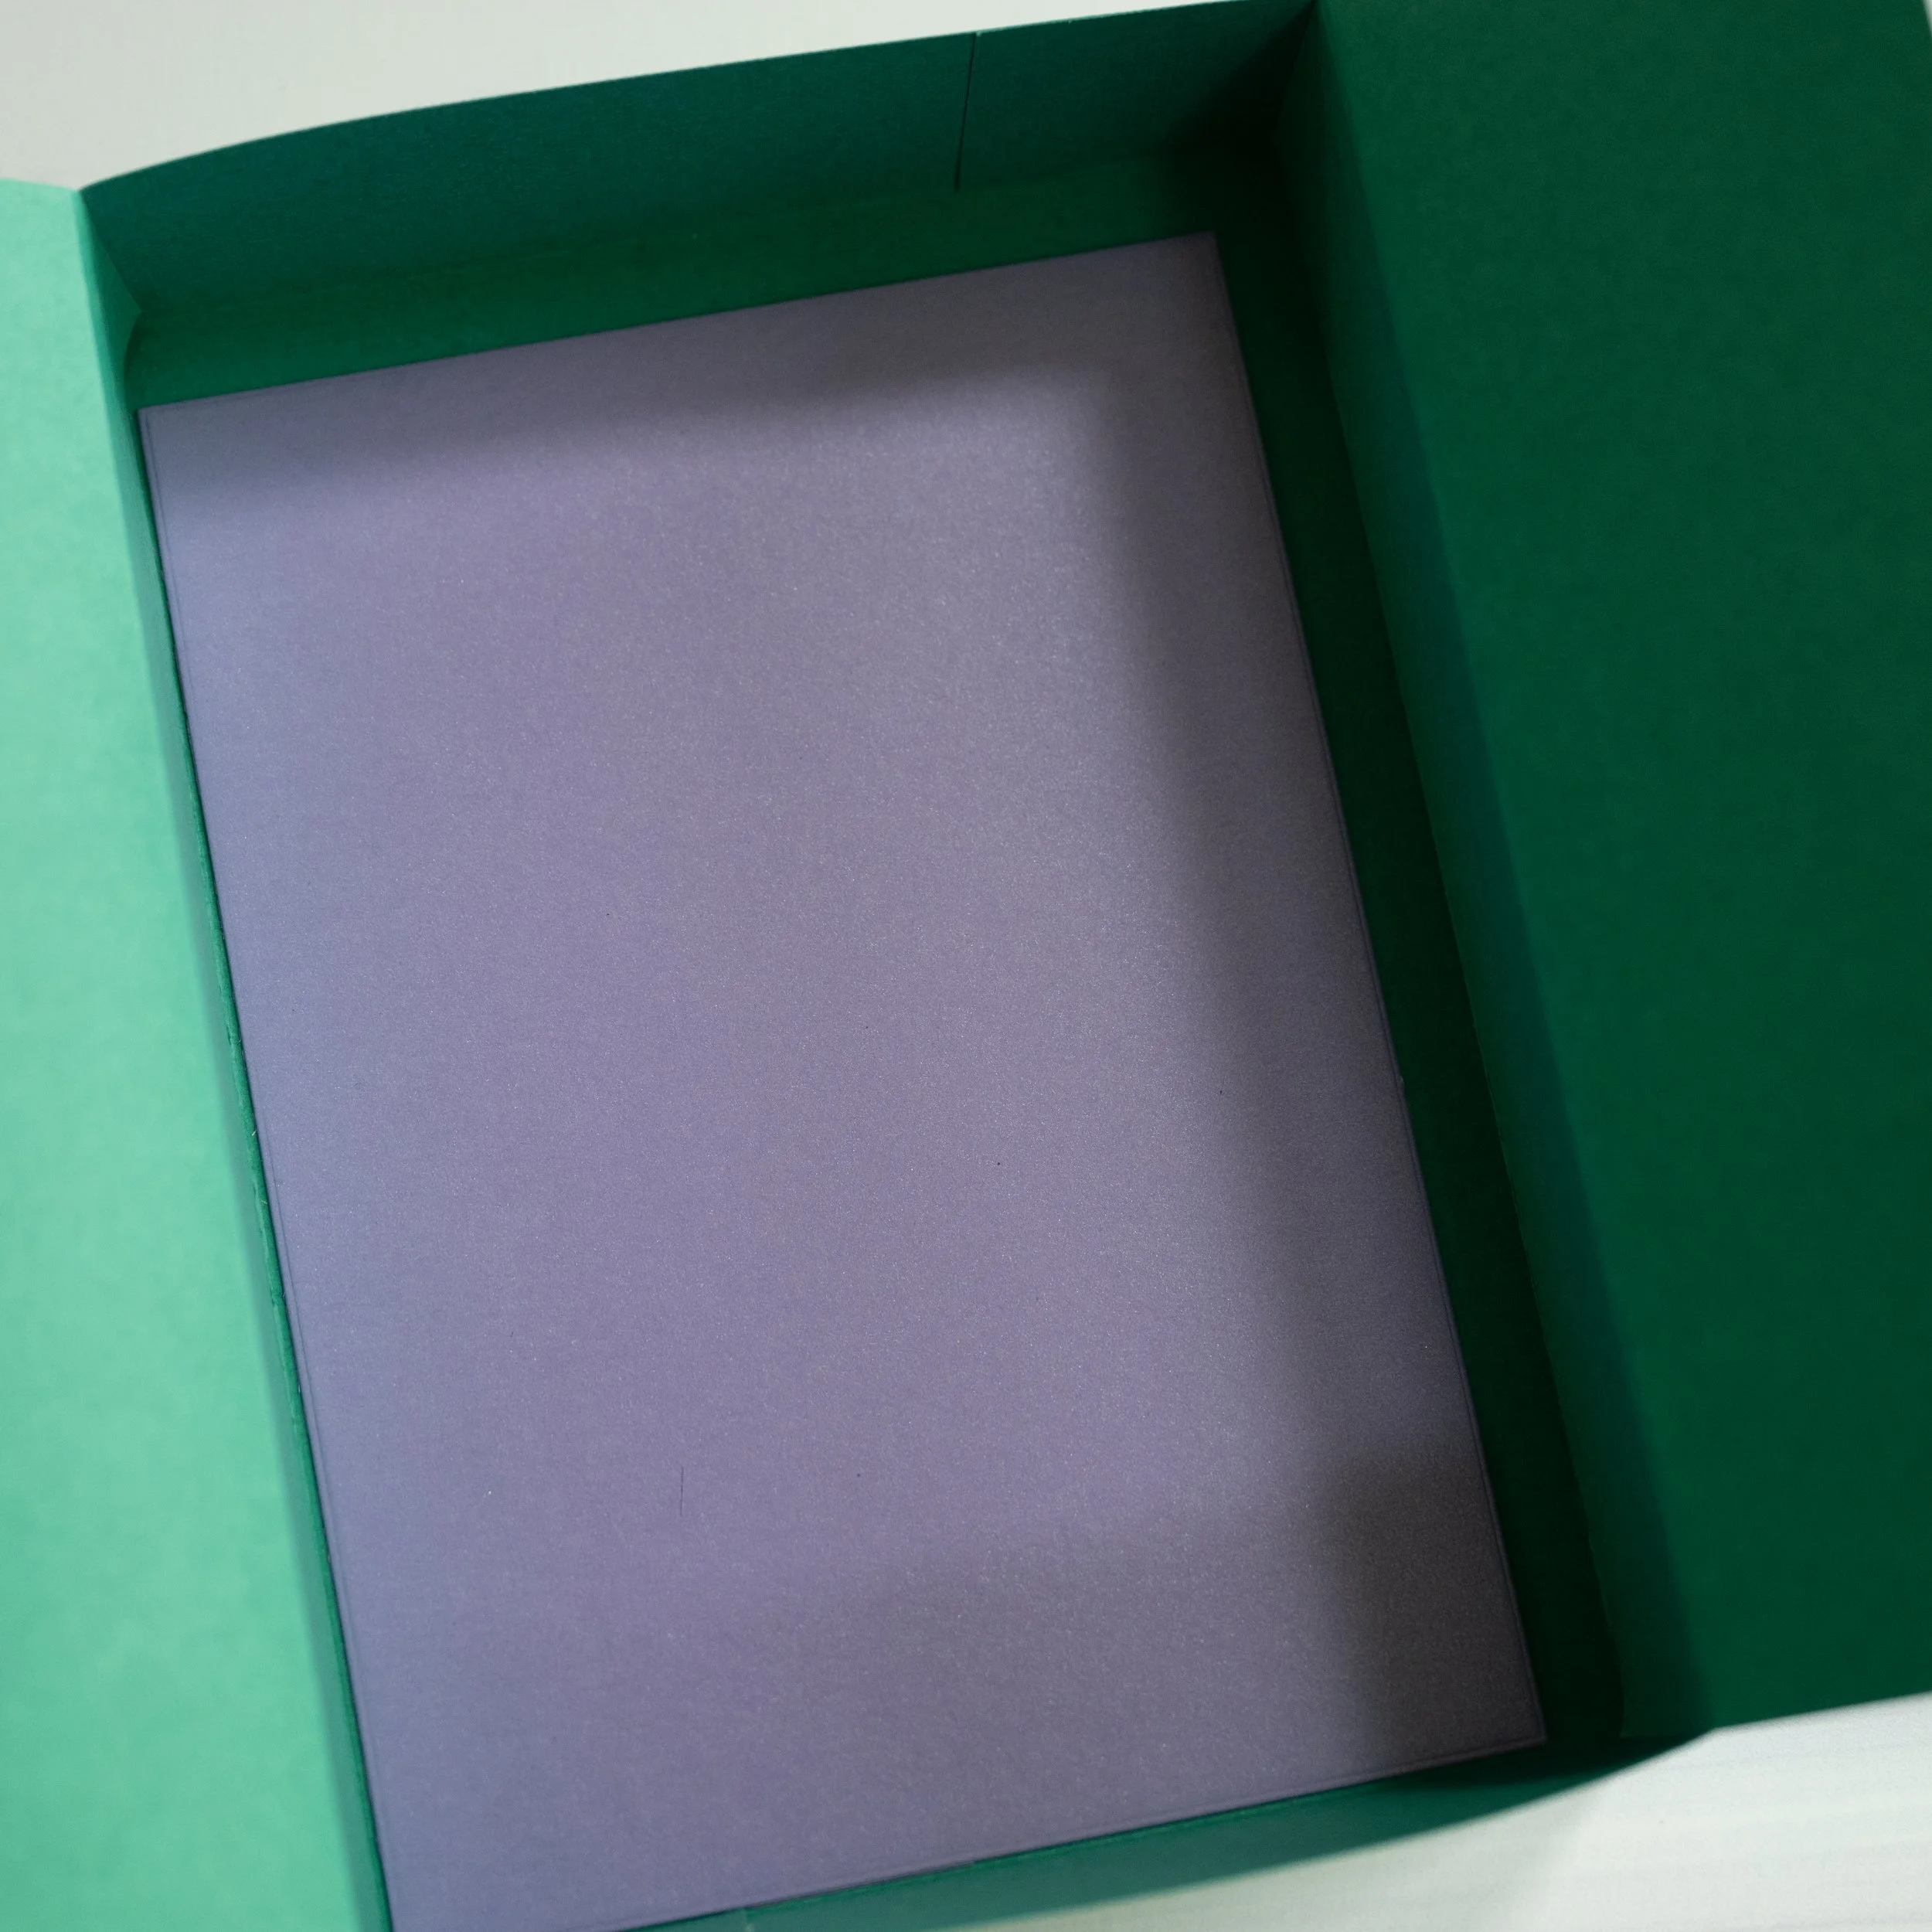
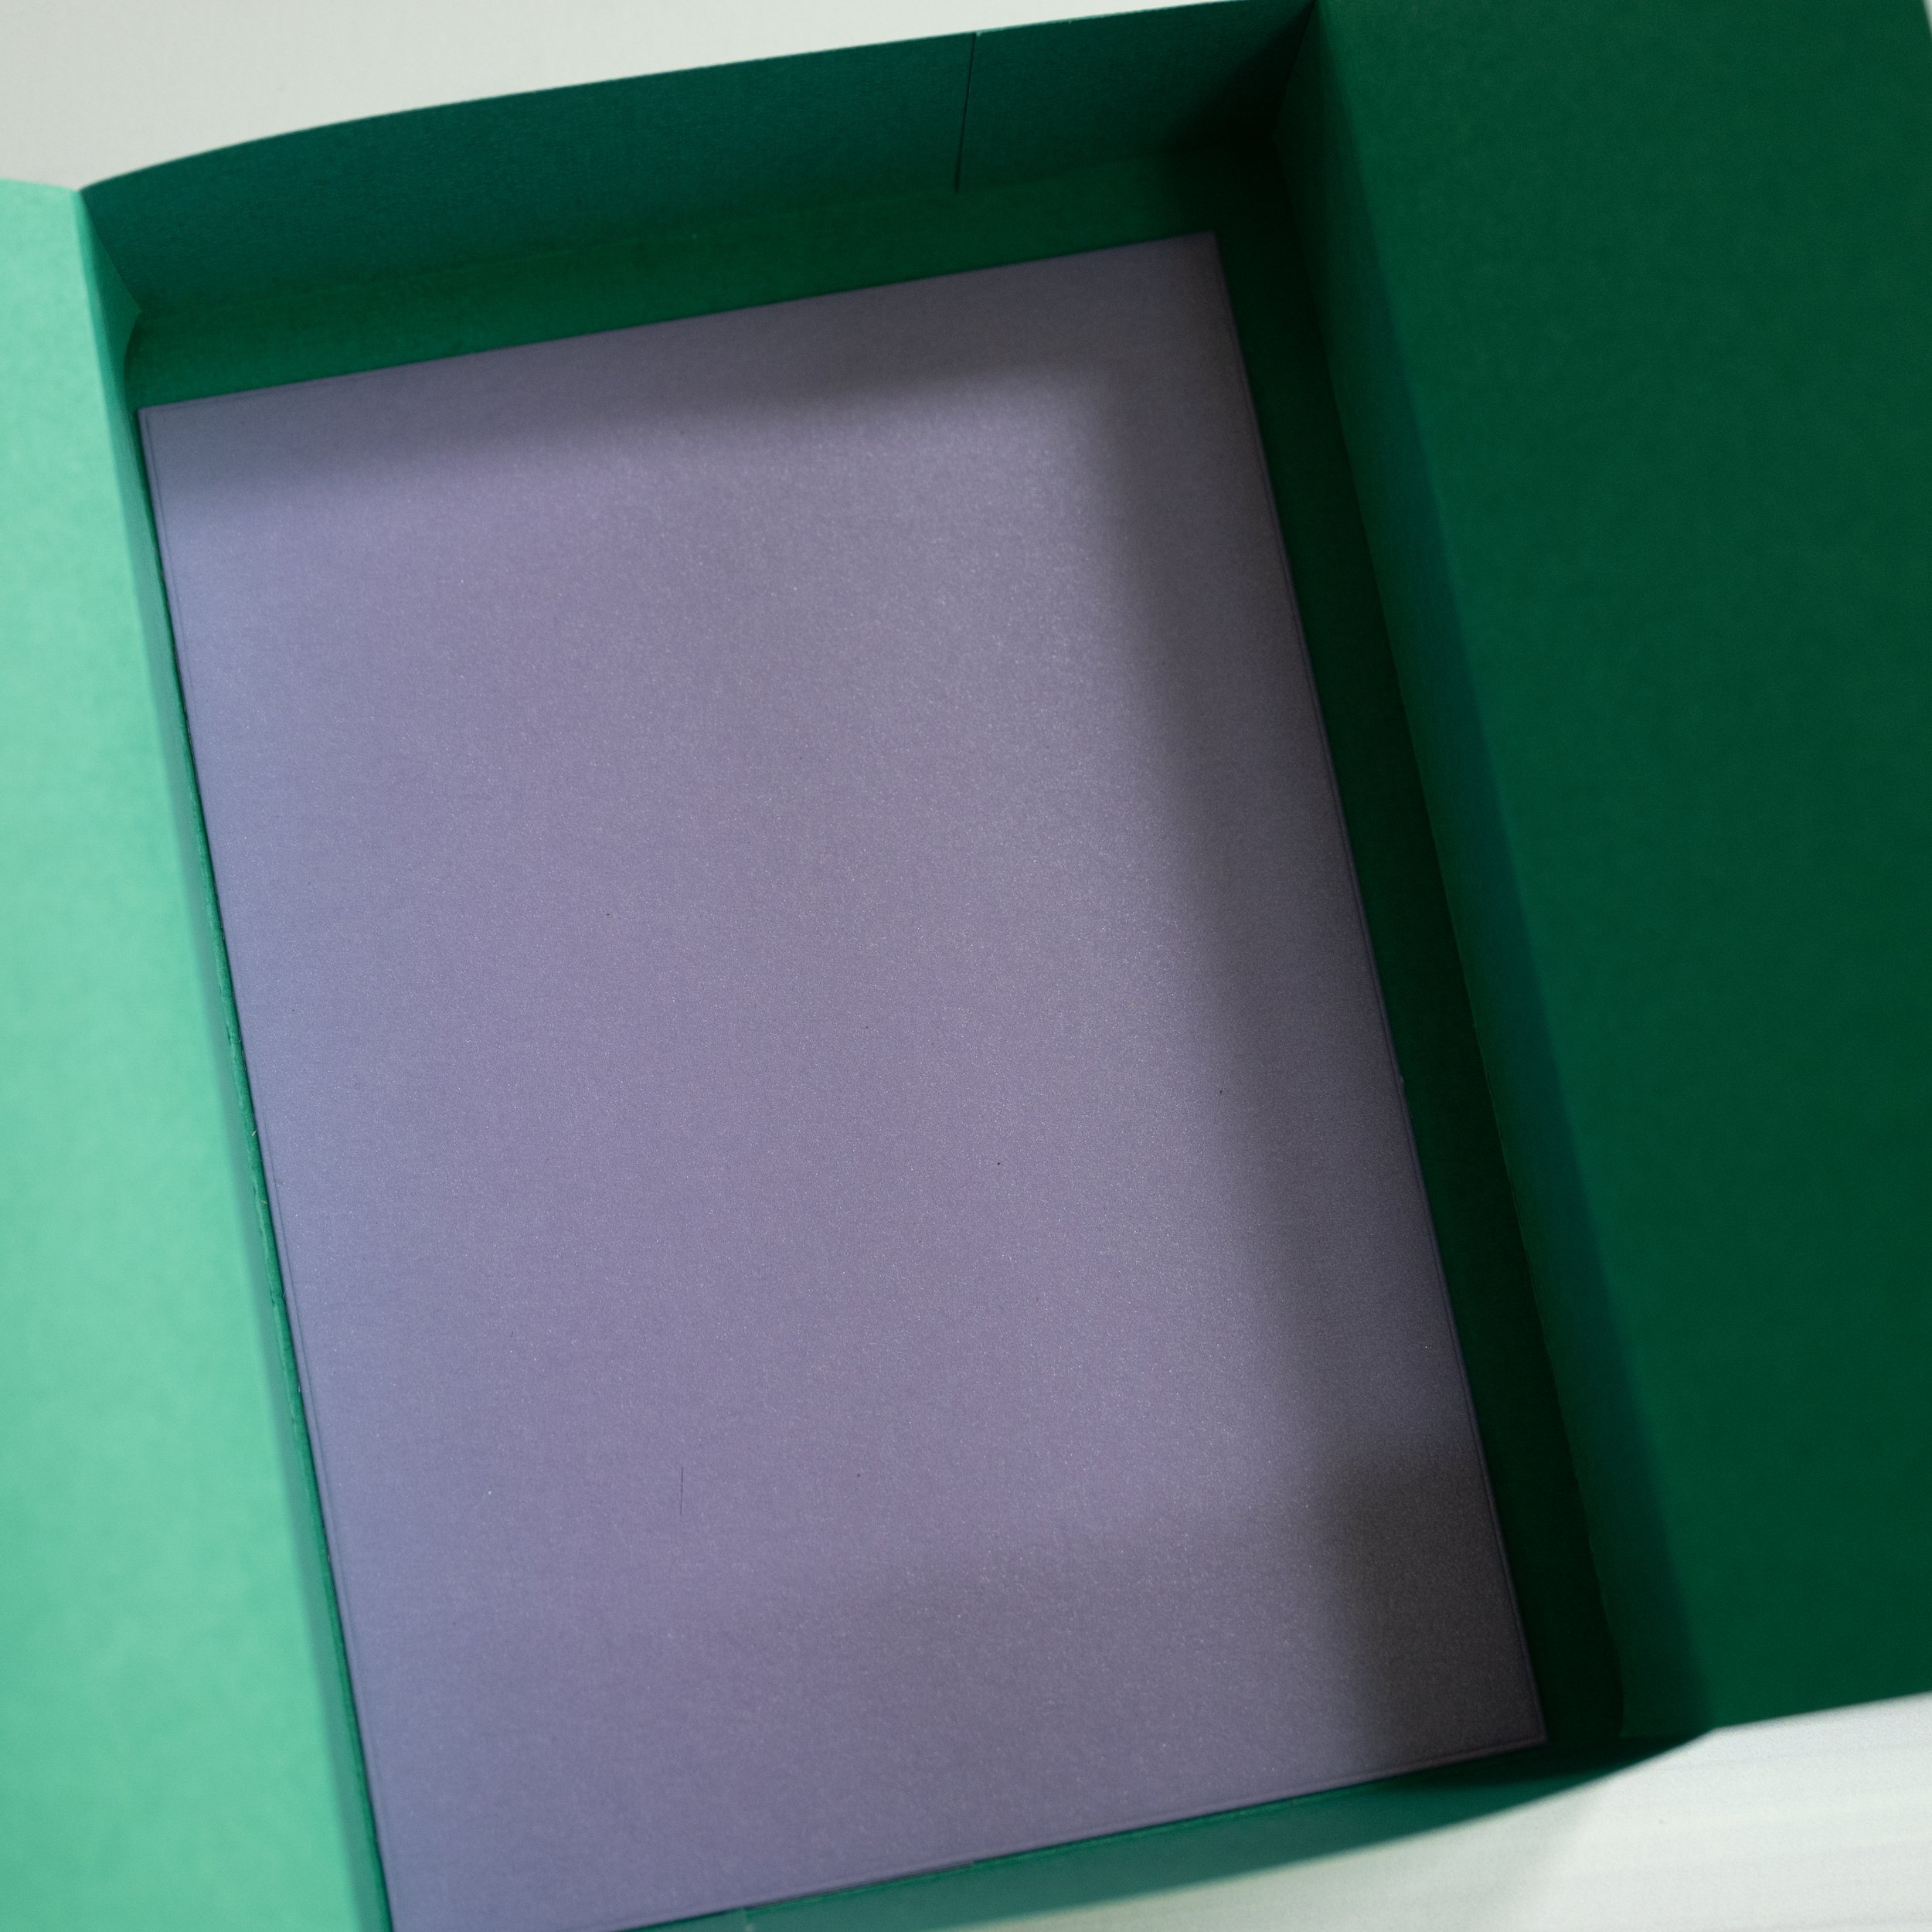
Open box with the extra cardstock layer on which to write a message.
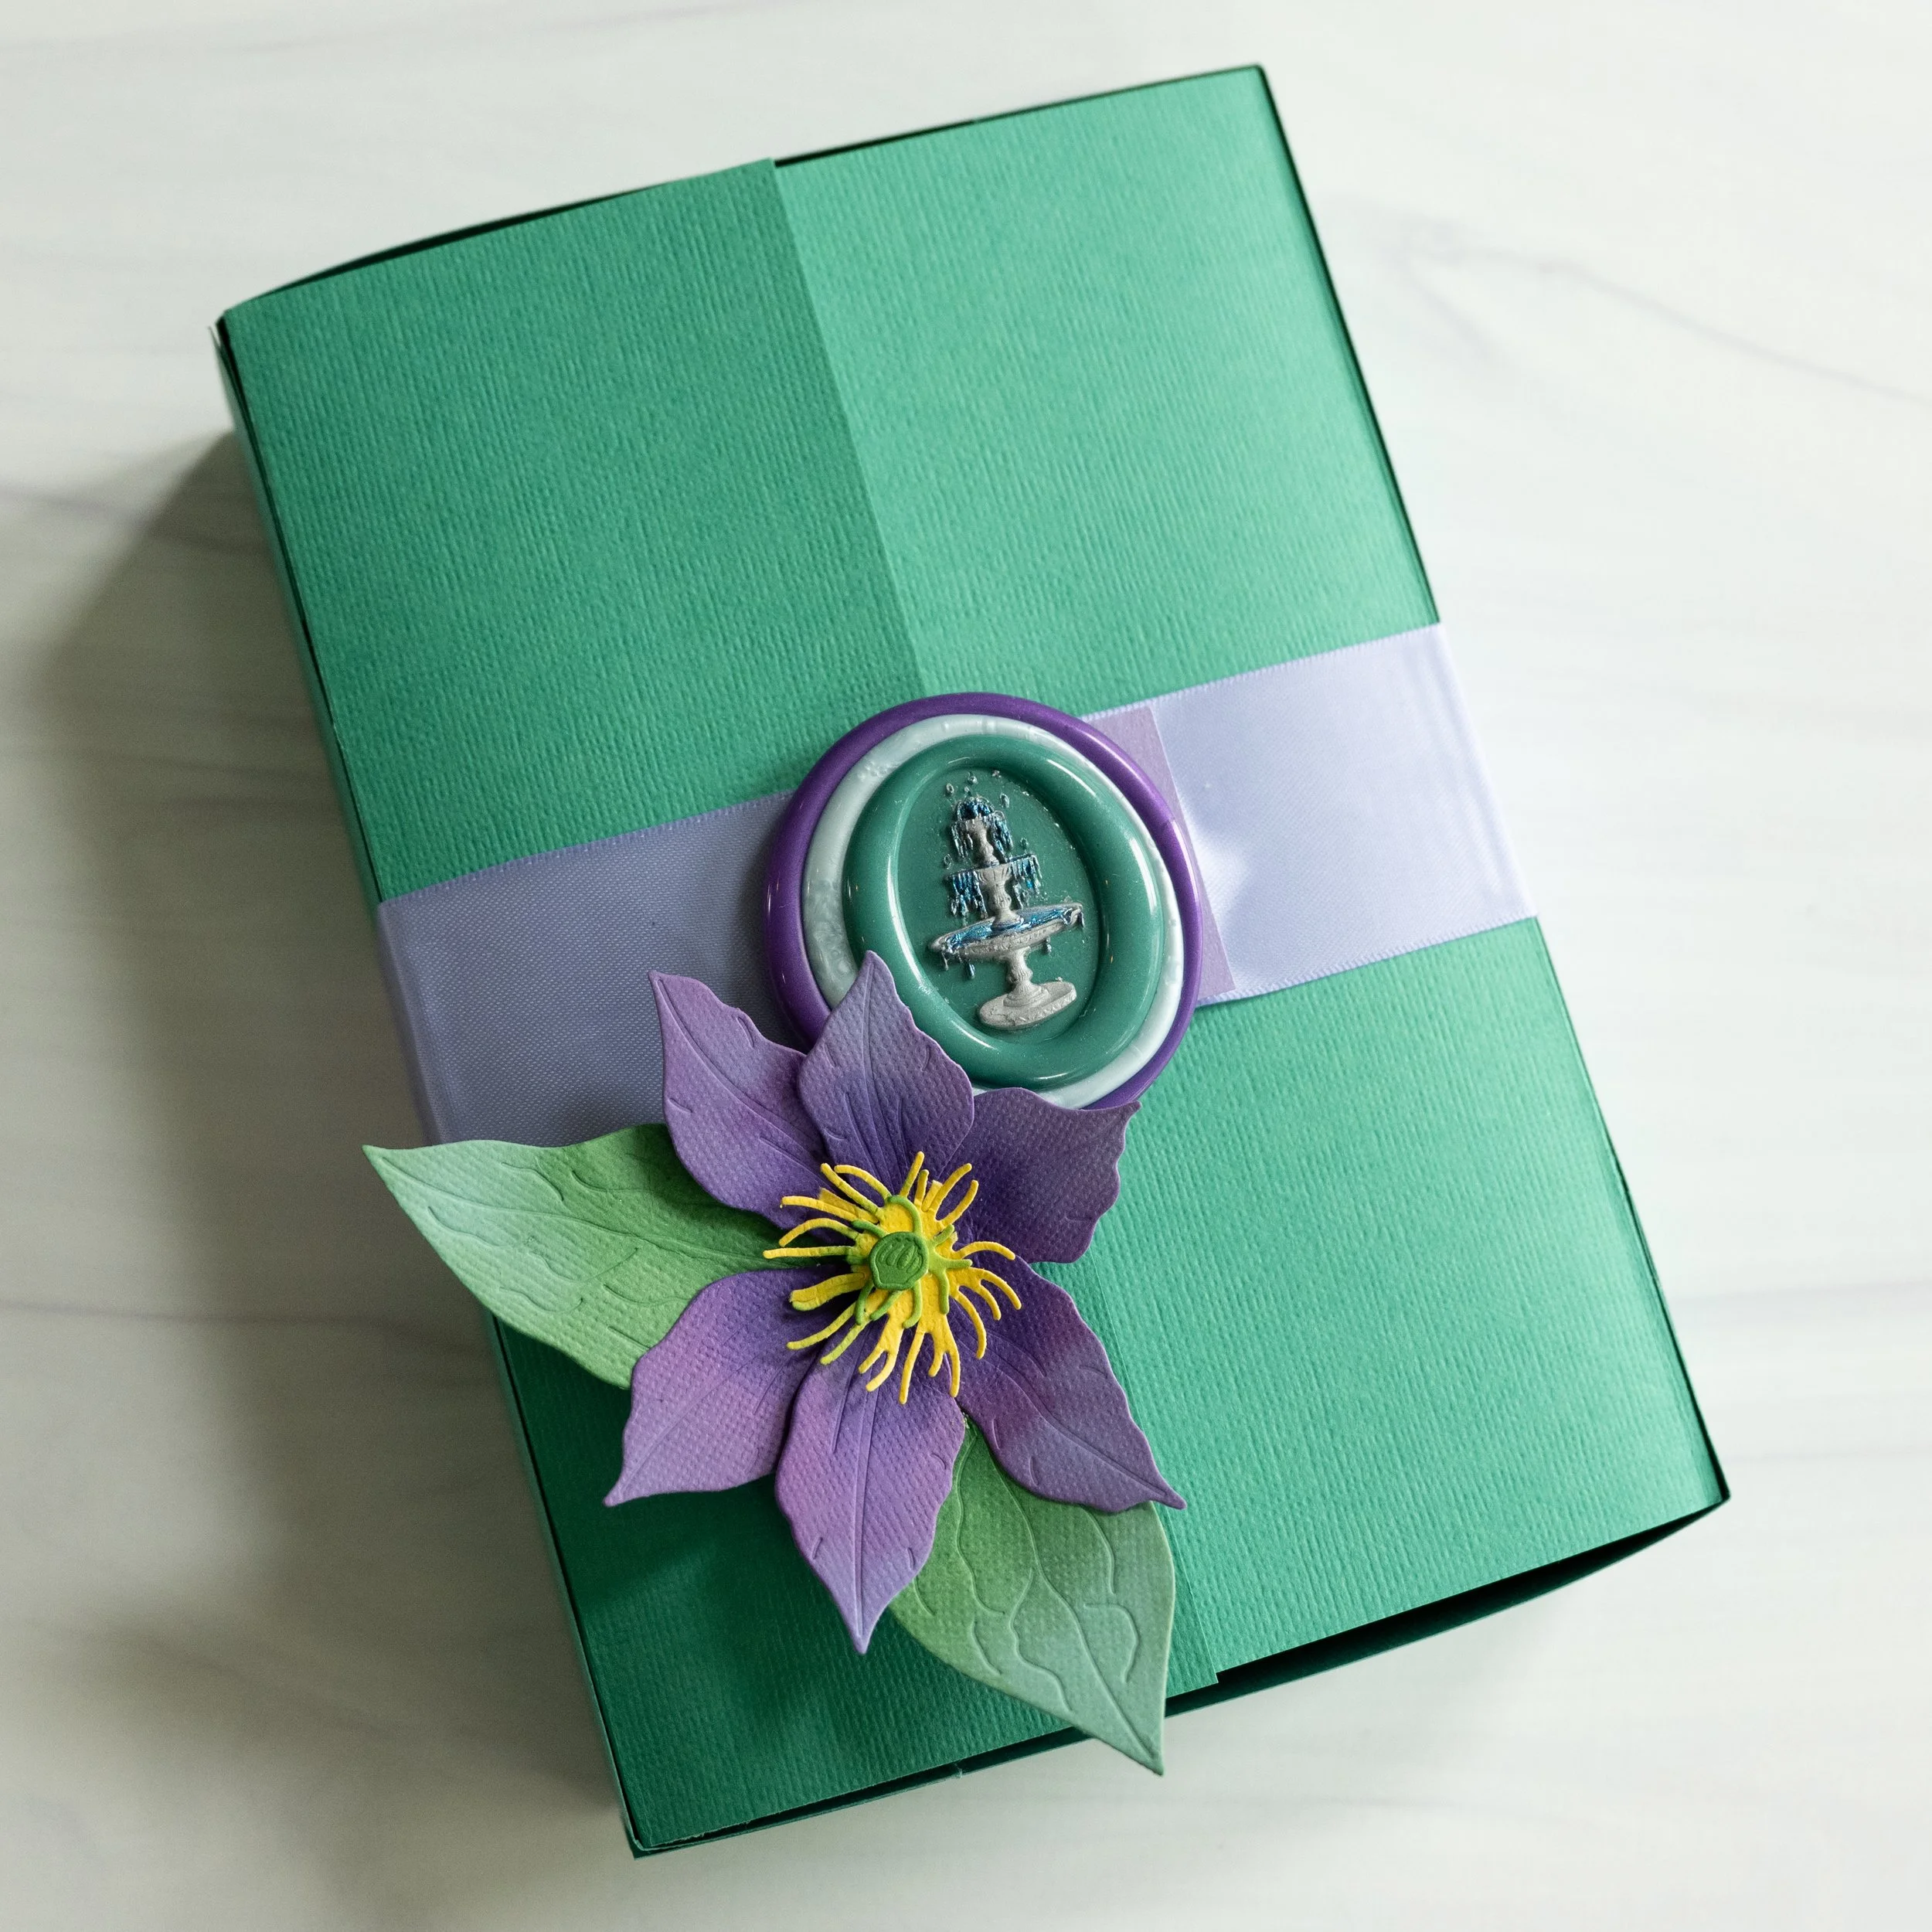
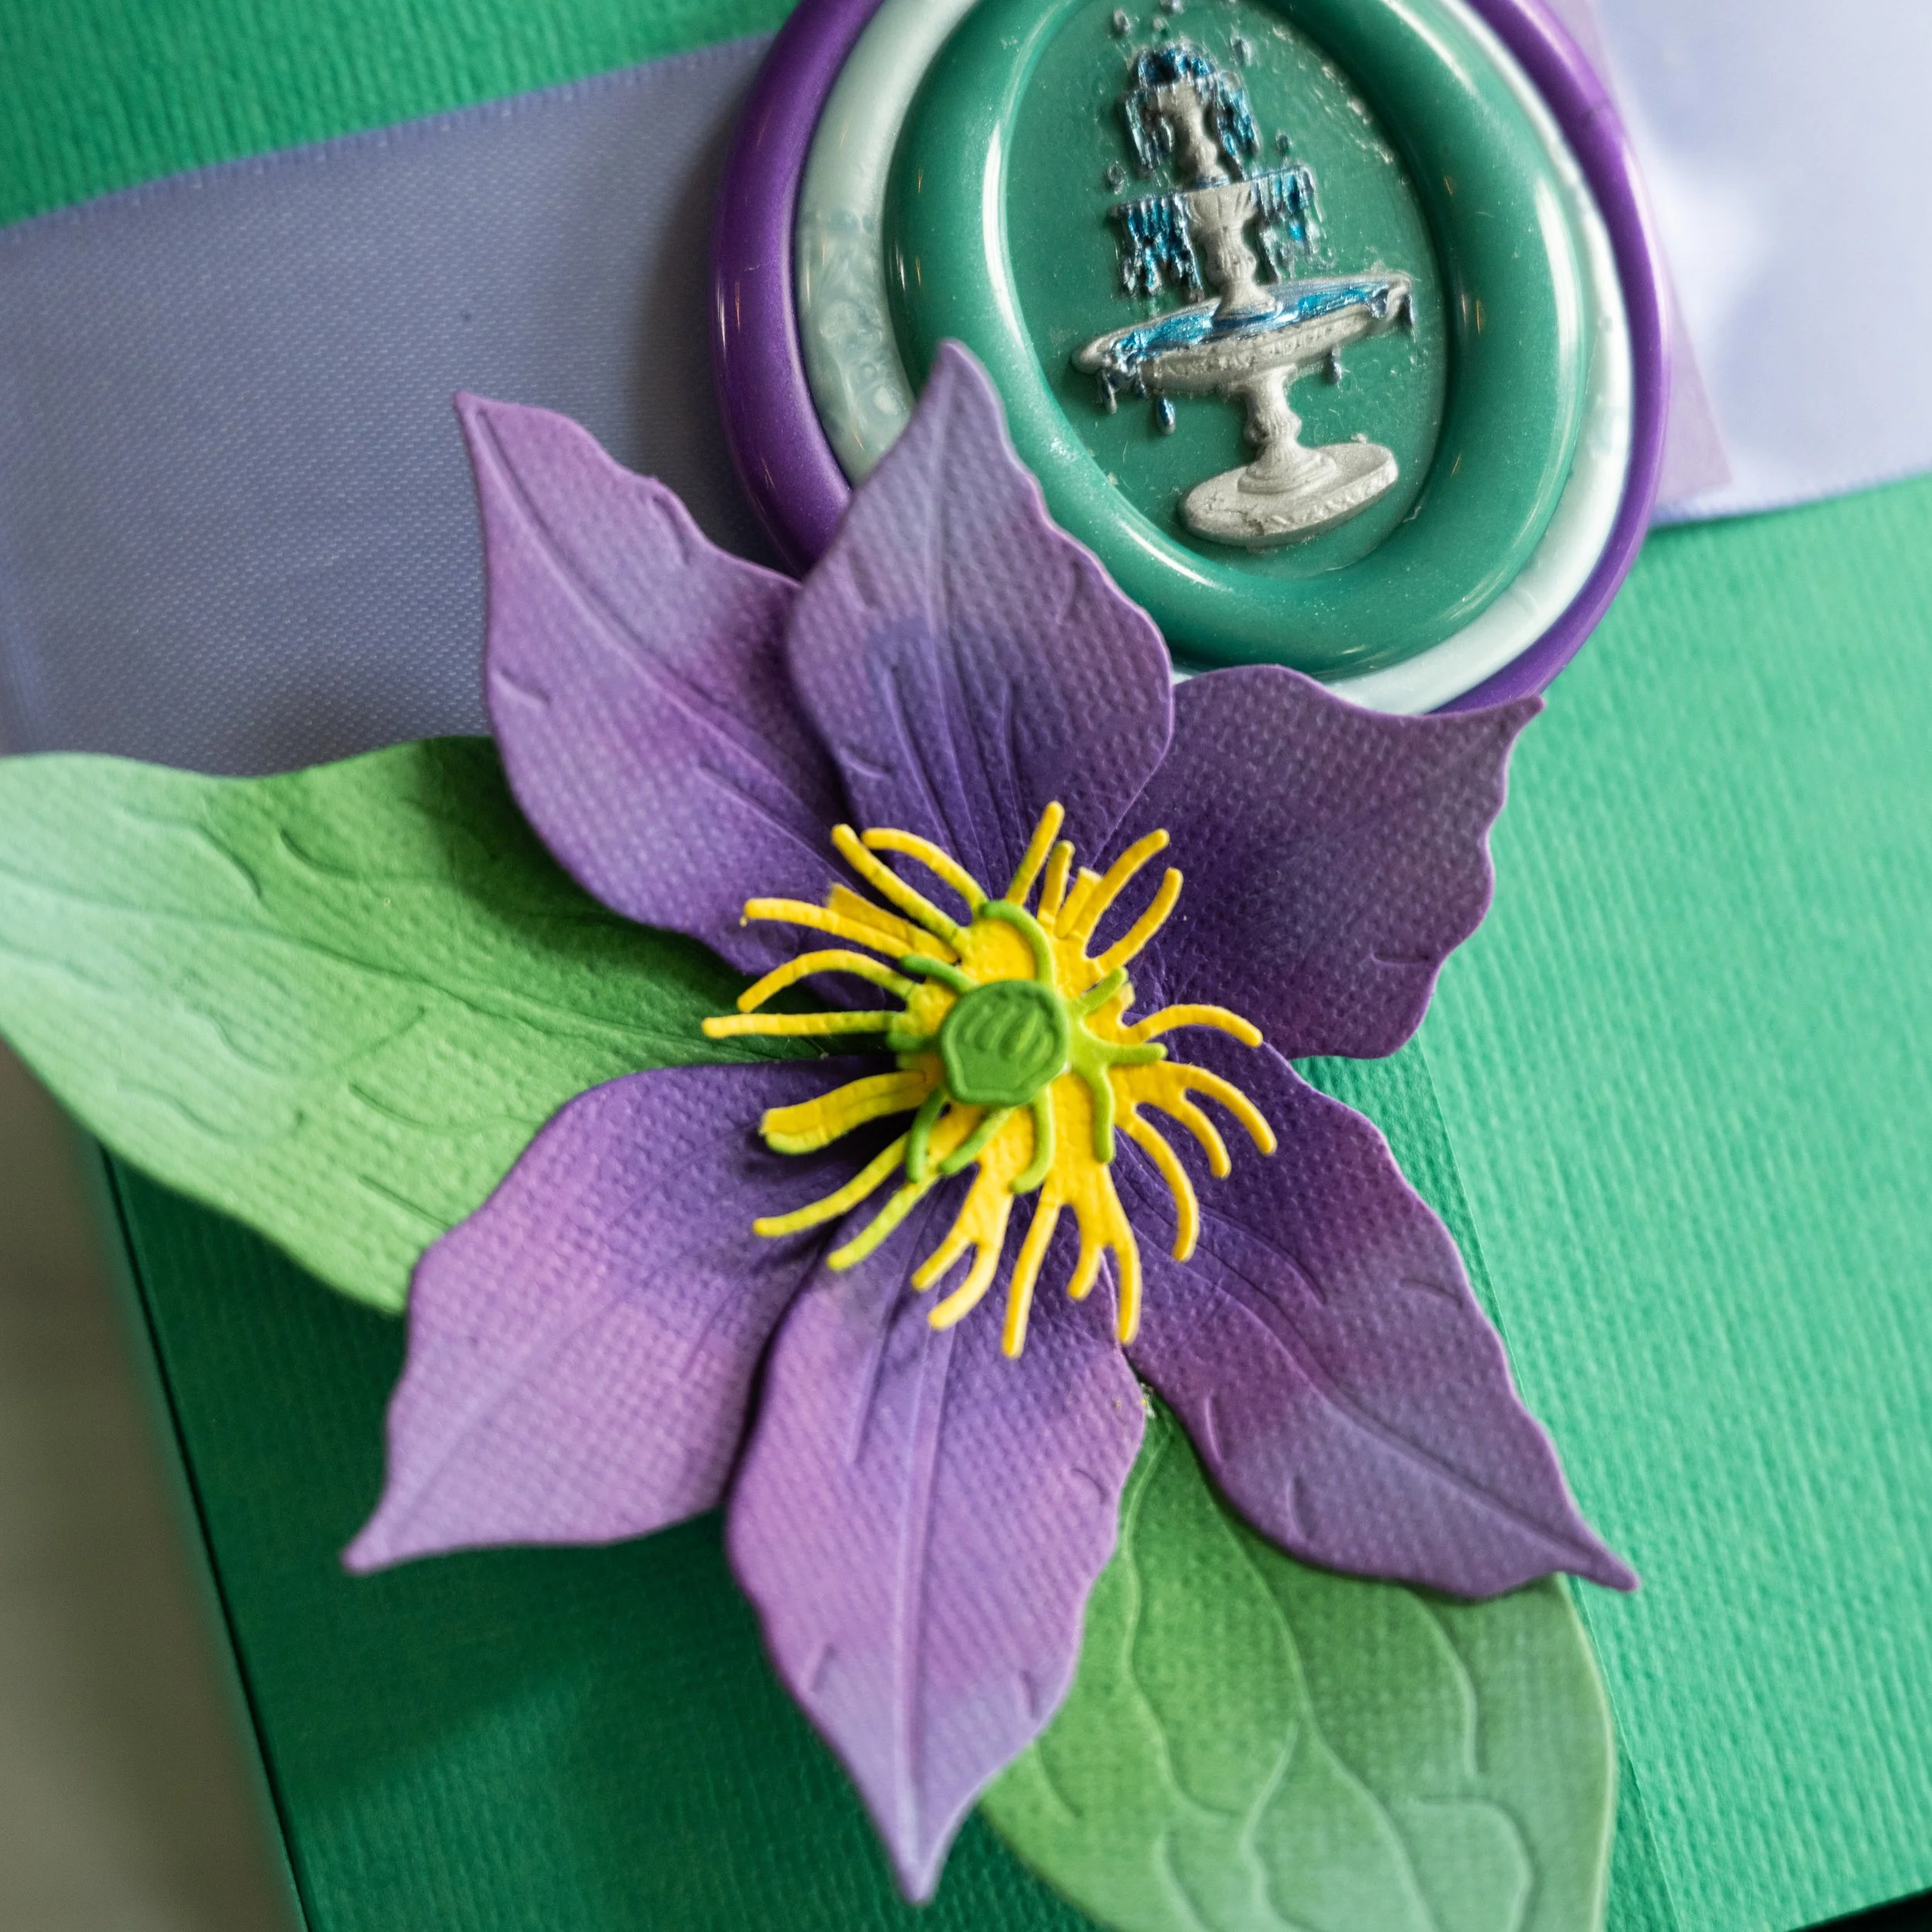
11) I then placed a band of 1.5 inch purple satin ribbon around the back of the box and onto the flaps, and added a magnet to the wax seal and one flap to secure the box. I made this fairly simple in contrast to the card itself so that when you open the box, the card seems even more striking. The fountain on the wax seal references the fountain inside the garden. Finally, I added a clematis flower from an Altenew die since it was sitting right there and was the same color palette!
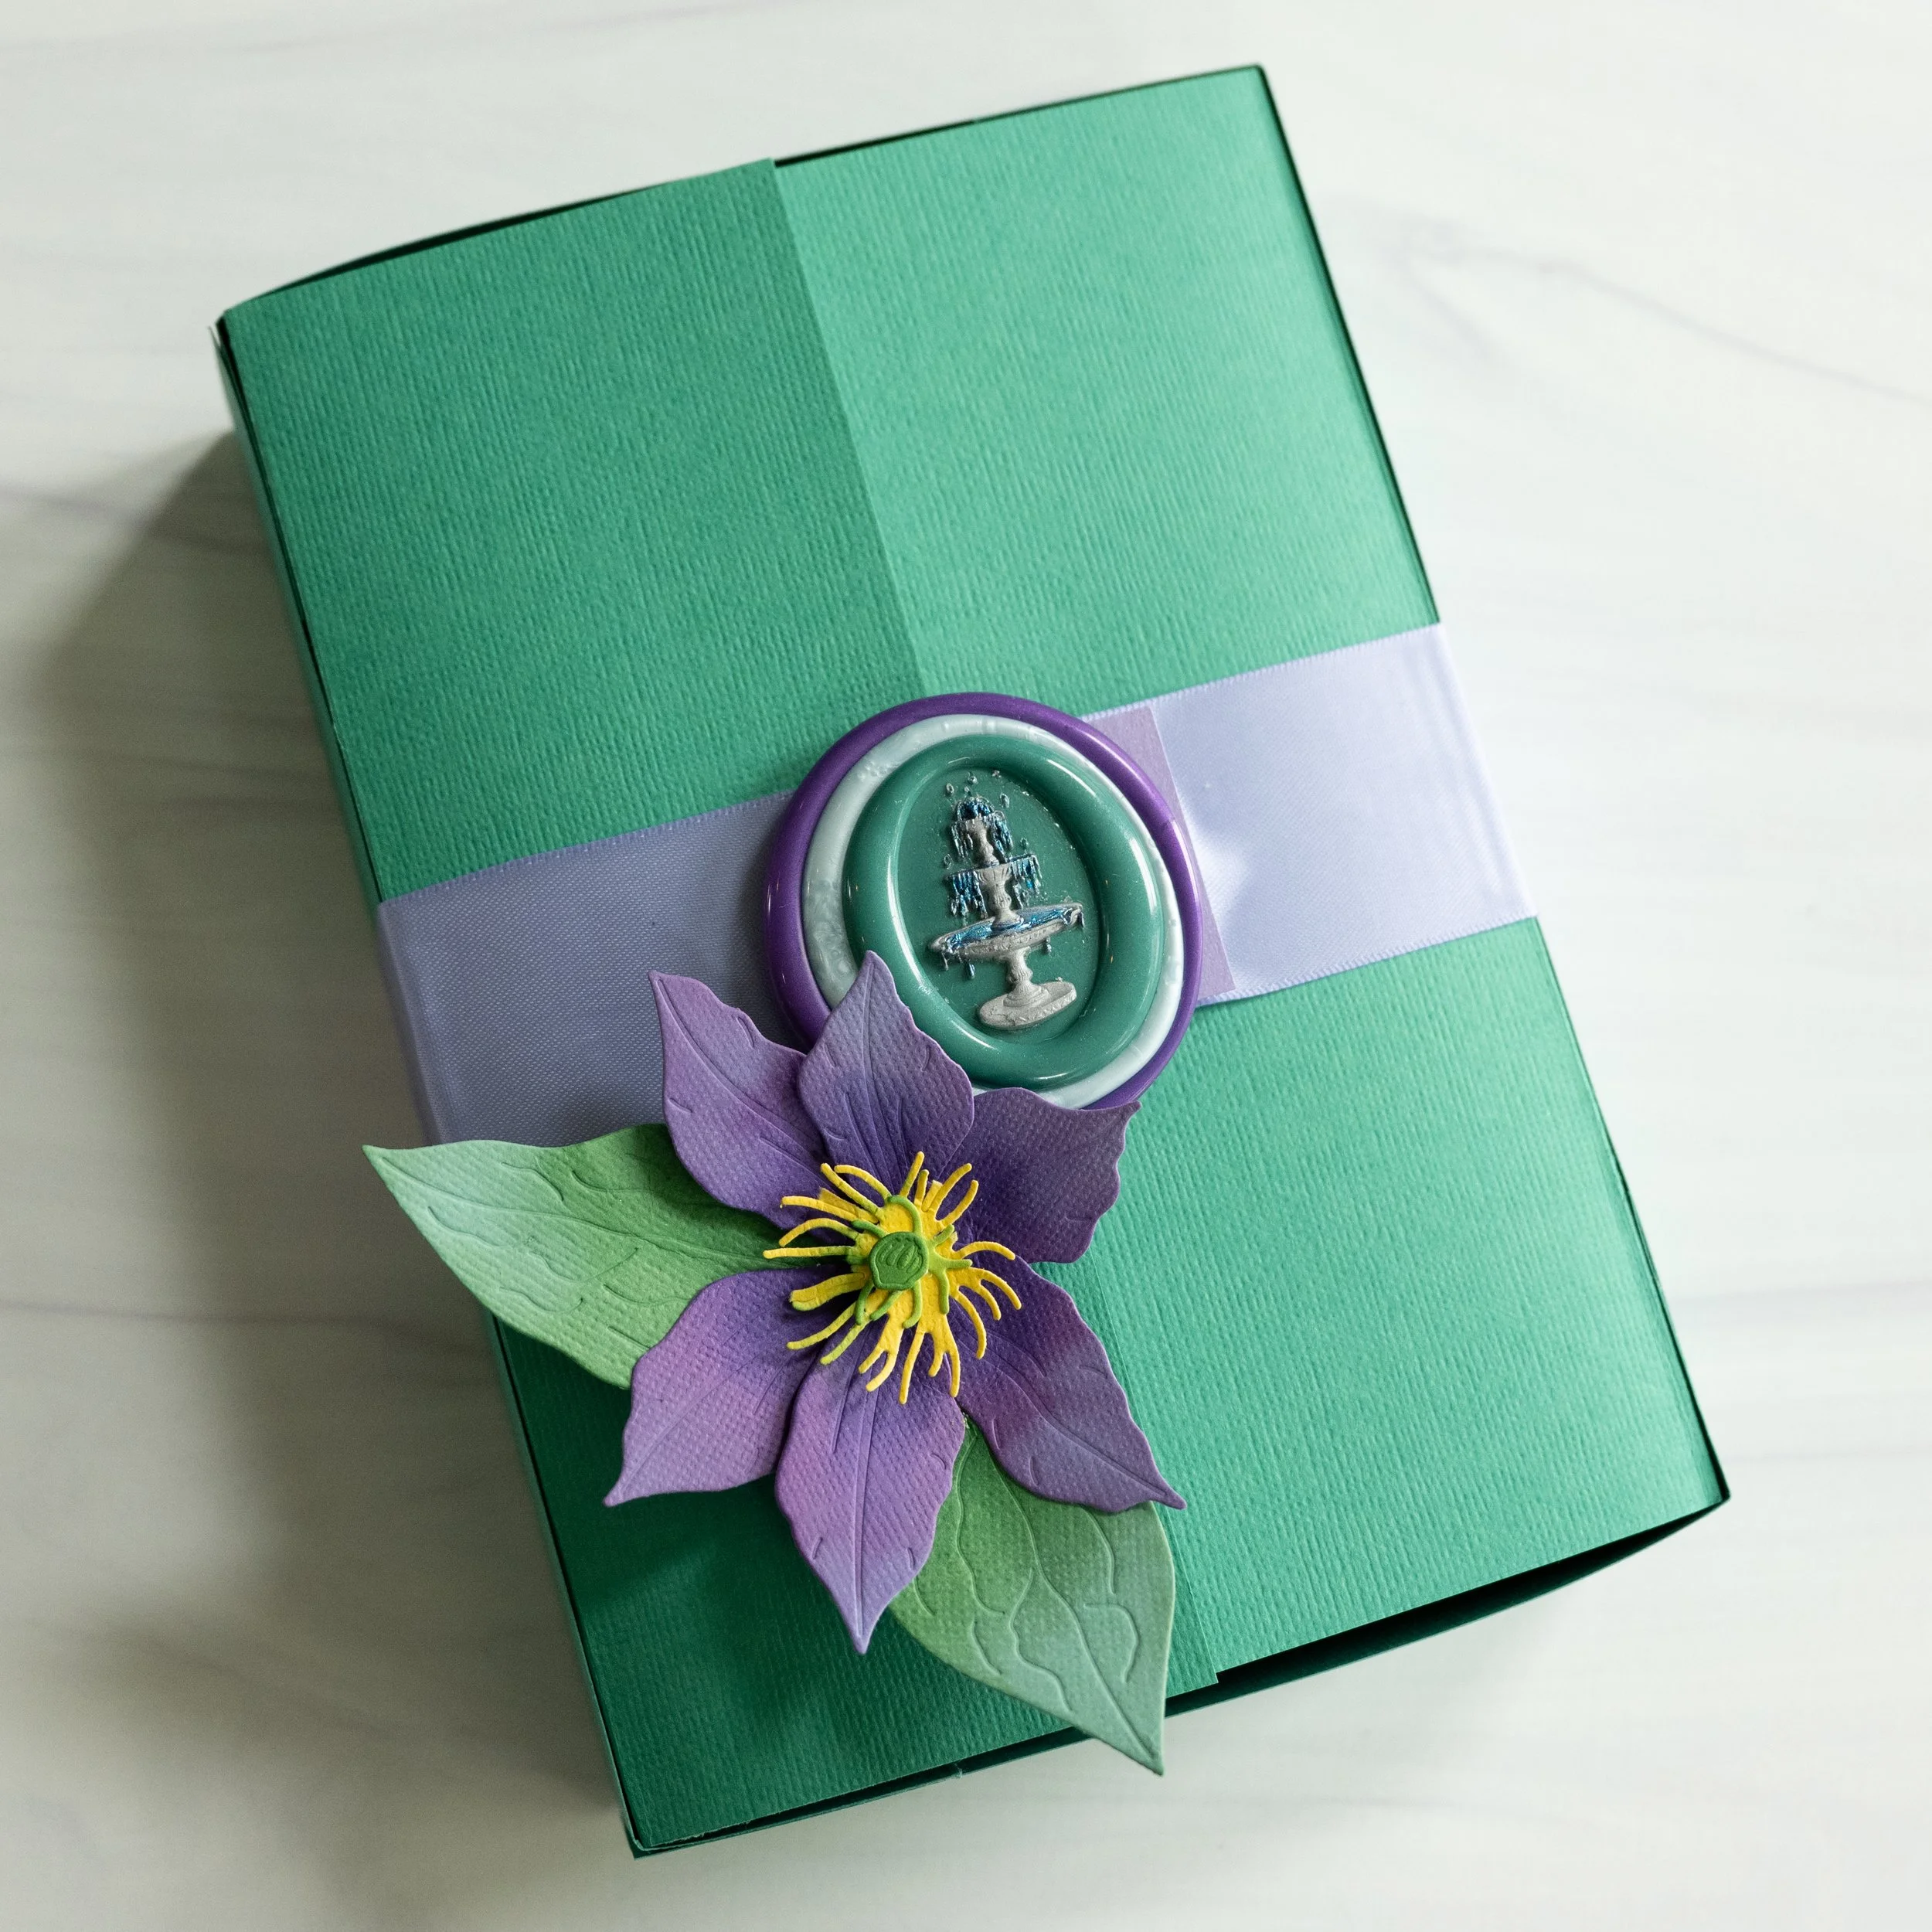
Assembled box and seal with card inside.