Ladybug Ornament Card
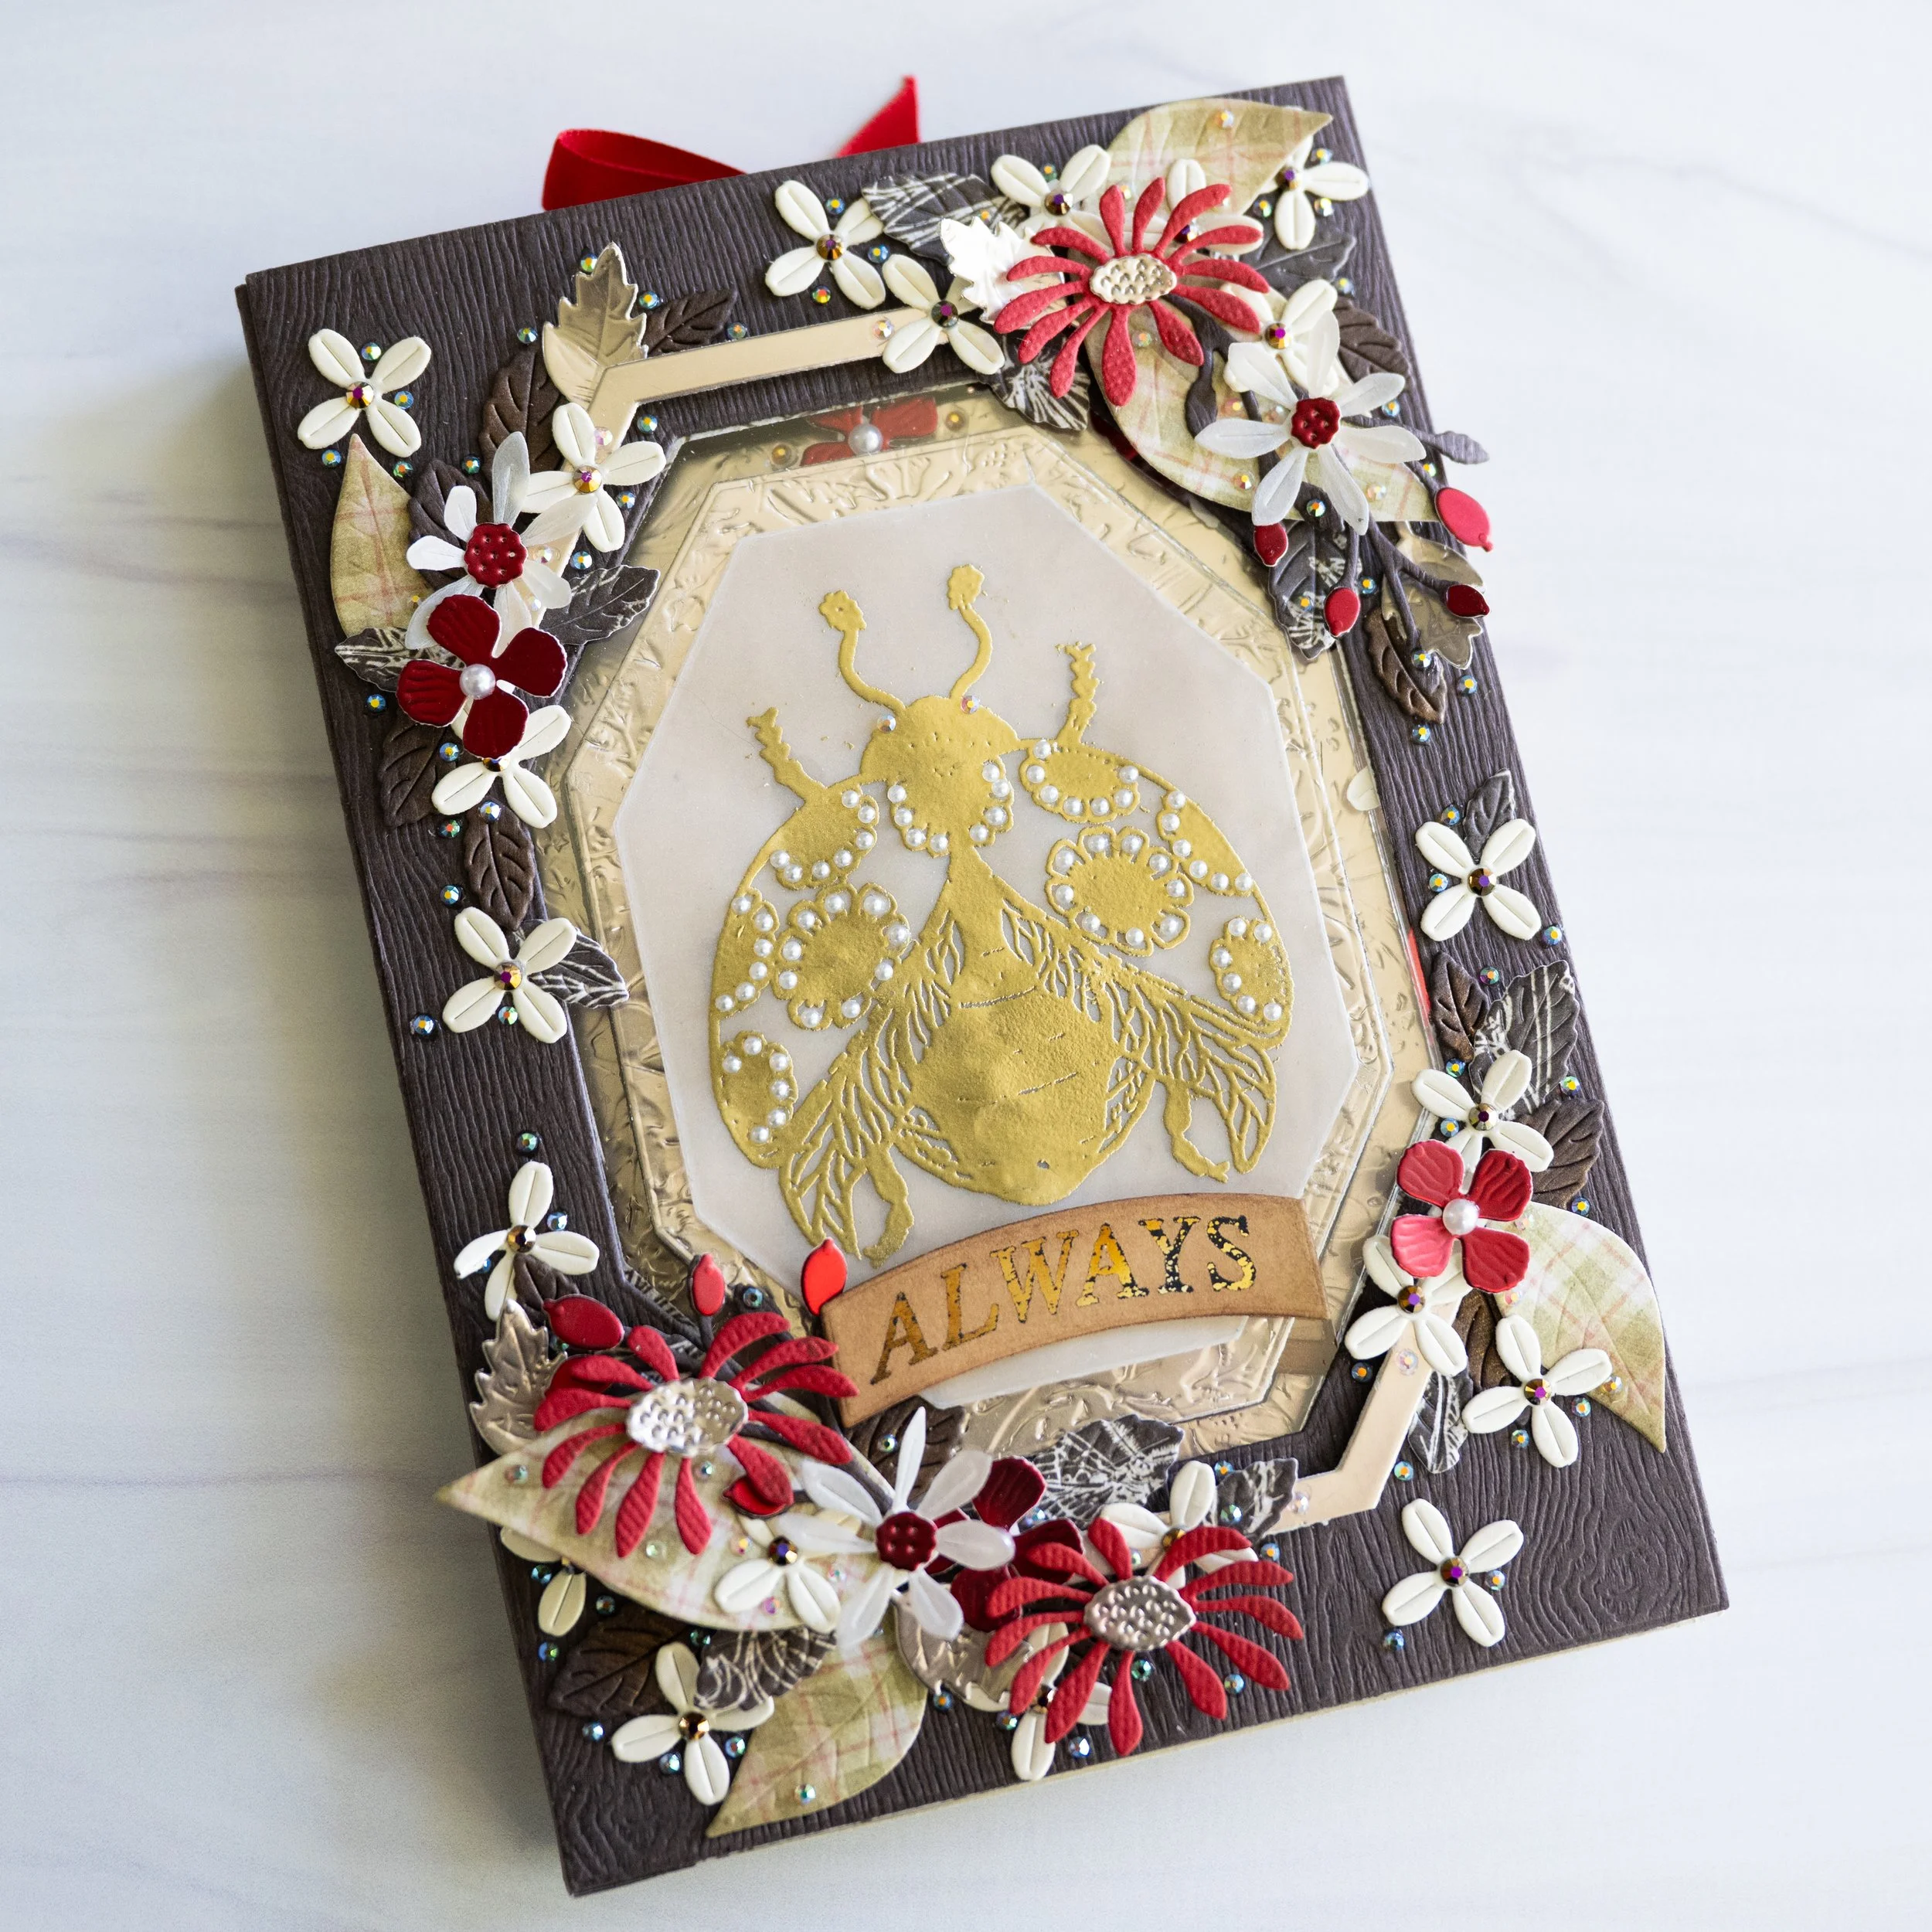
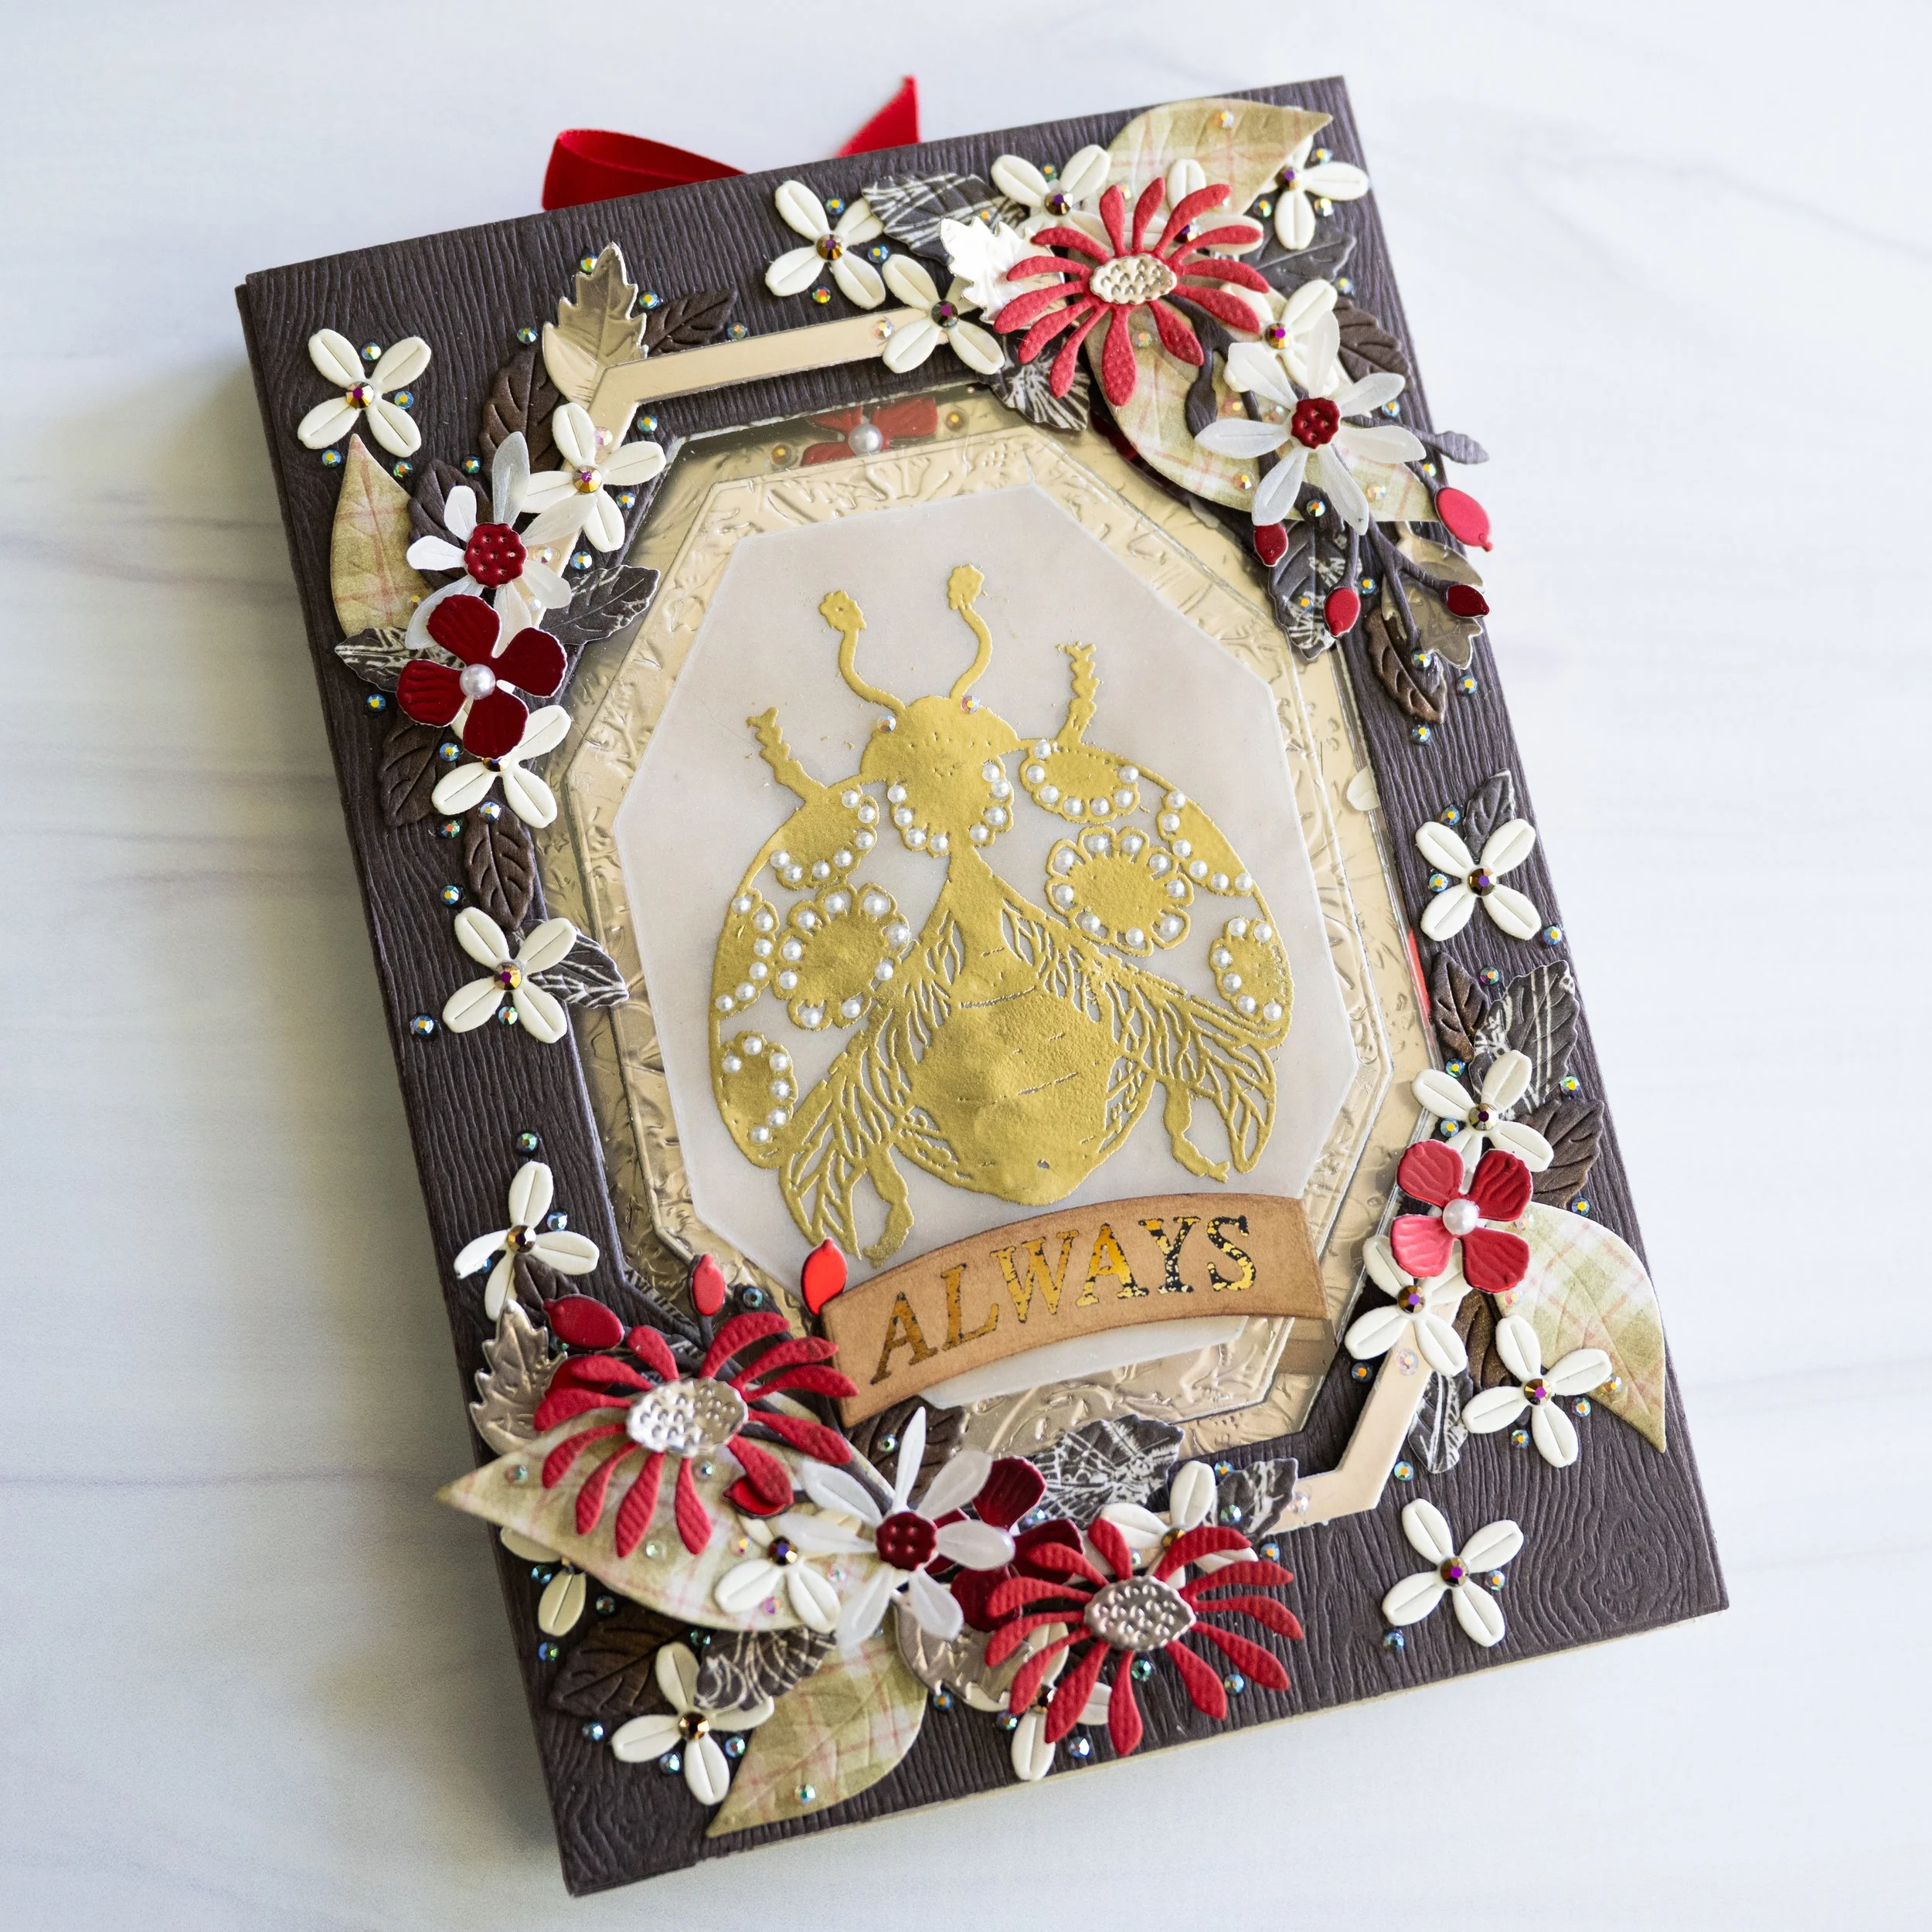
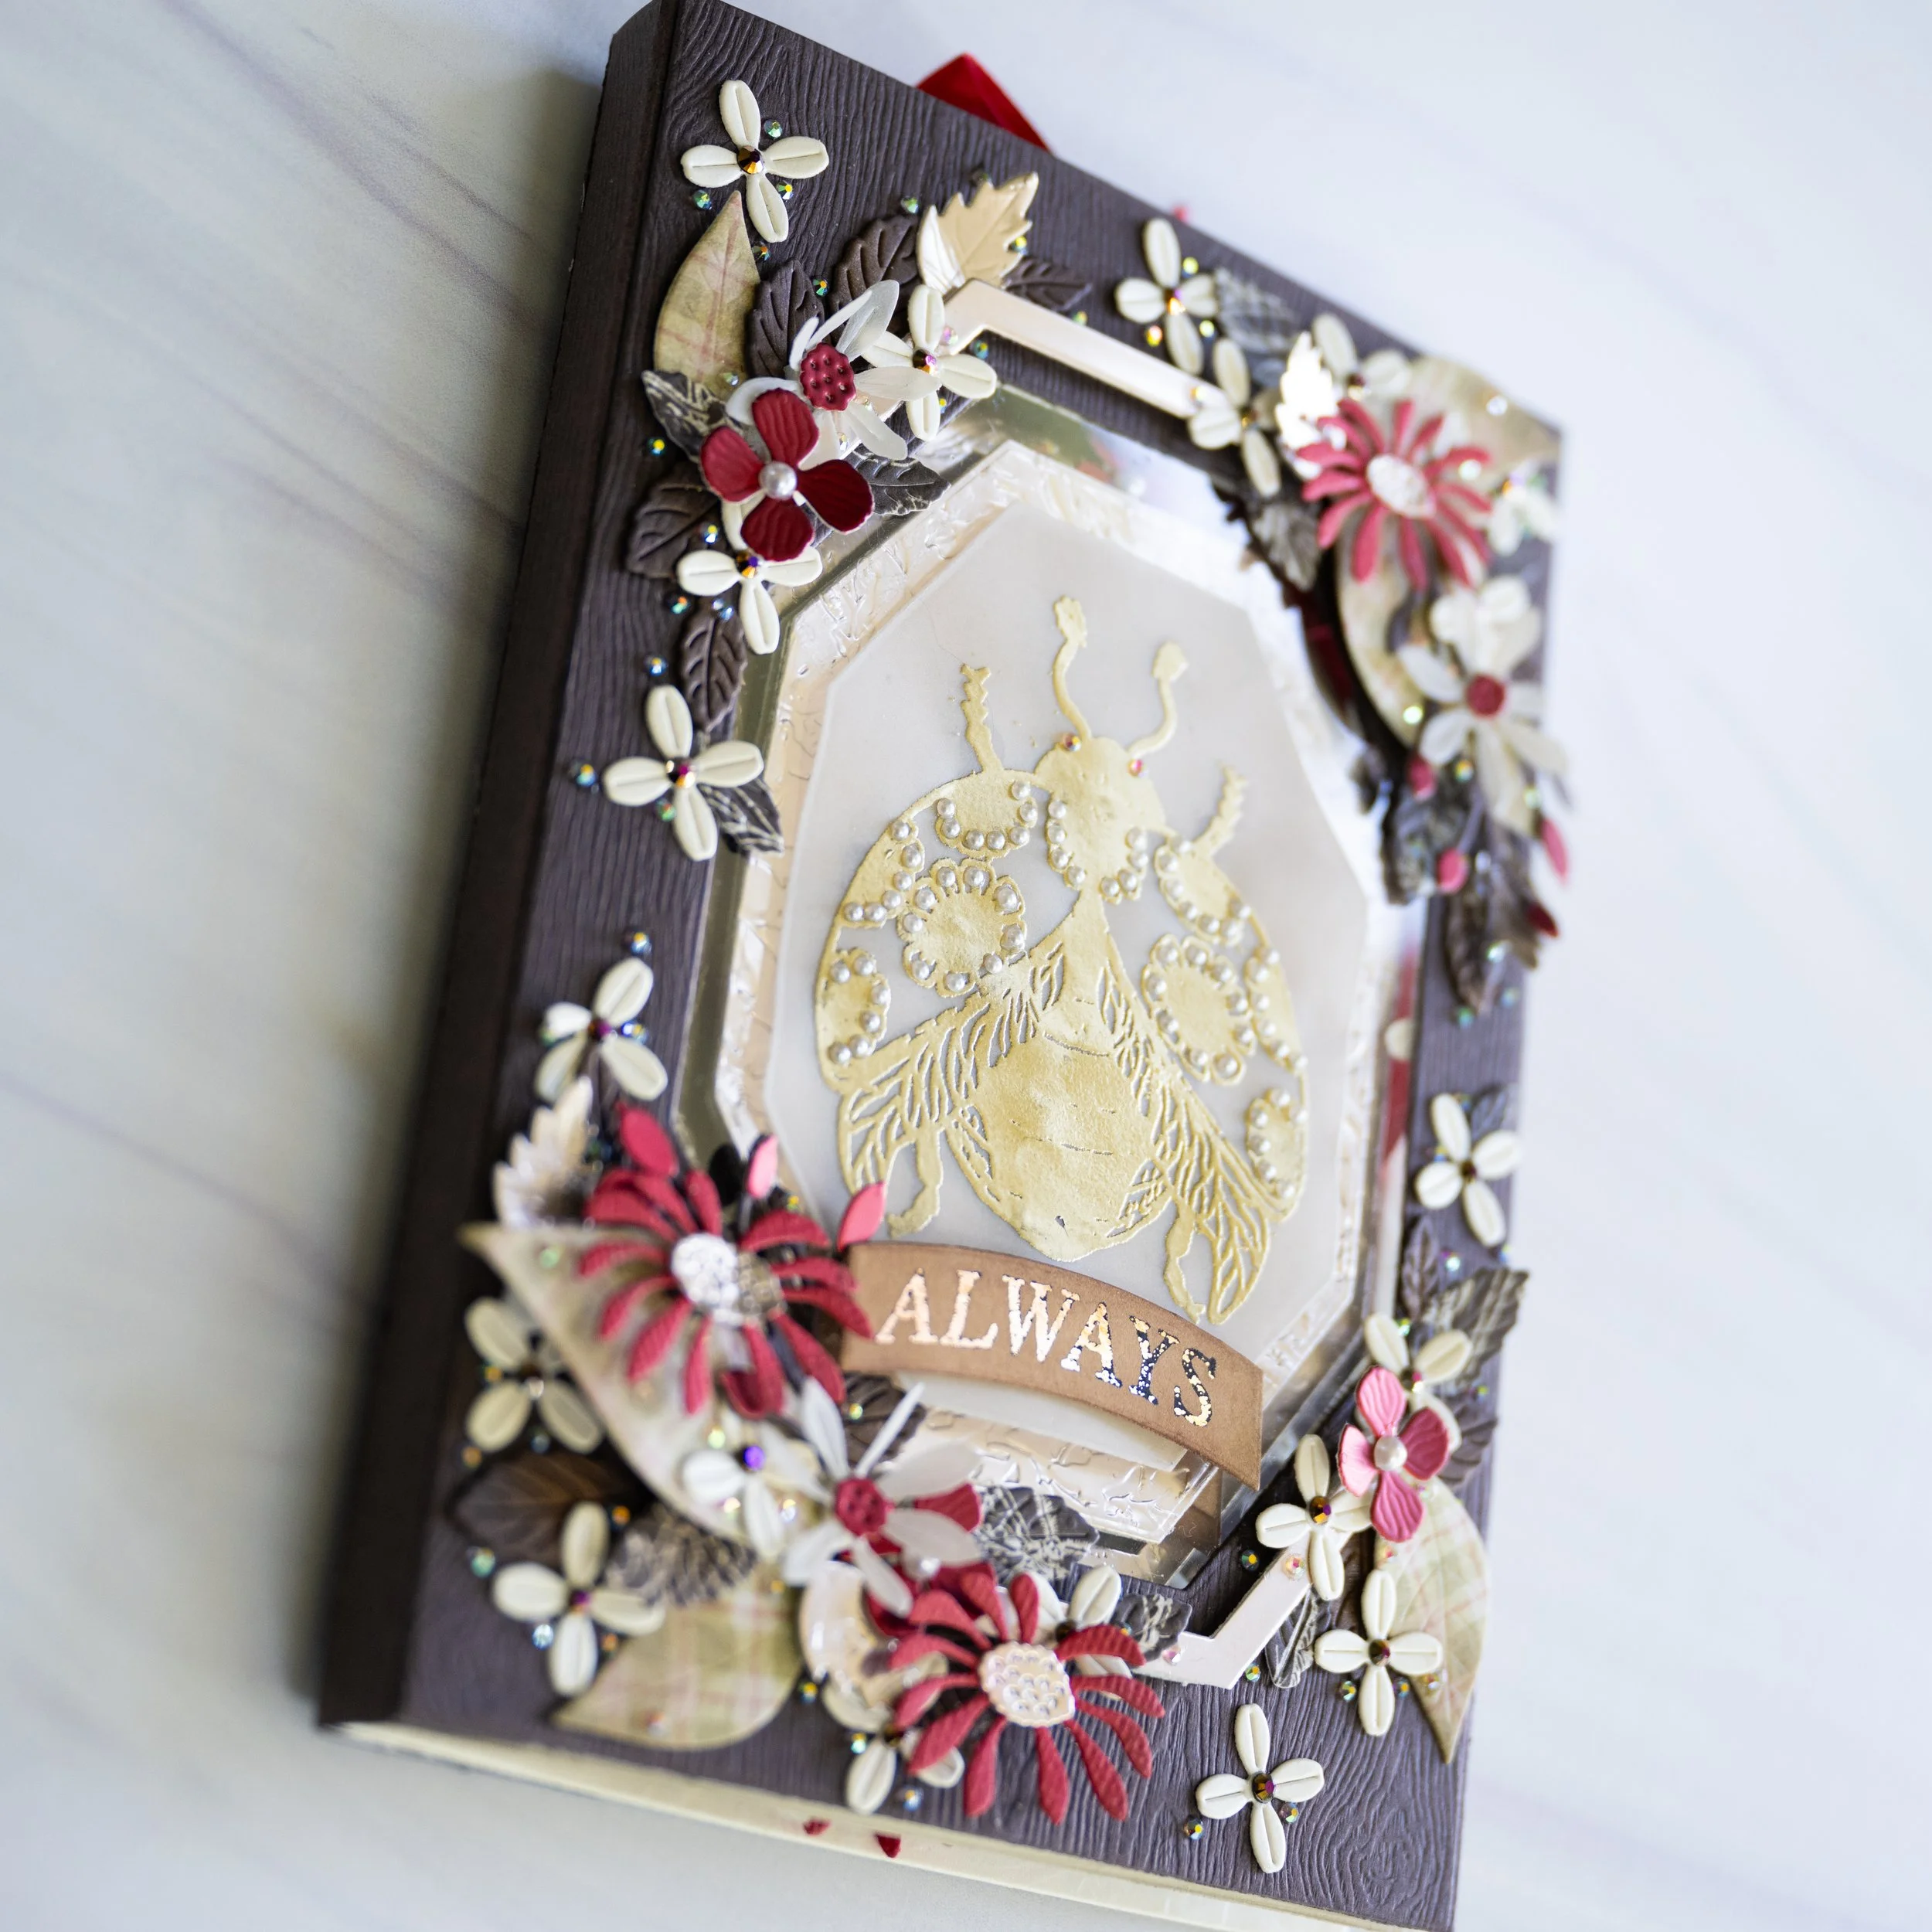
The front cover of the card
I’m trying to craft cards that create a small world to enjoy - a miniature scene, something reminiscent of an elaborate piece of antique jewelry - and different ways to interact with the card. I loved the new Vintage Summer collection from Craft Consortium and artist Olena Kovalova. The collection reminded me of Victorian natural history collections, which featured pressed flowers and pinned insects. I wanted to fully utilize this collection to create a card that was a keepsake, kind of a puzzle card that unified multiple elements to create an interactive work of paper art.
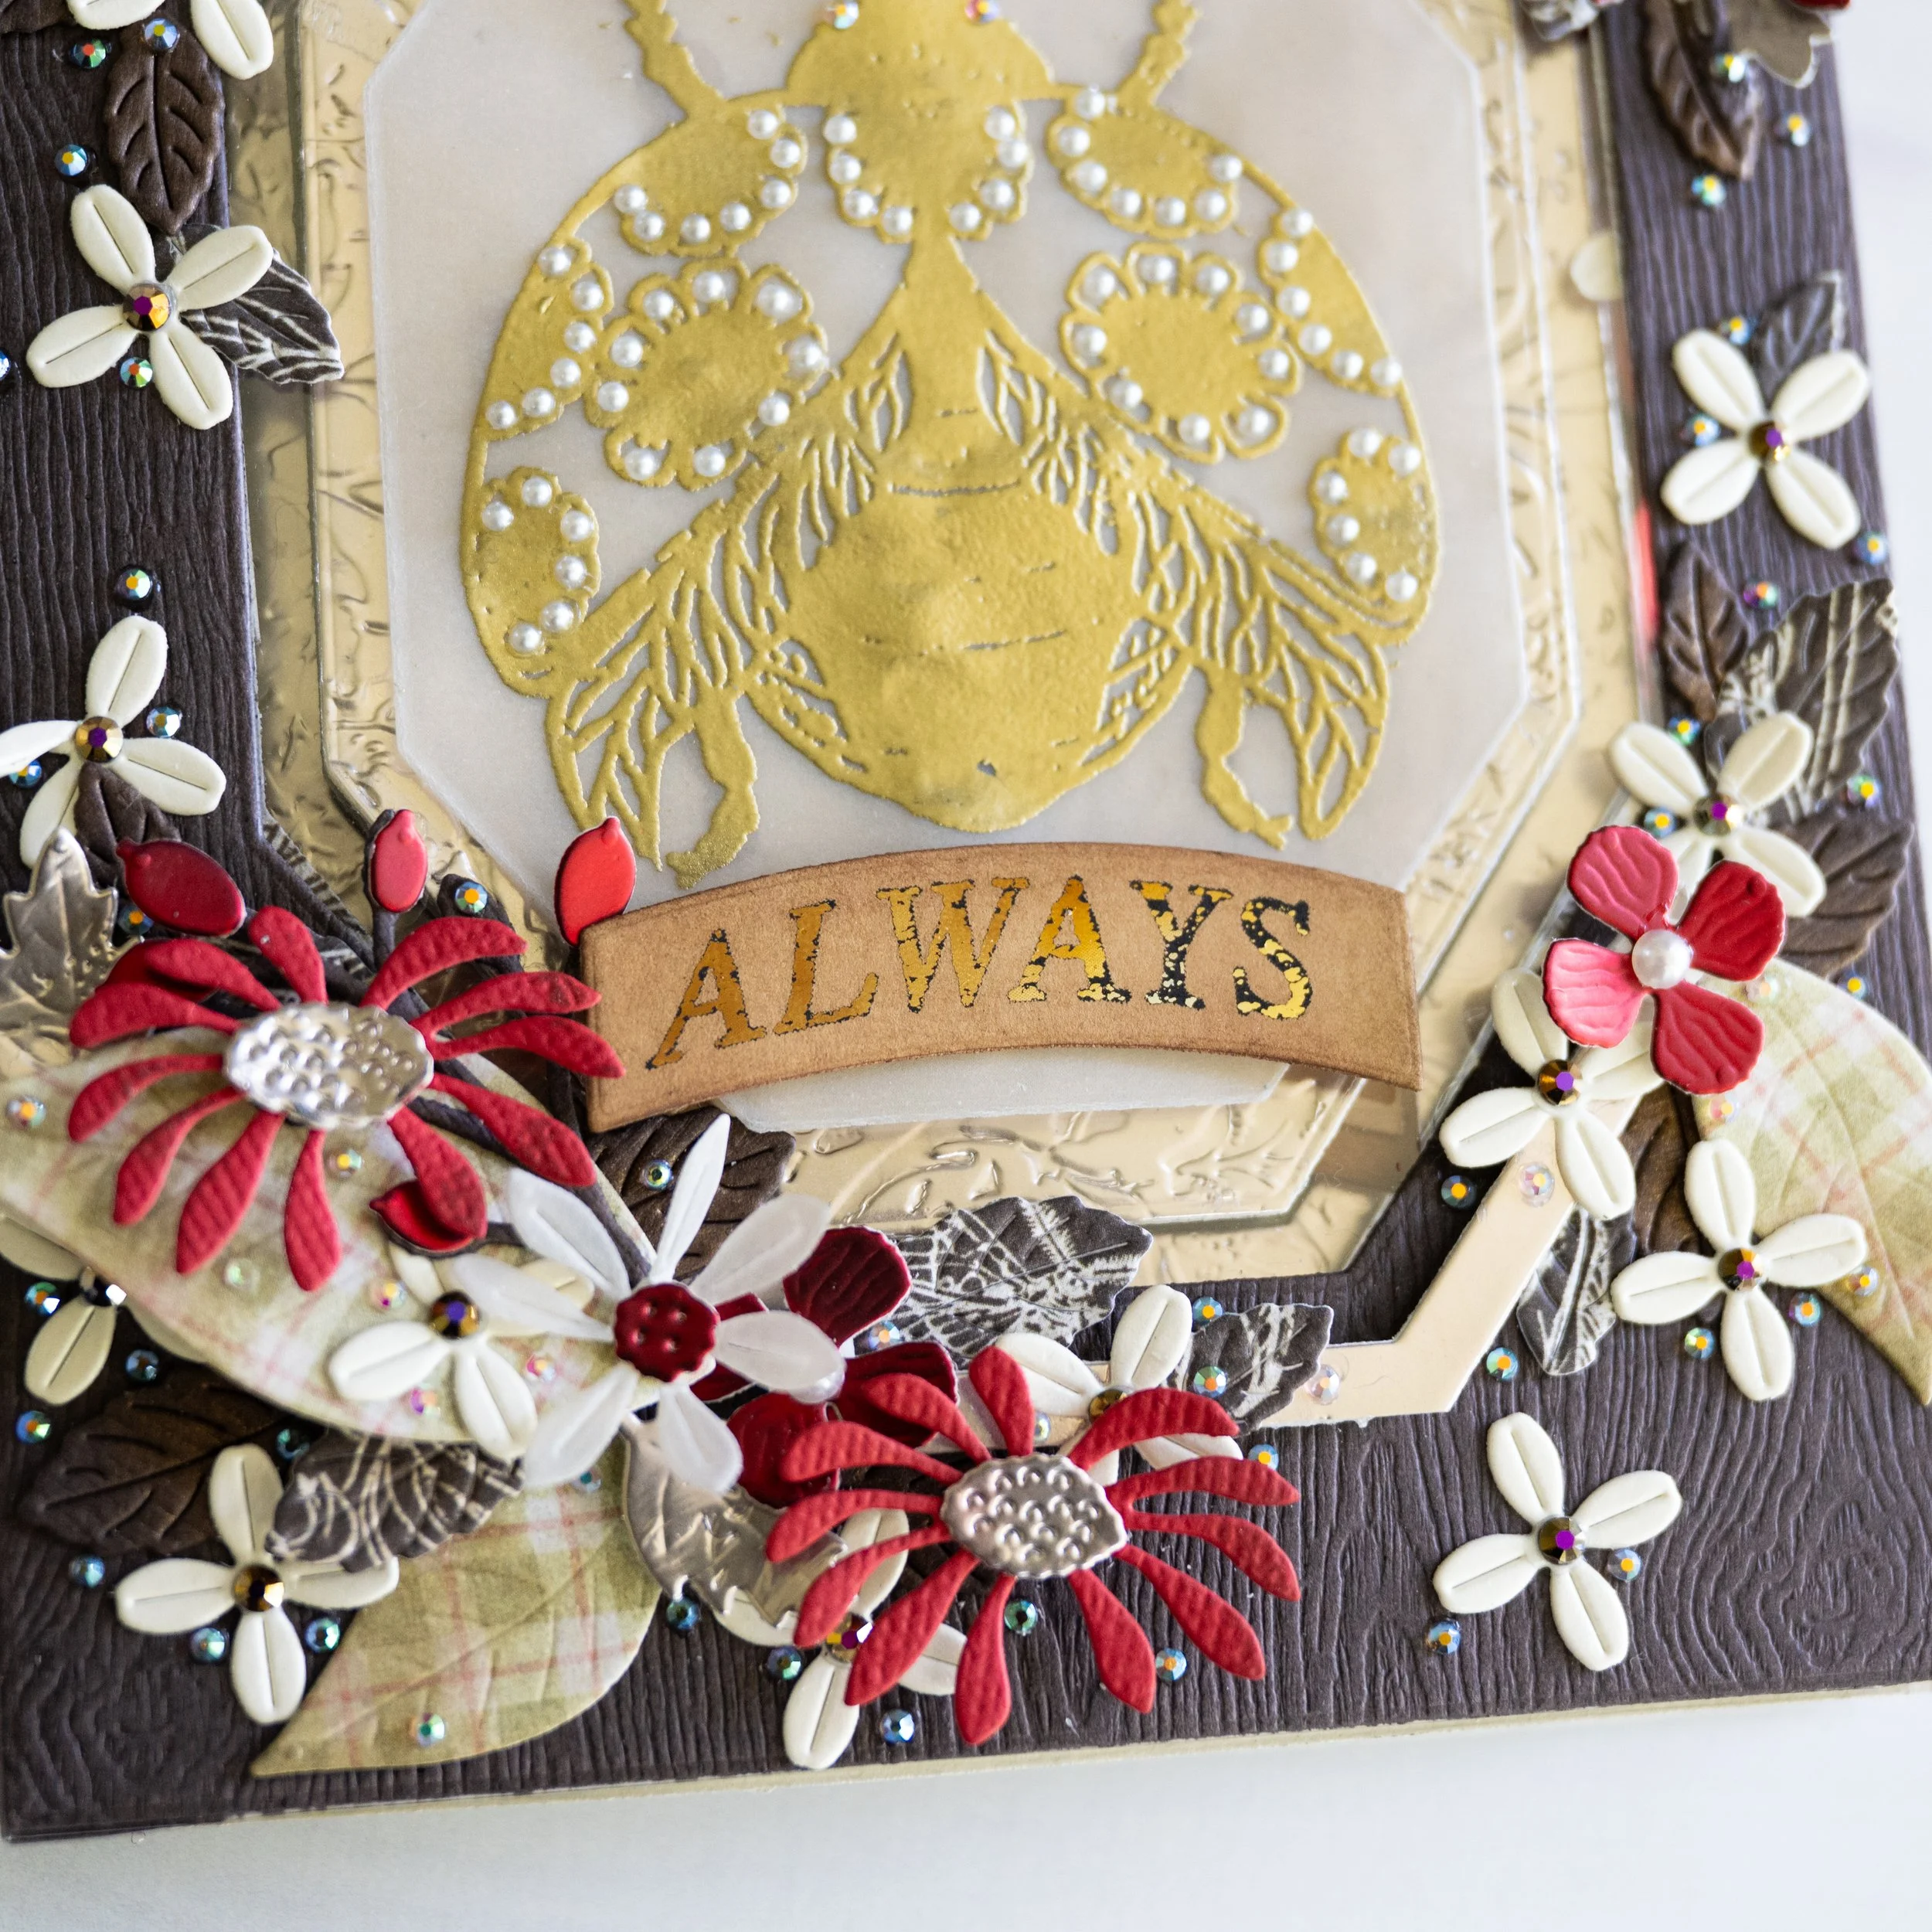
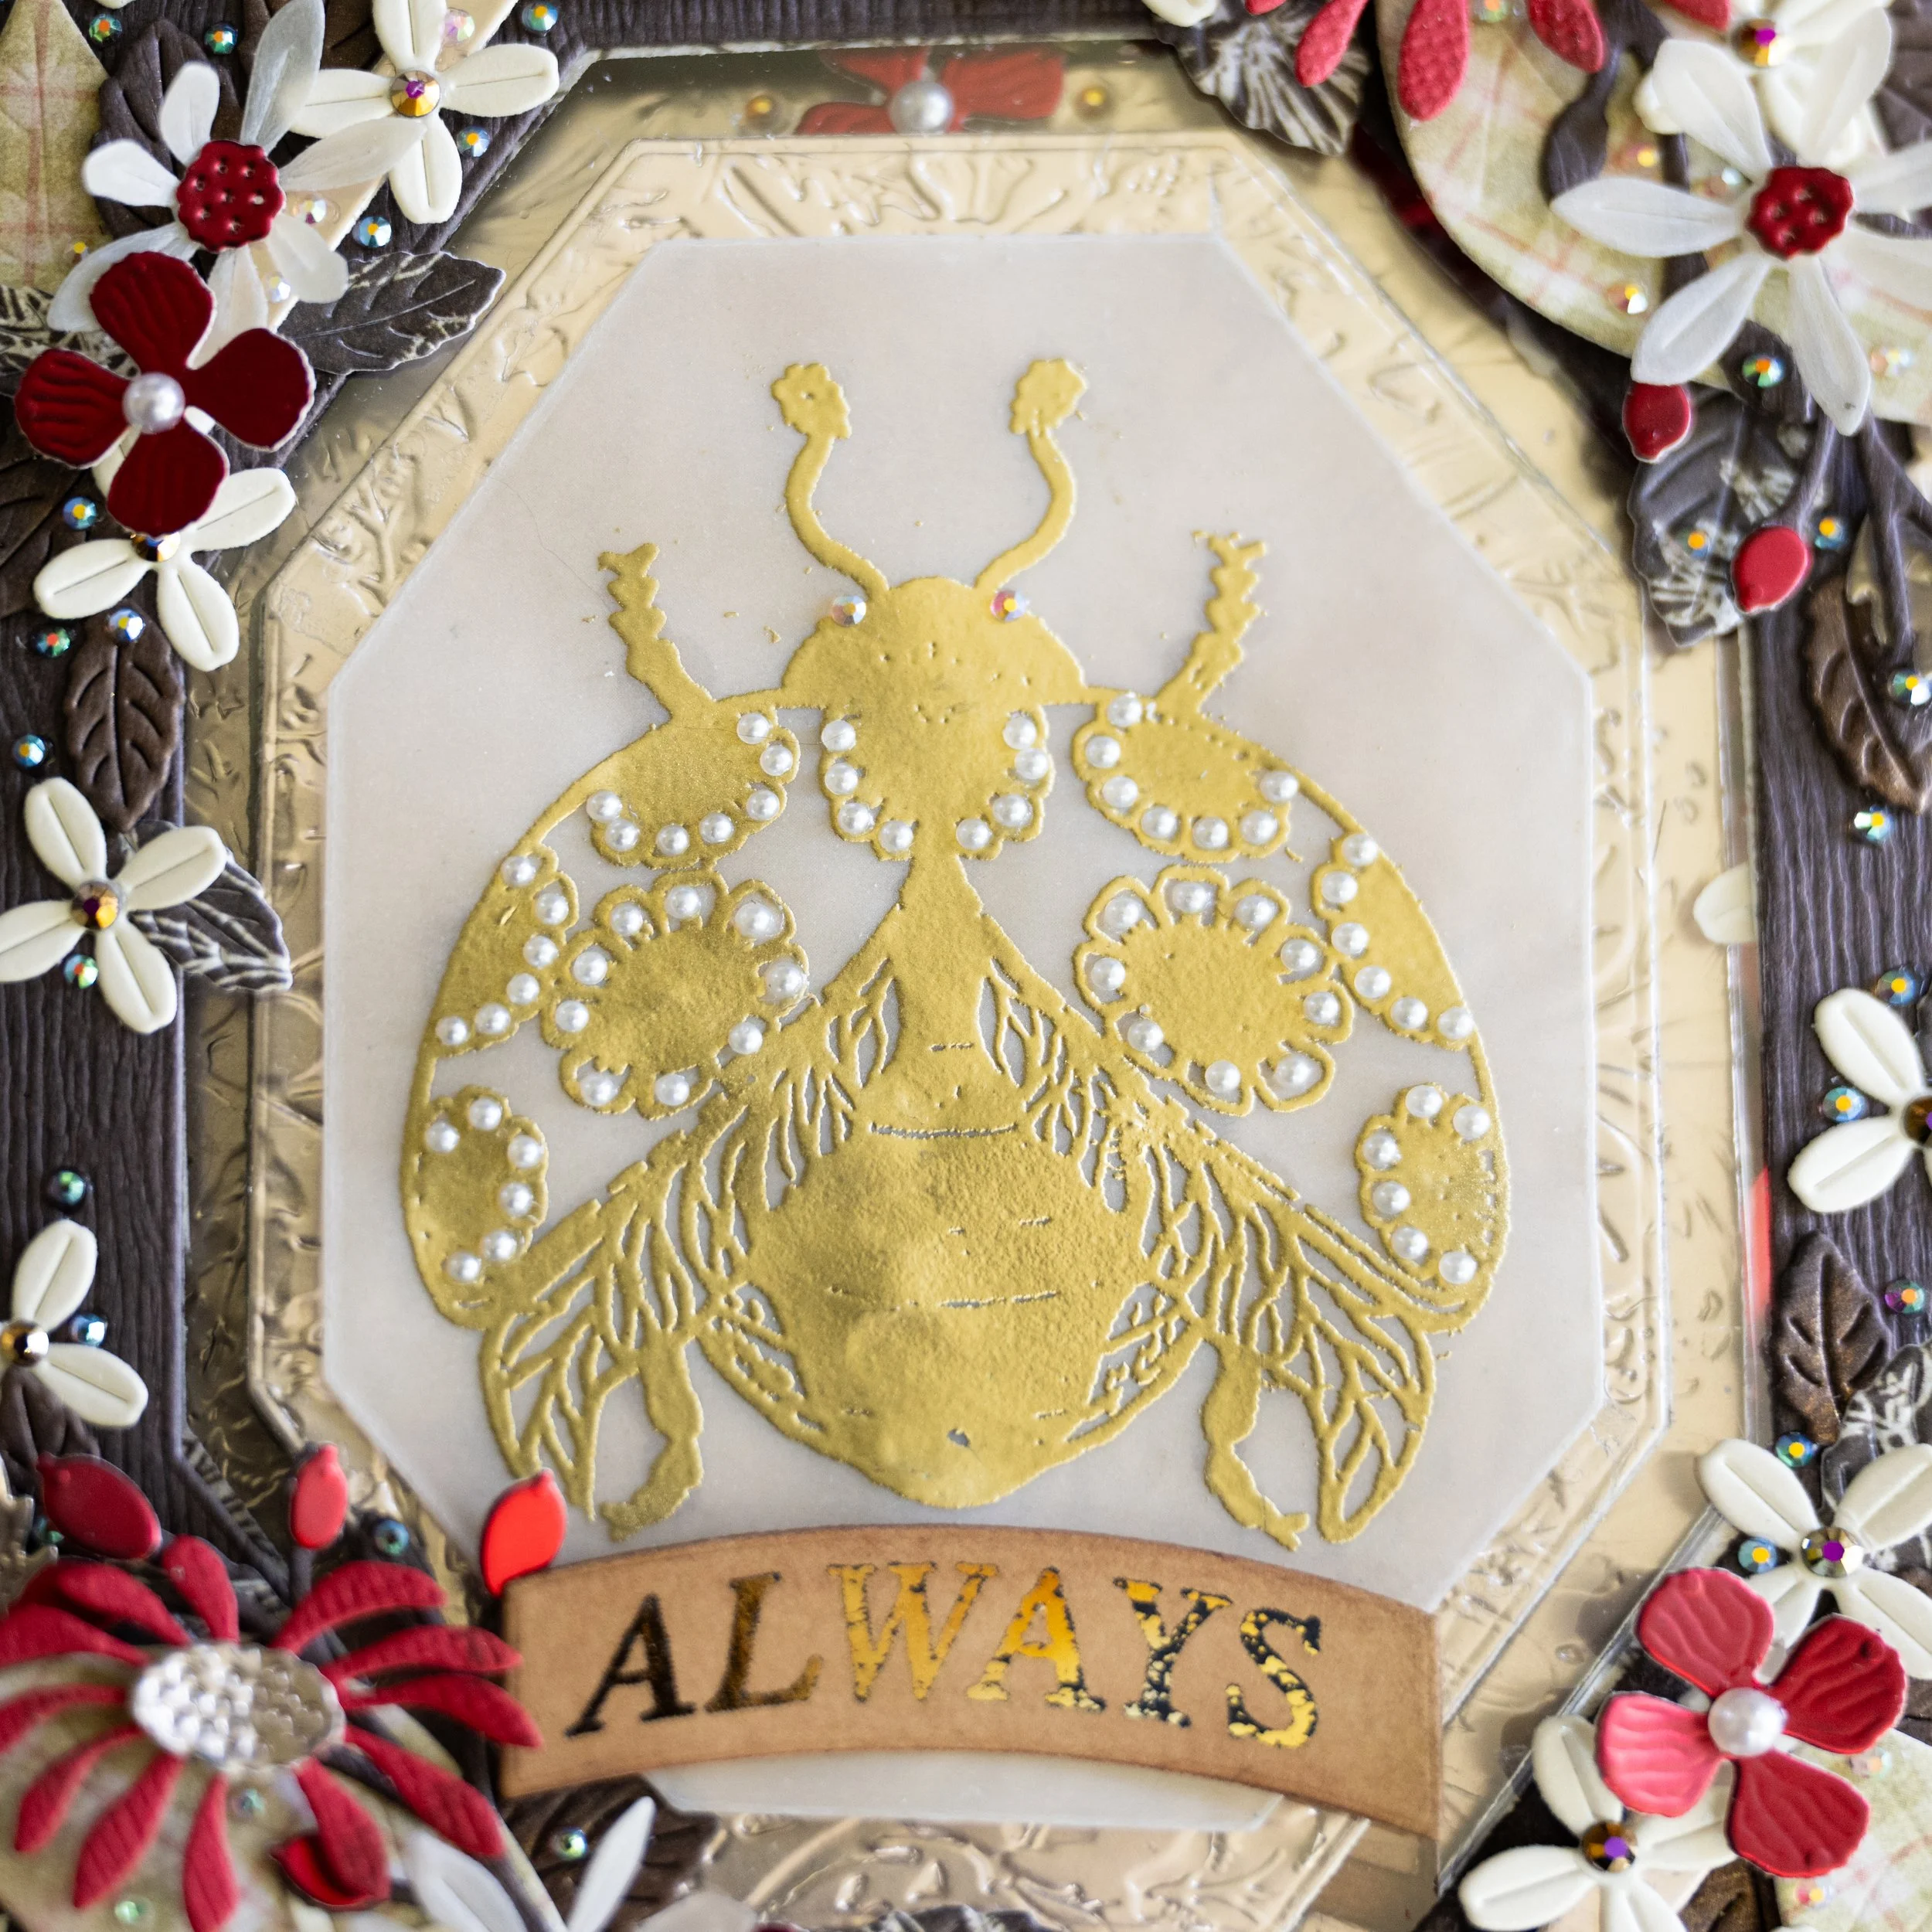
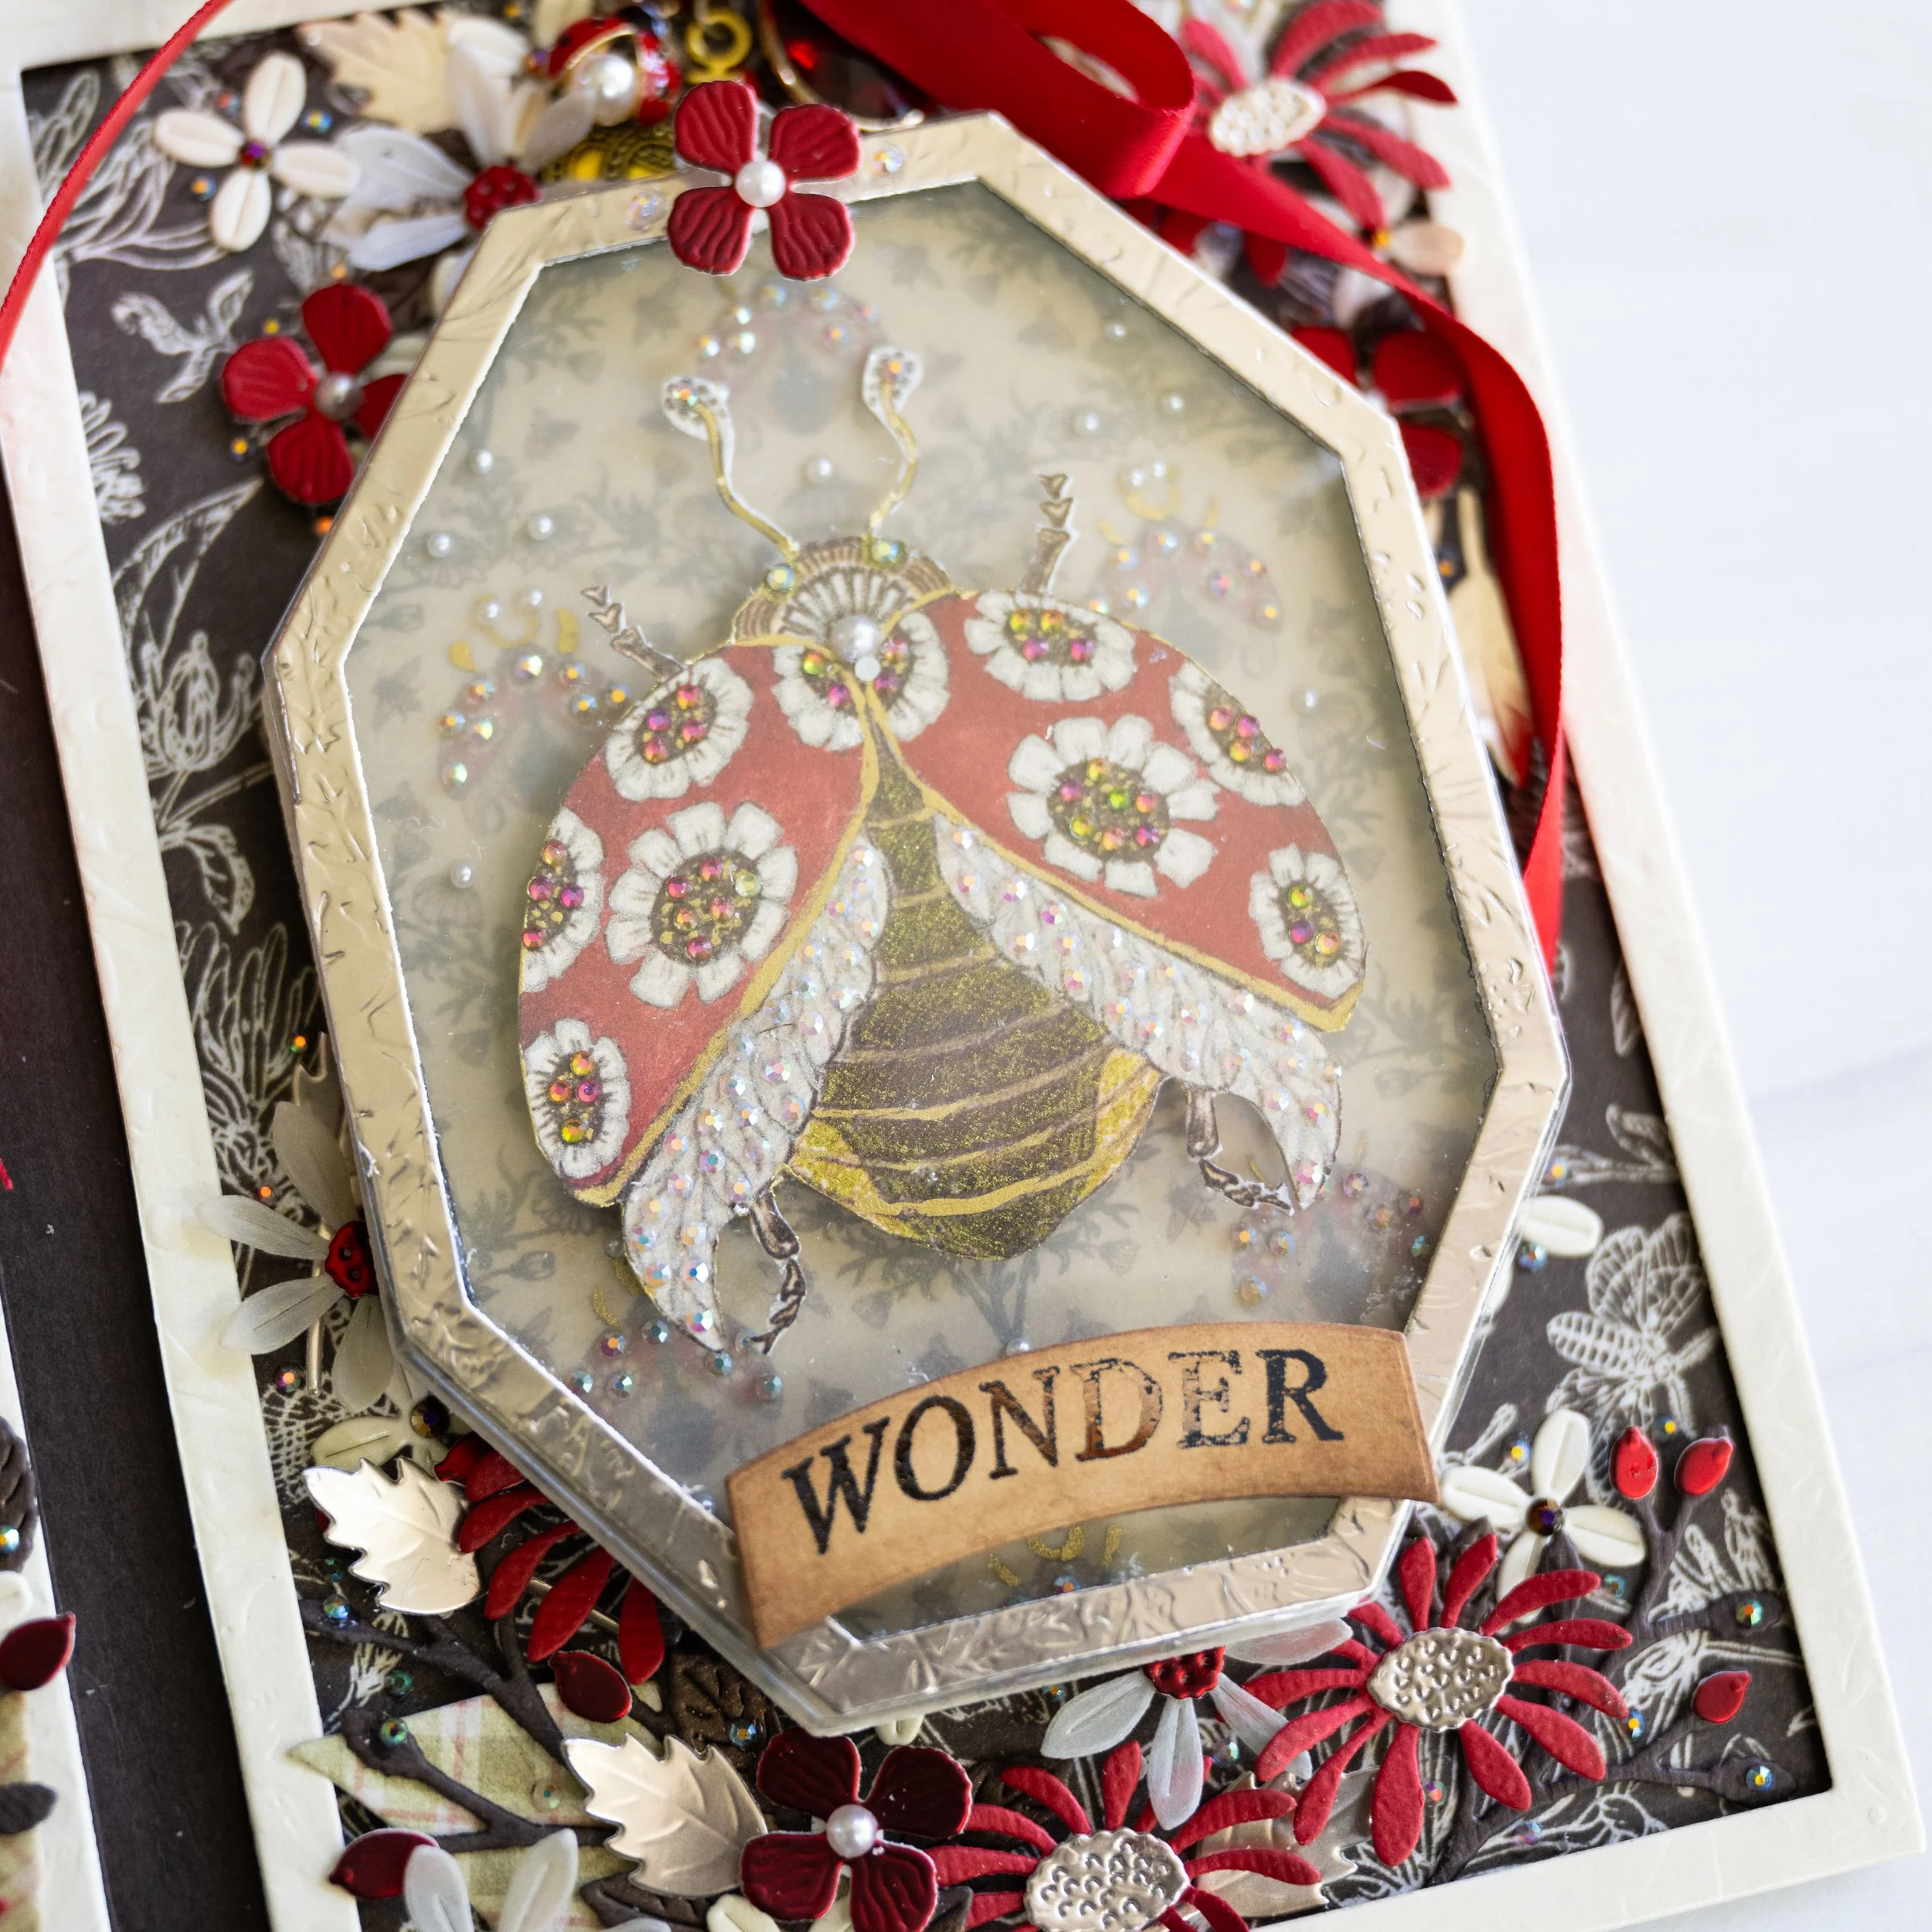
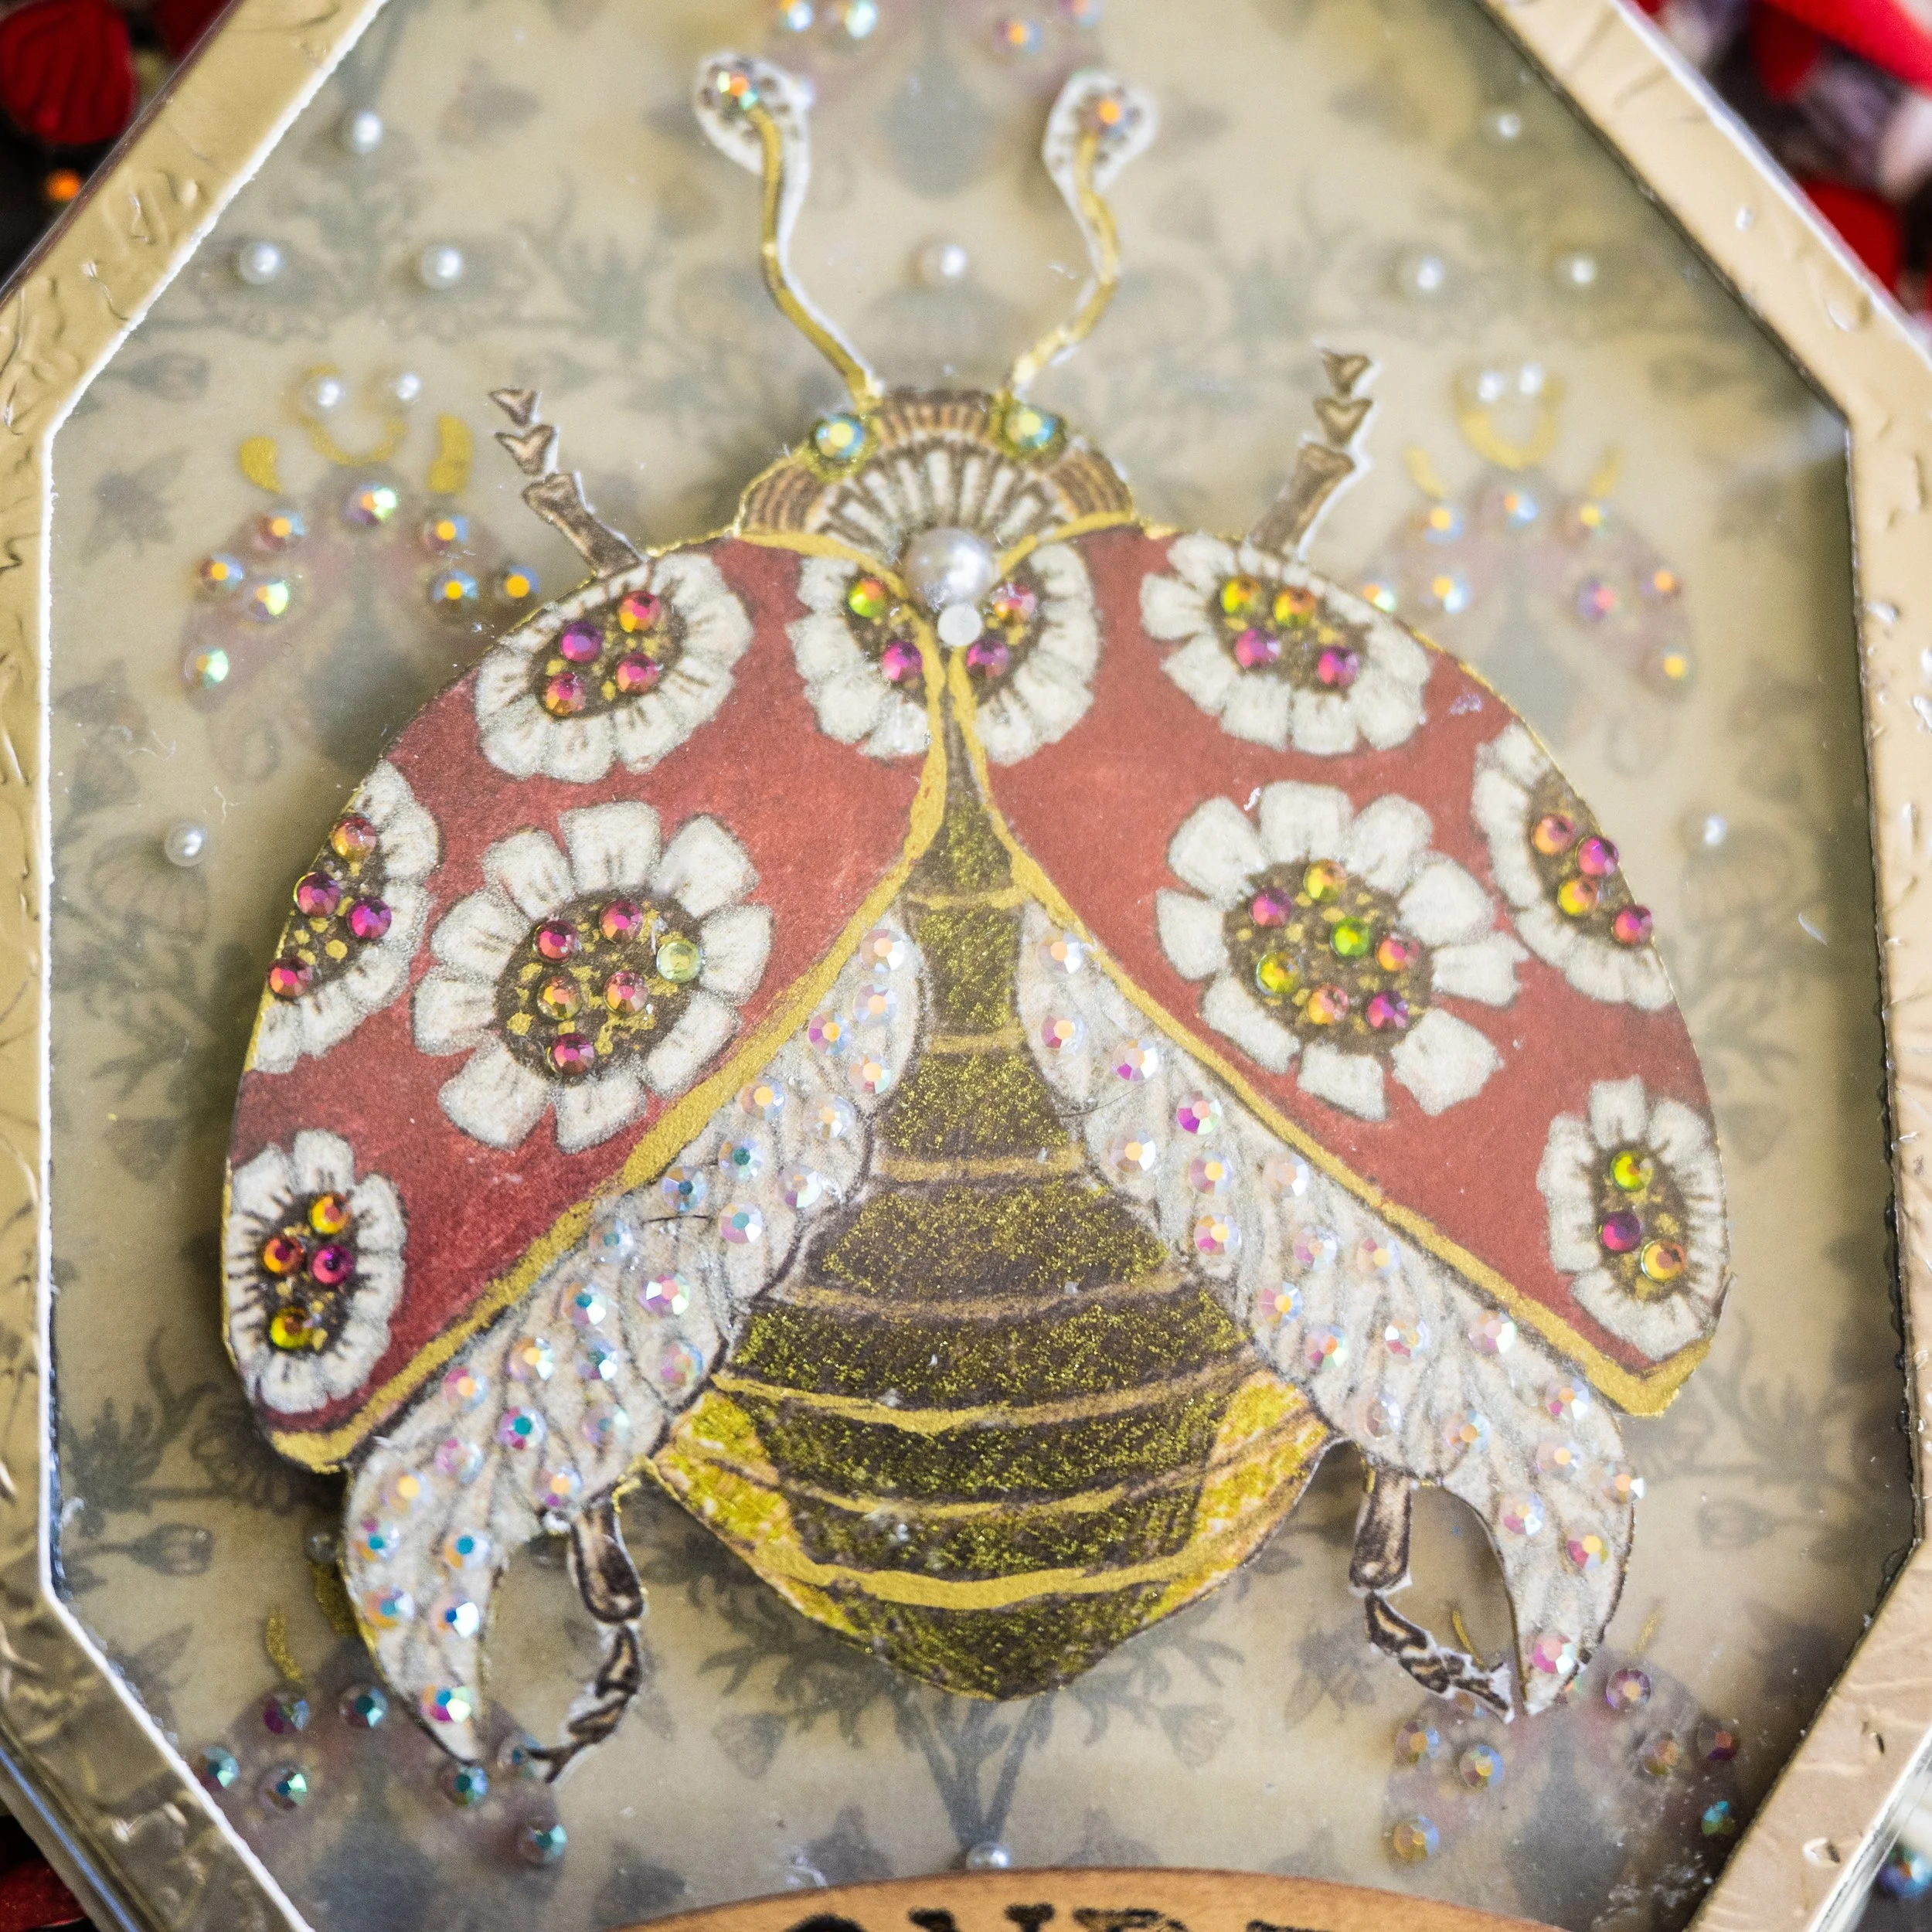
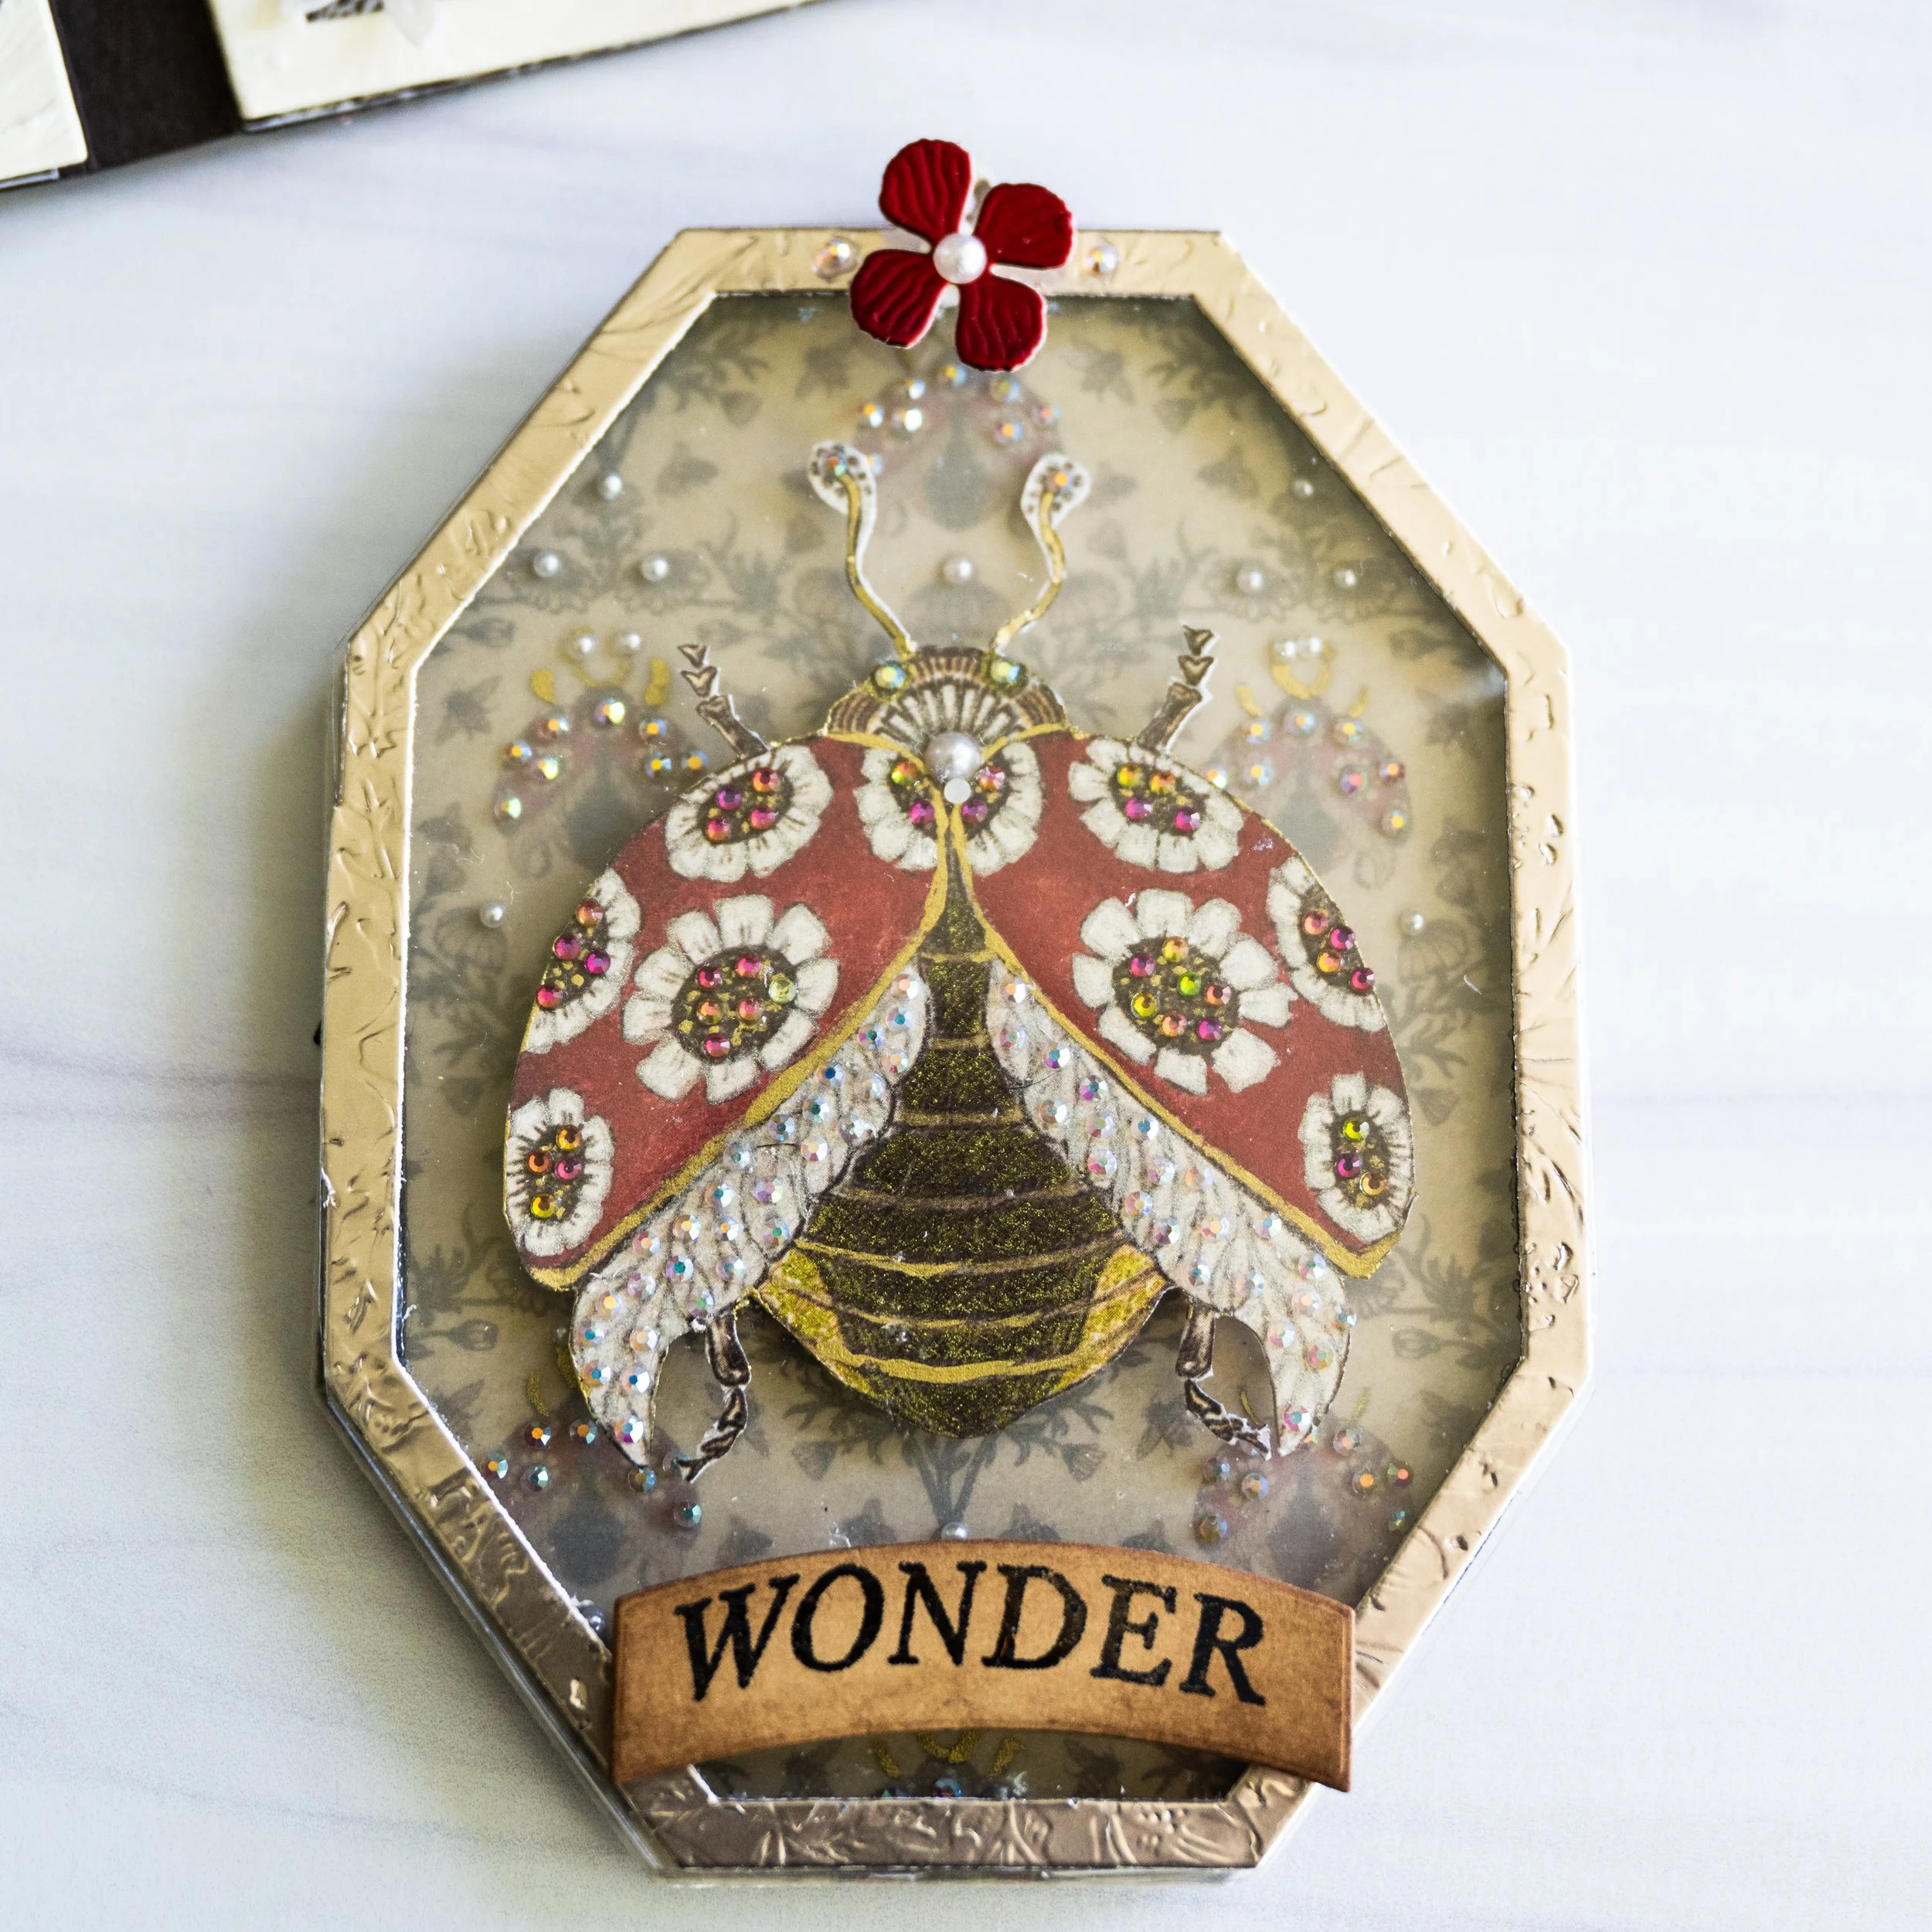
The card’s cover page features a vellum layer stamped with a ladybug stamp from the Vintage Summer collection and embossed with WOW! Extra fine gold embossing powder. I placed small flat back pearls on the spots to create a ladybug that was bejewelled, and would provide a hint of what can be found inside the card. I am not big on sentiments, but I wanted to utilize a sentiment that tied the card together by having one key word on each page. I decided on “Always Experience Wonder” as the sentiment because every word had its own meaning, yet each word could stand alone. To me, Olena’s beautiful ladybug, which I bejewelled further to make it multi-dimensional, represented this idea of seeing wonder and beauty even in nature’s tiny details. Nature is “always” ever-present. I believe nature should be “experienced” and can help us feel “wonder.” I used the Seraphine font from Tom Chalky and instead of curving the text in Adobe Illustrator, I just used the warp function on Photoshop. This gave each word a bit of unevenness and funkiness - it wasn’t hand lettering, but it still looked handcrafted. I printed the sentiment on my toner printer and used a DecoFoil transfer sheet in Amber Watercolor with my Minc to give the words some shine that still looked antiqued (see the video below for the shine!). I then die cut the sentiments with a scroll shaped die and aged the edges with Tim Holtz Distress Ink. This vellum layer with sentiment was placed over a clear acetate sheet that fits together with the layers on the inside of the card, like a puzzle. The octogon dies I used were from The Stamp Market: “nested octogons” and the “framed with a ribbon” die.
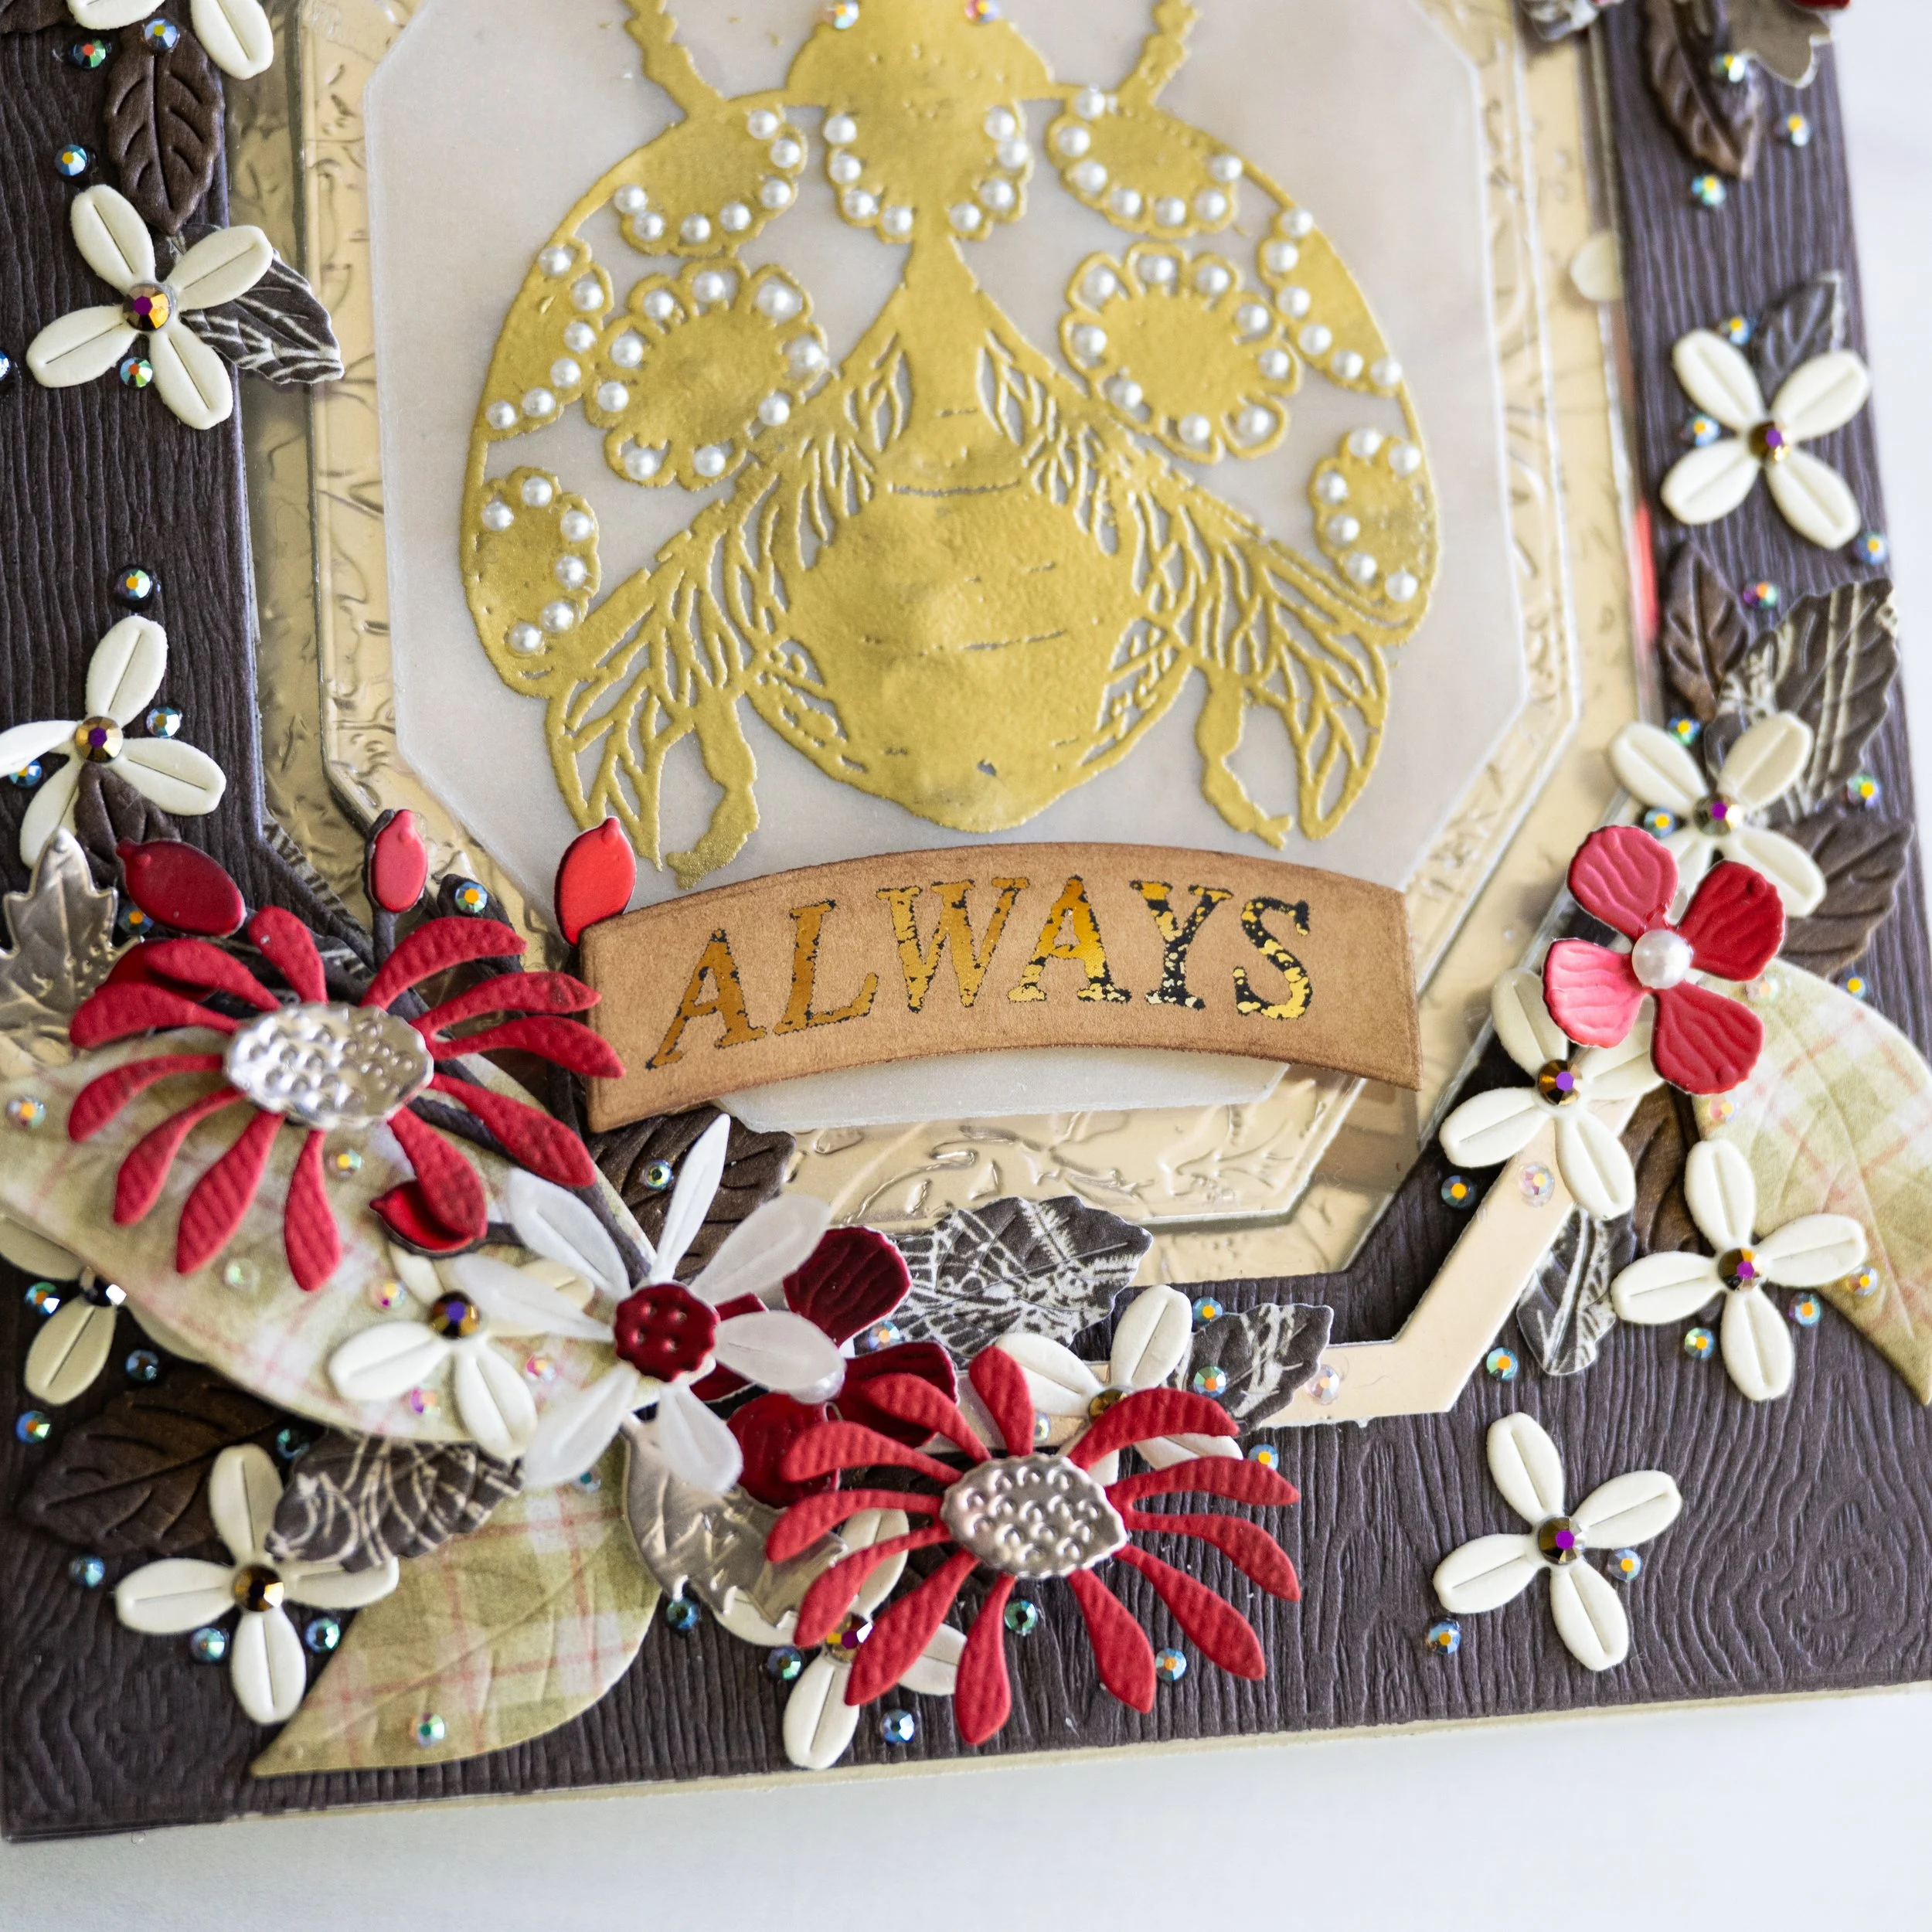
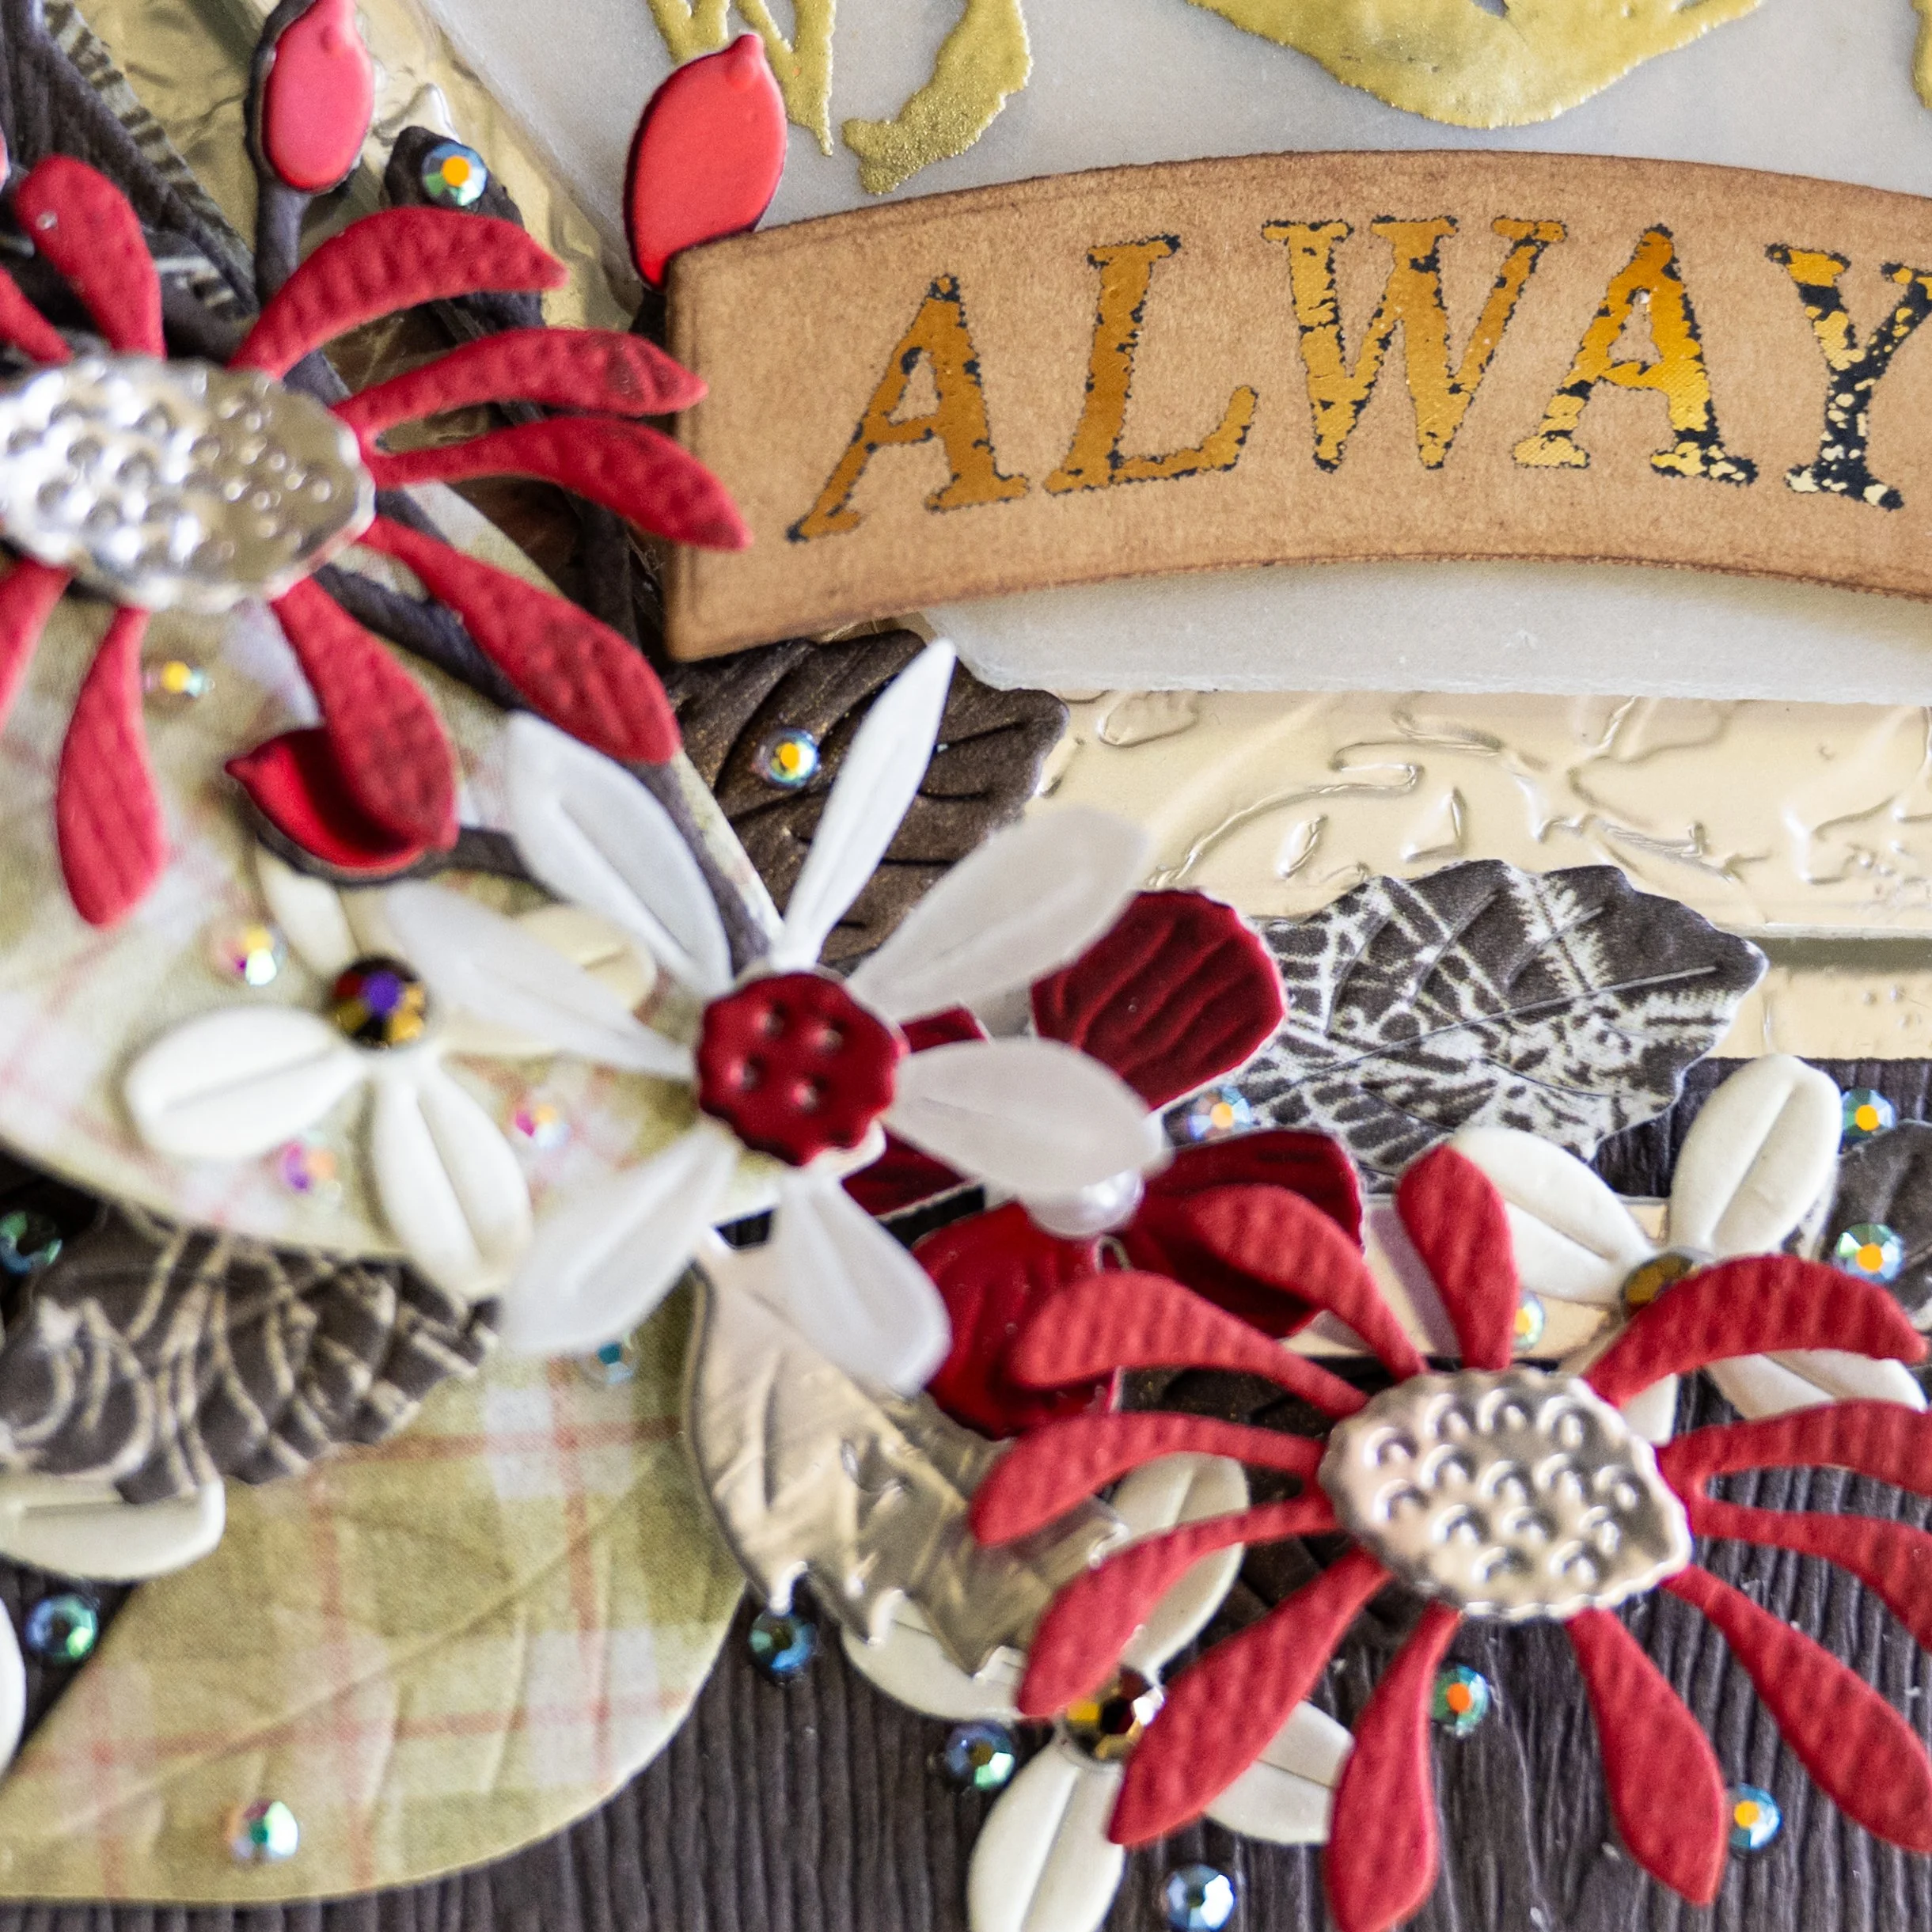
Detail of Always sentiment, gold heat embossed ladybug, and floral clusters
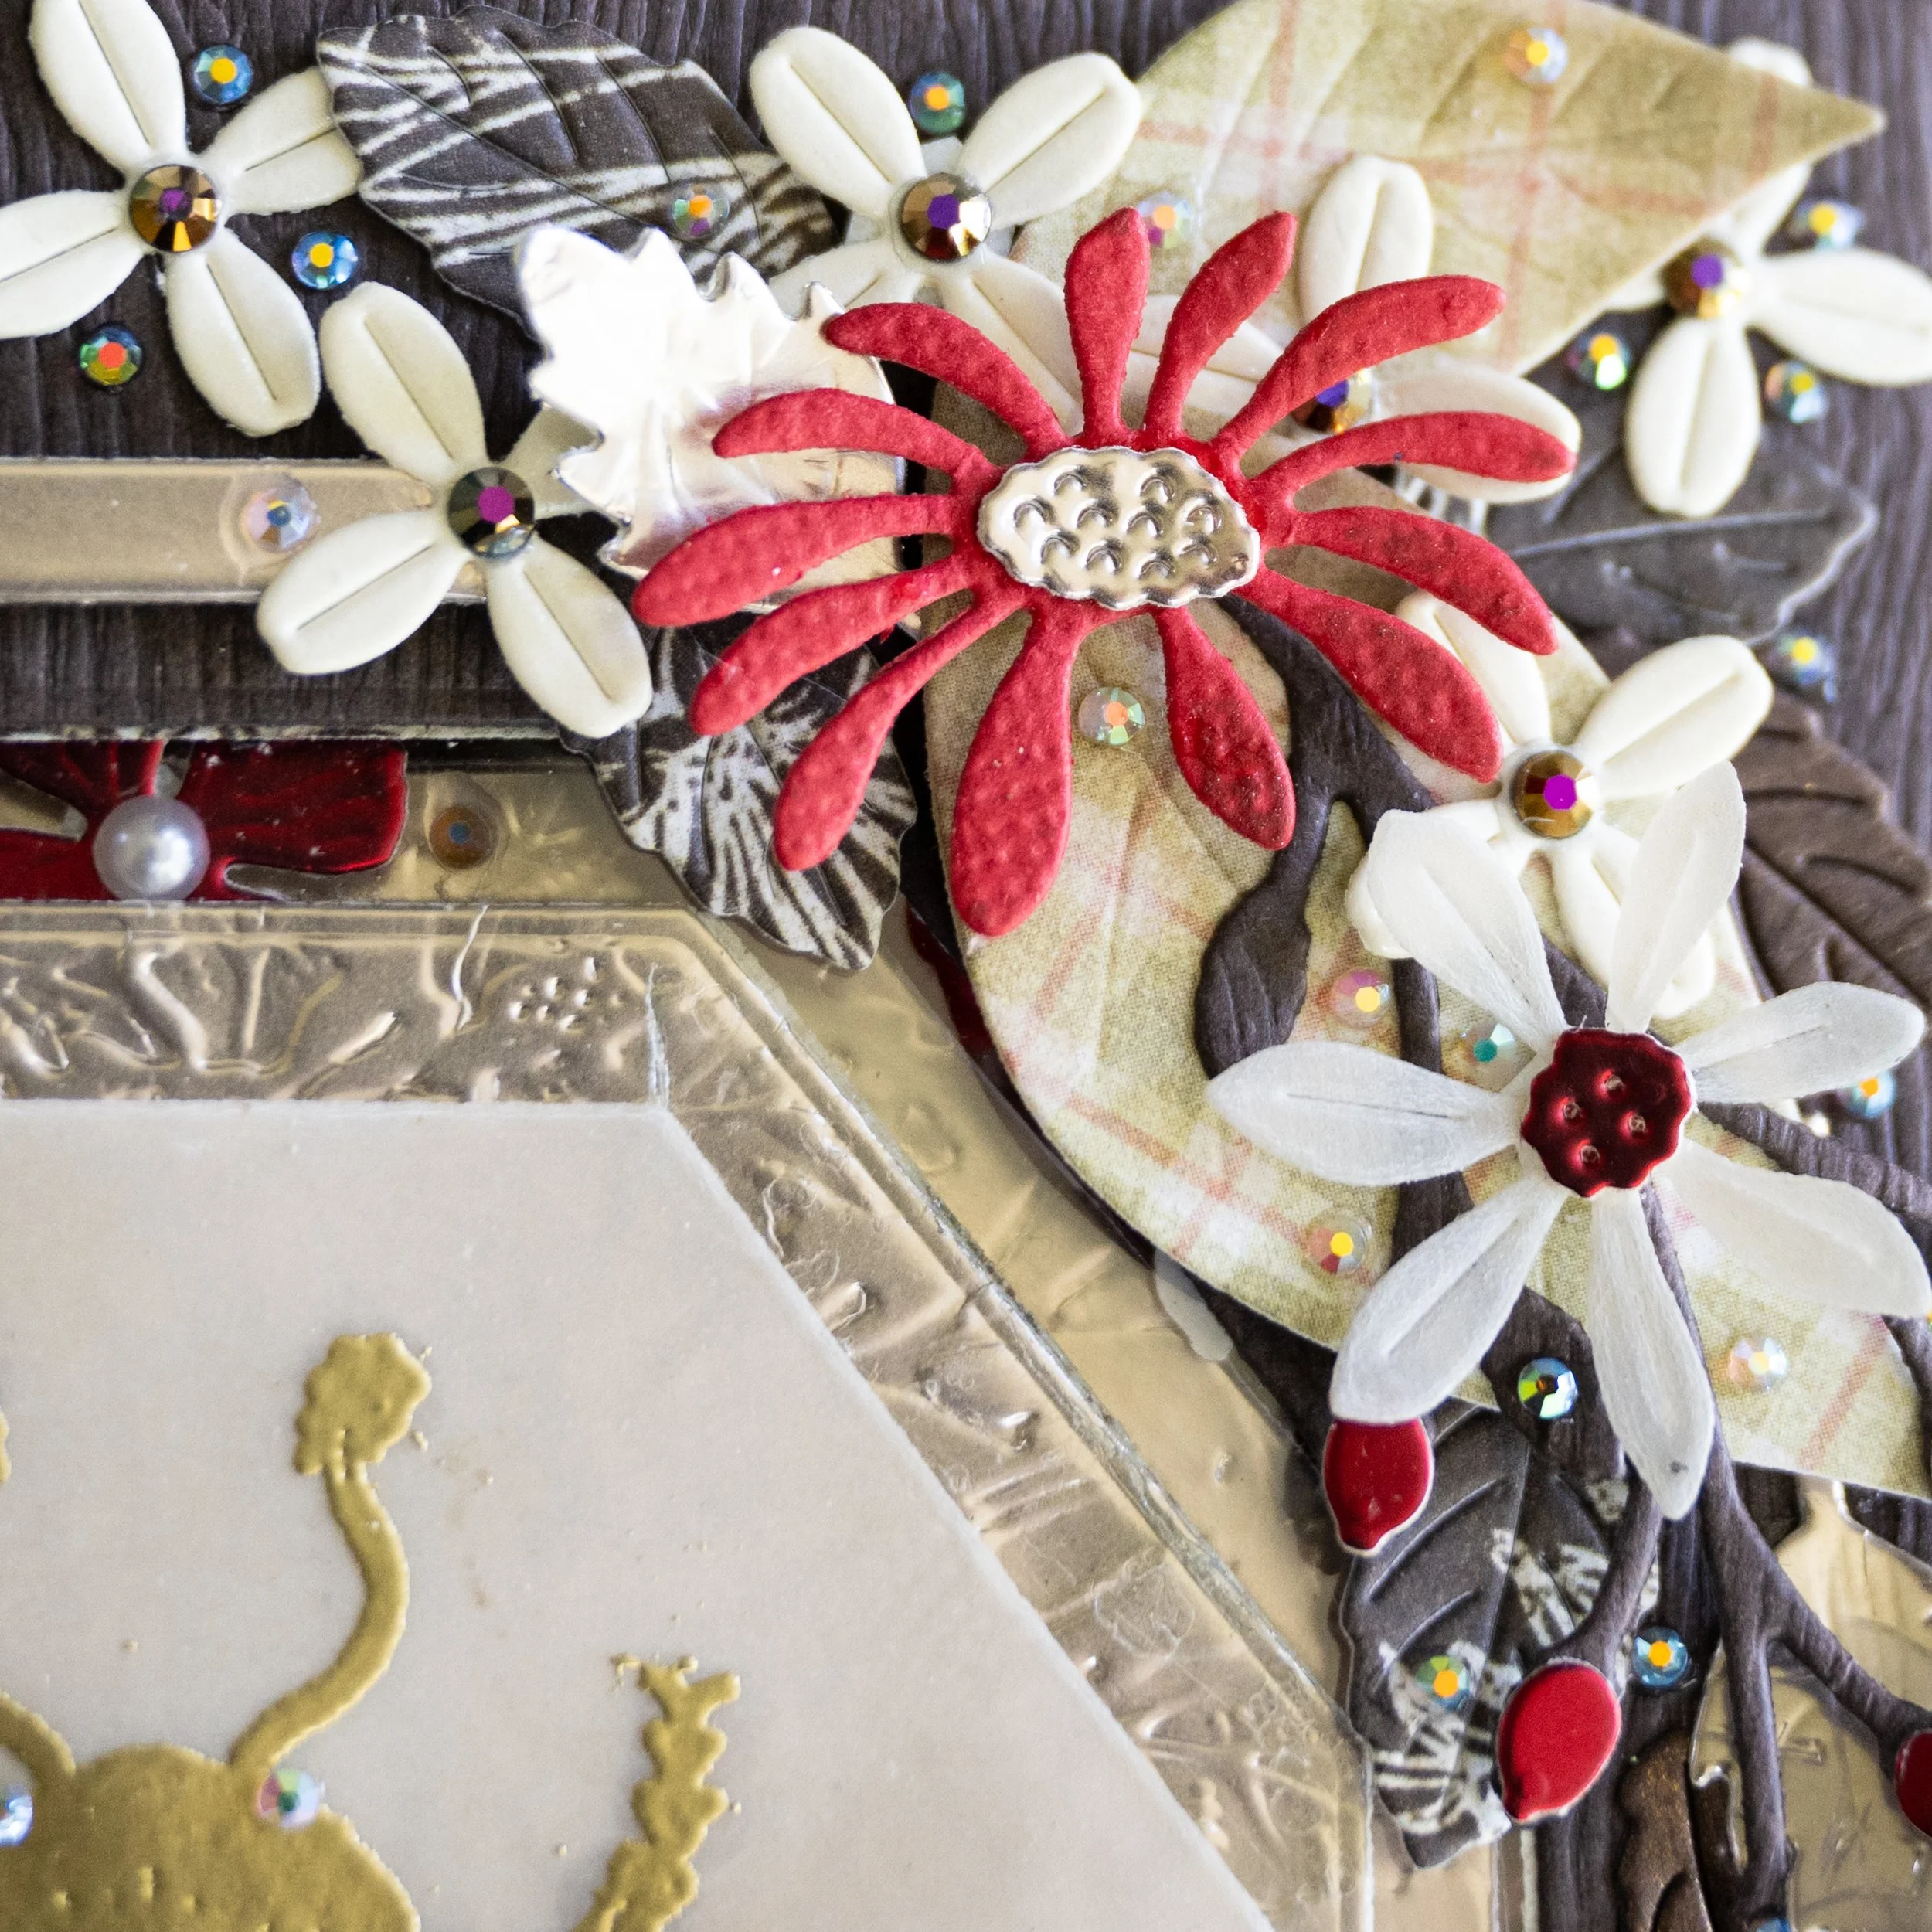
I then used a variety of flower shaped die cuts (I’m always looking for tiny little floral dies - I love the big realistic flowers, but for my work, I like tiny details to add depth through layers) and added some ink blending to some of the flowers to give them some dimension. I try to mix different types of paper stocks and use different adhesives to add depth to the floral clusters. These included die cuts using patterned paper from the Vintage Summer collection, as well as pearlized paper, matte foil paper, and textured cardstock. I also used the Gmund Bubinga wood embossed paper throughout the card to evoke a sense of a wood collection case for my creation. I then added size 6 Translucent AB rhinestones from Beadsland throughout the floral clusters to add sparkle. I feel like rhinestones are my signature and I want my work to sparkle when you walk by it, like something magical! AB rhinestones are not suitable for applications that will be touched frequently, but they are wonderful for cards because they have an iridescent, multi-colored shine. I also like using AB rhinestones, because they can help further unify the color scheme since they shine with different colors.
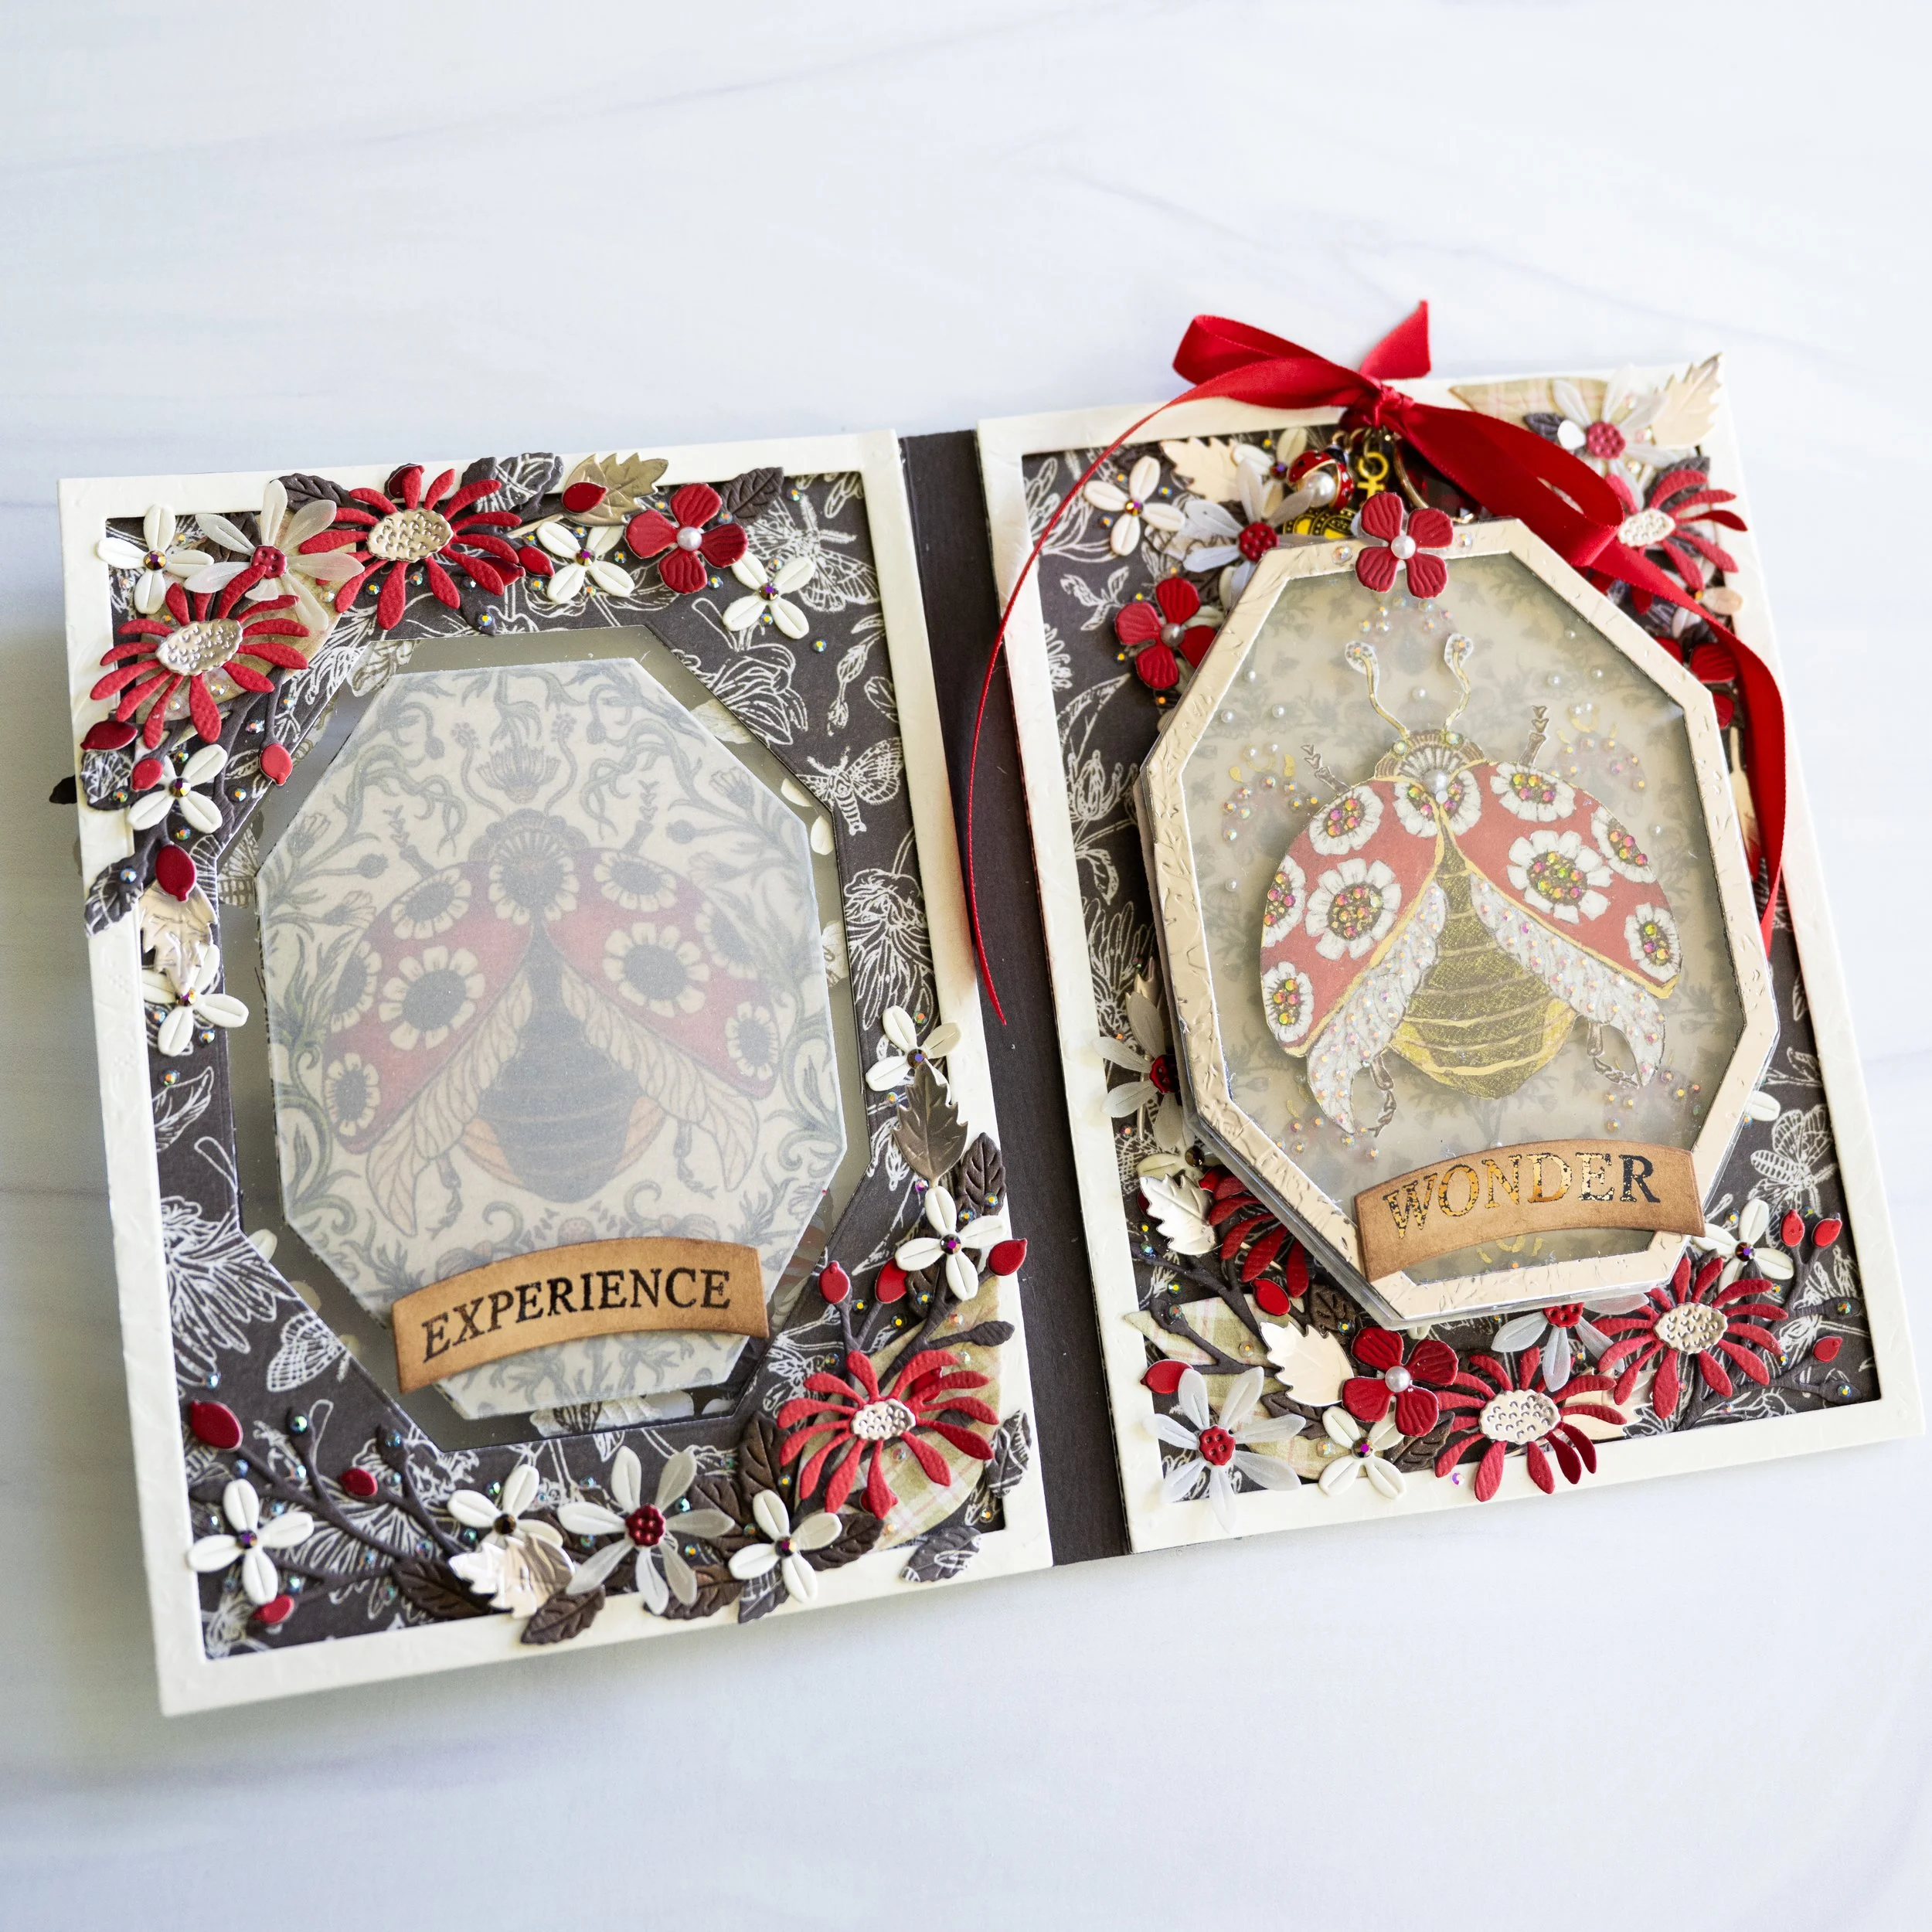
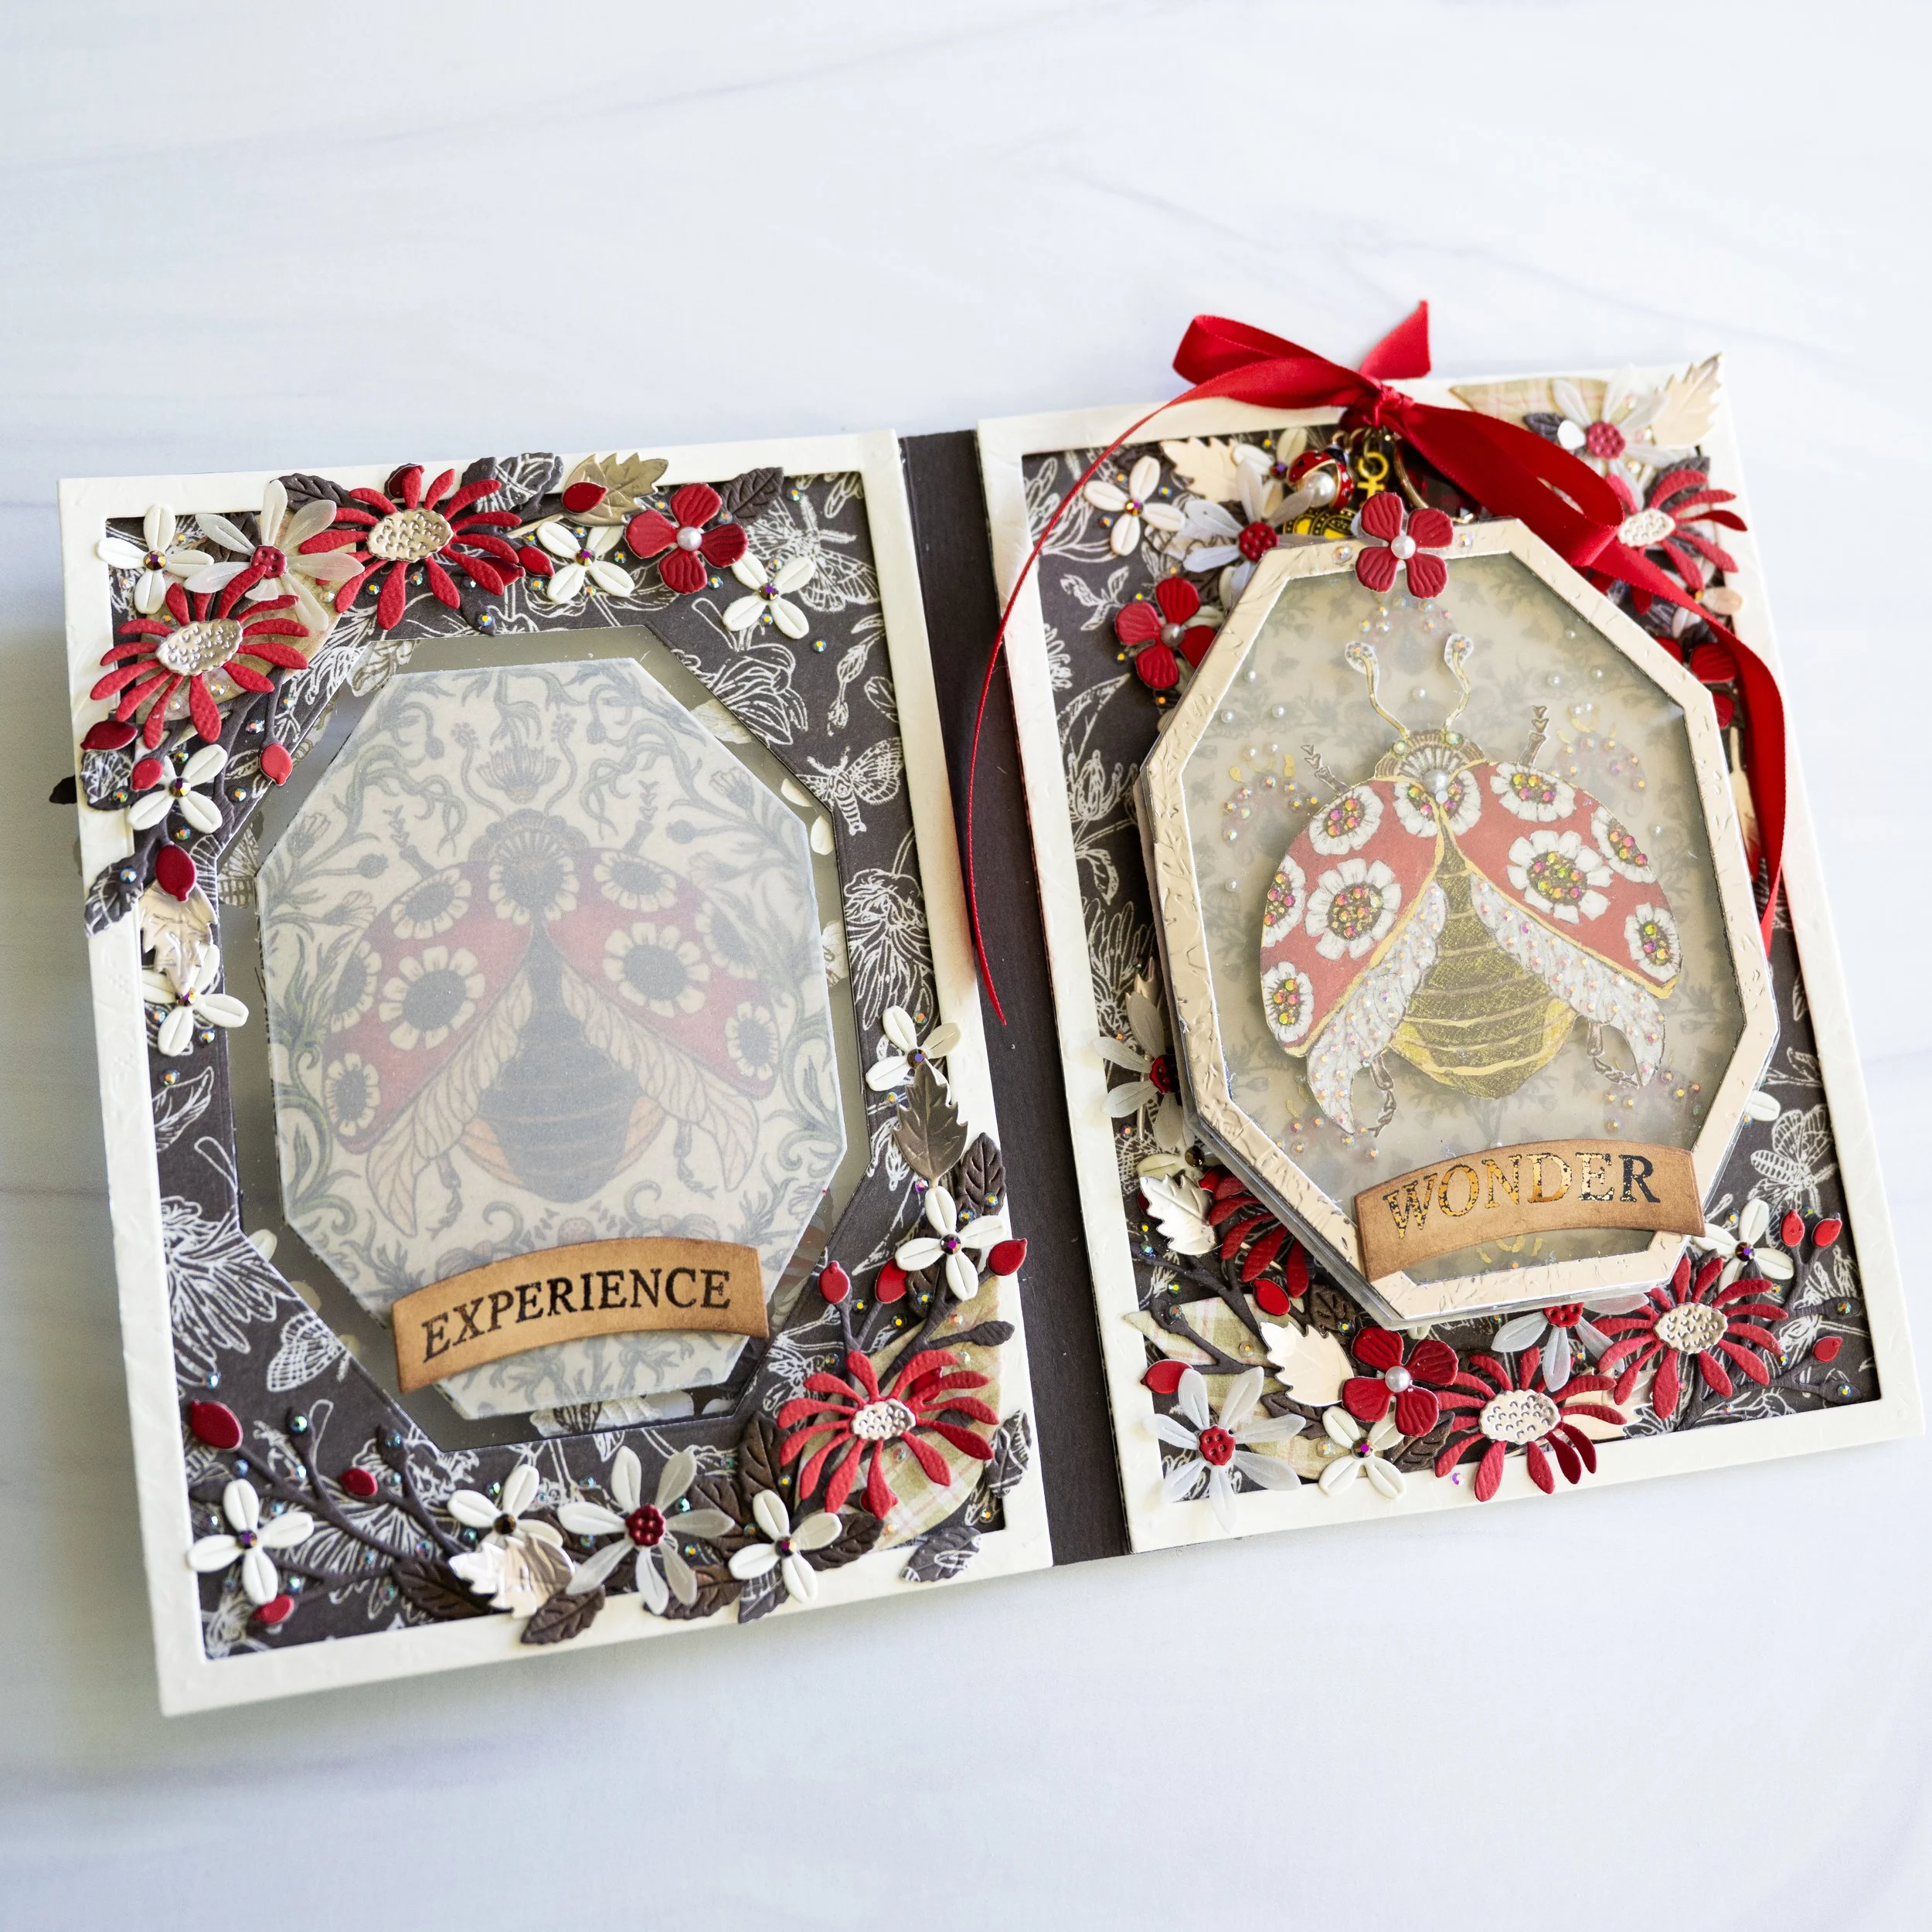
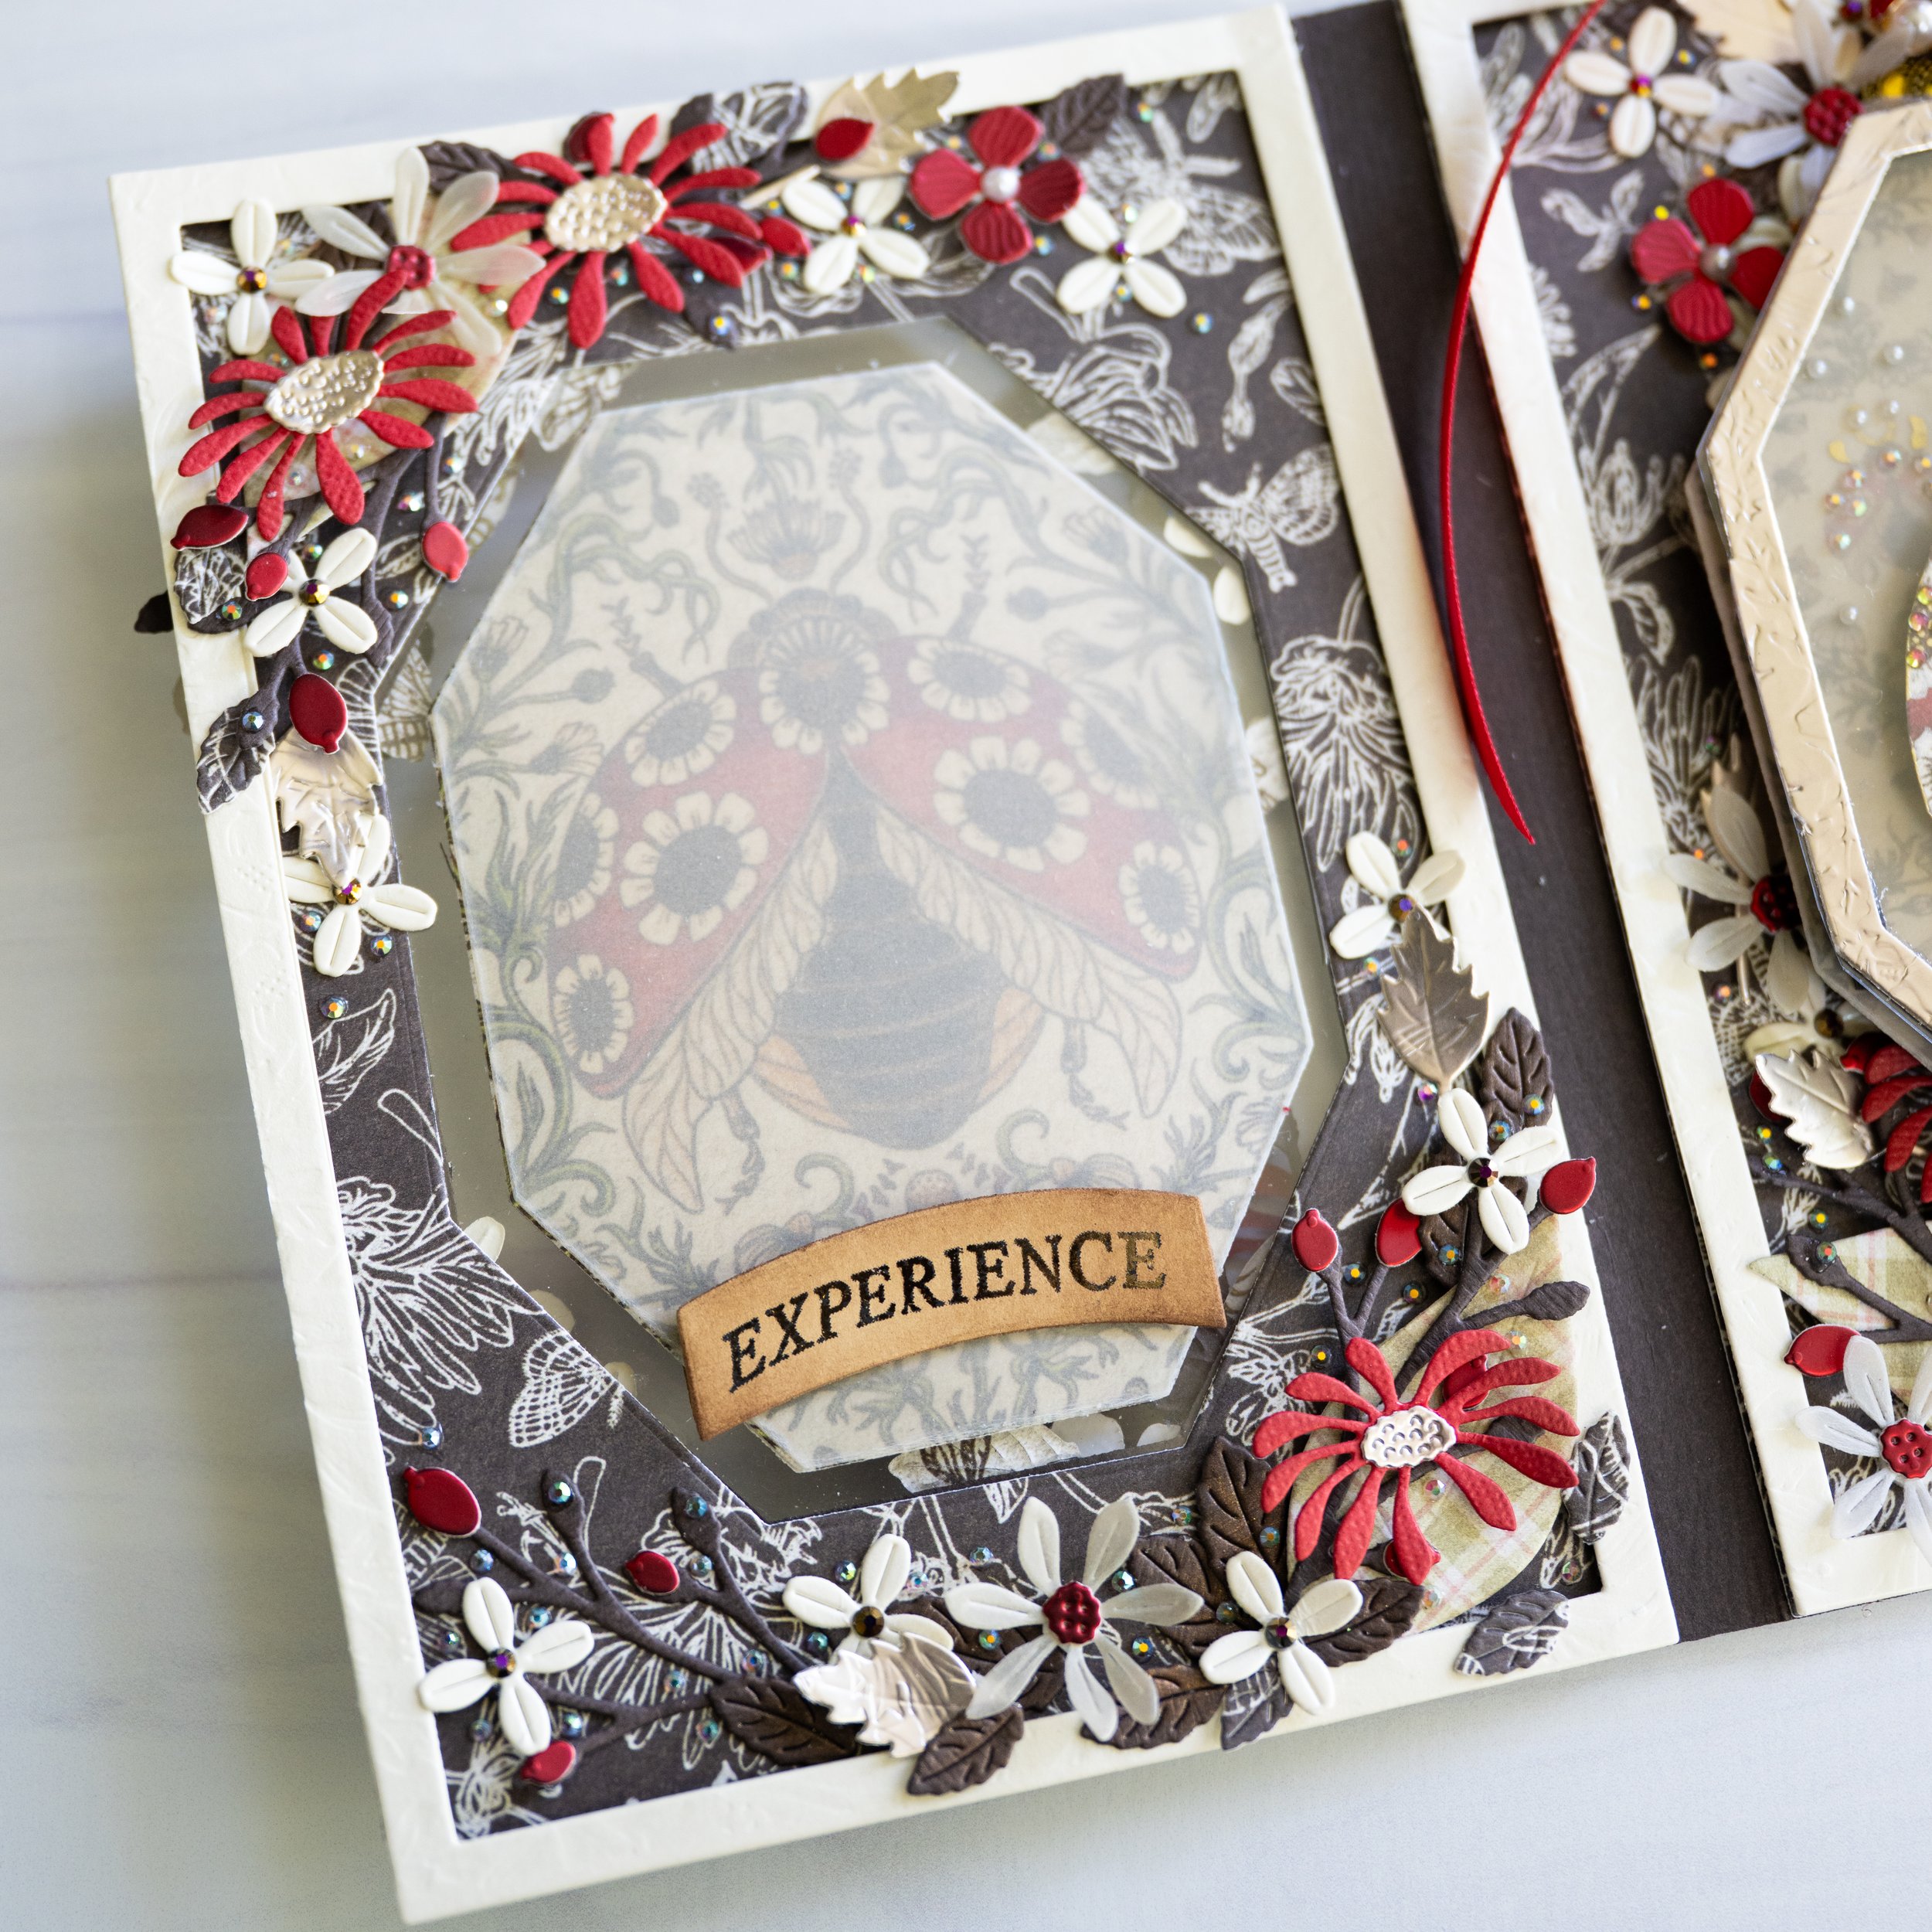
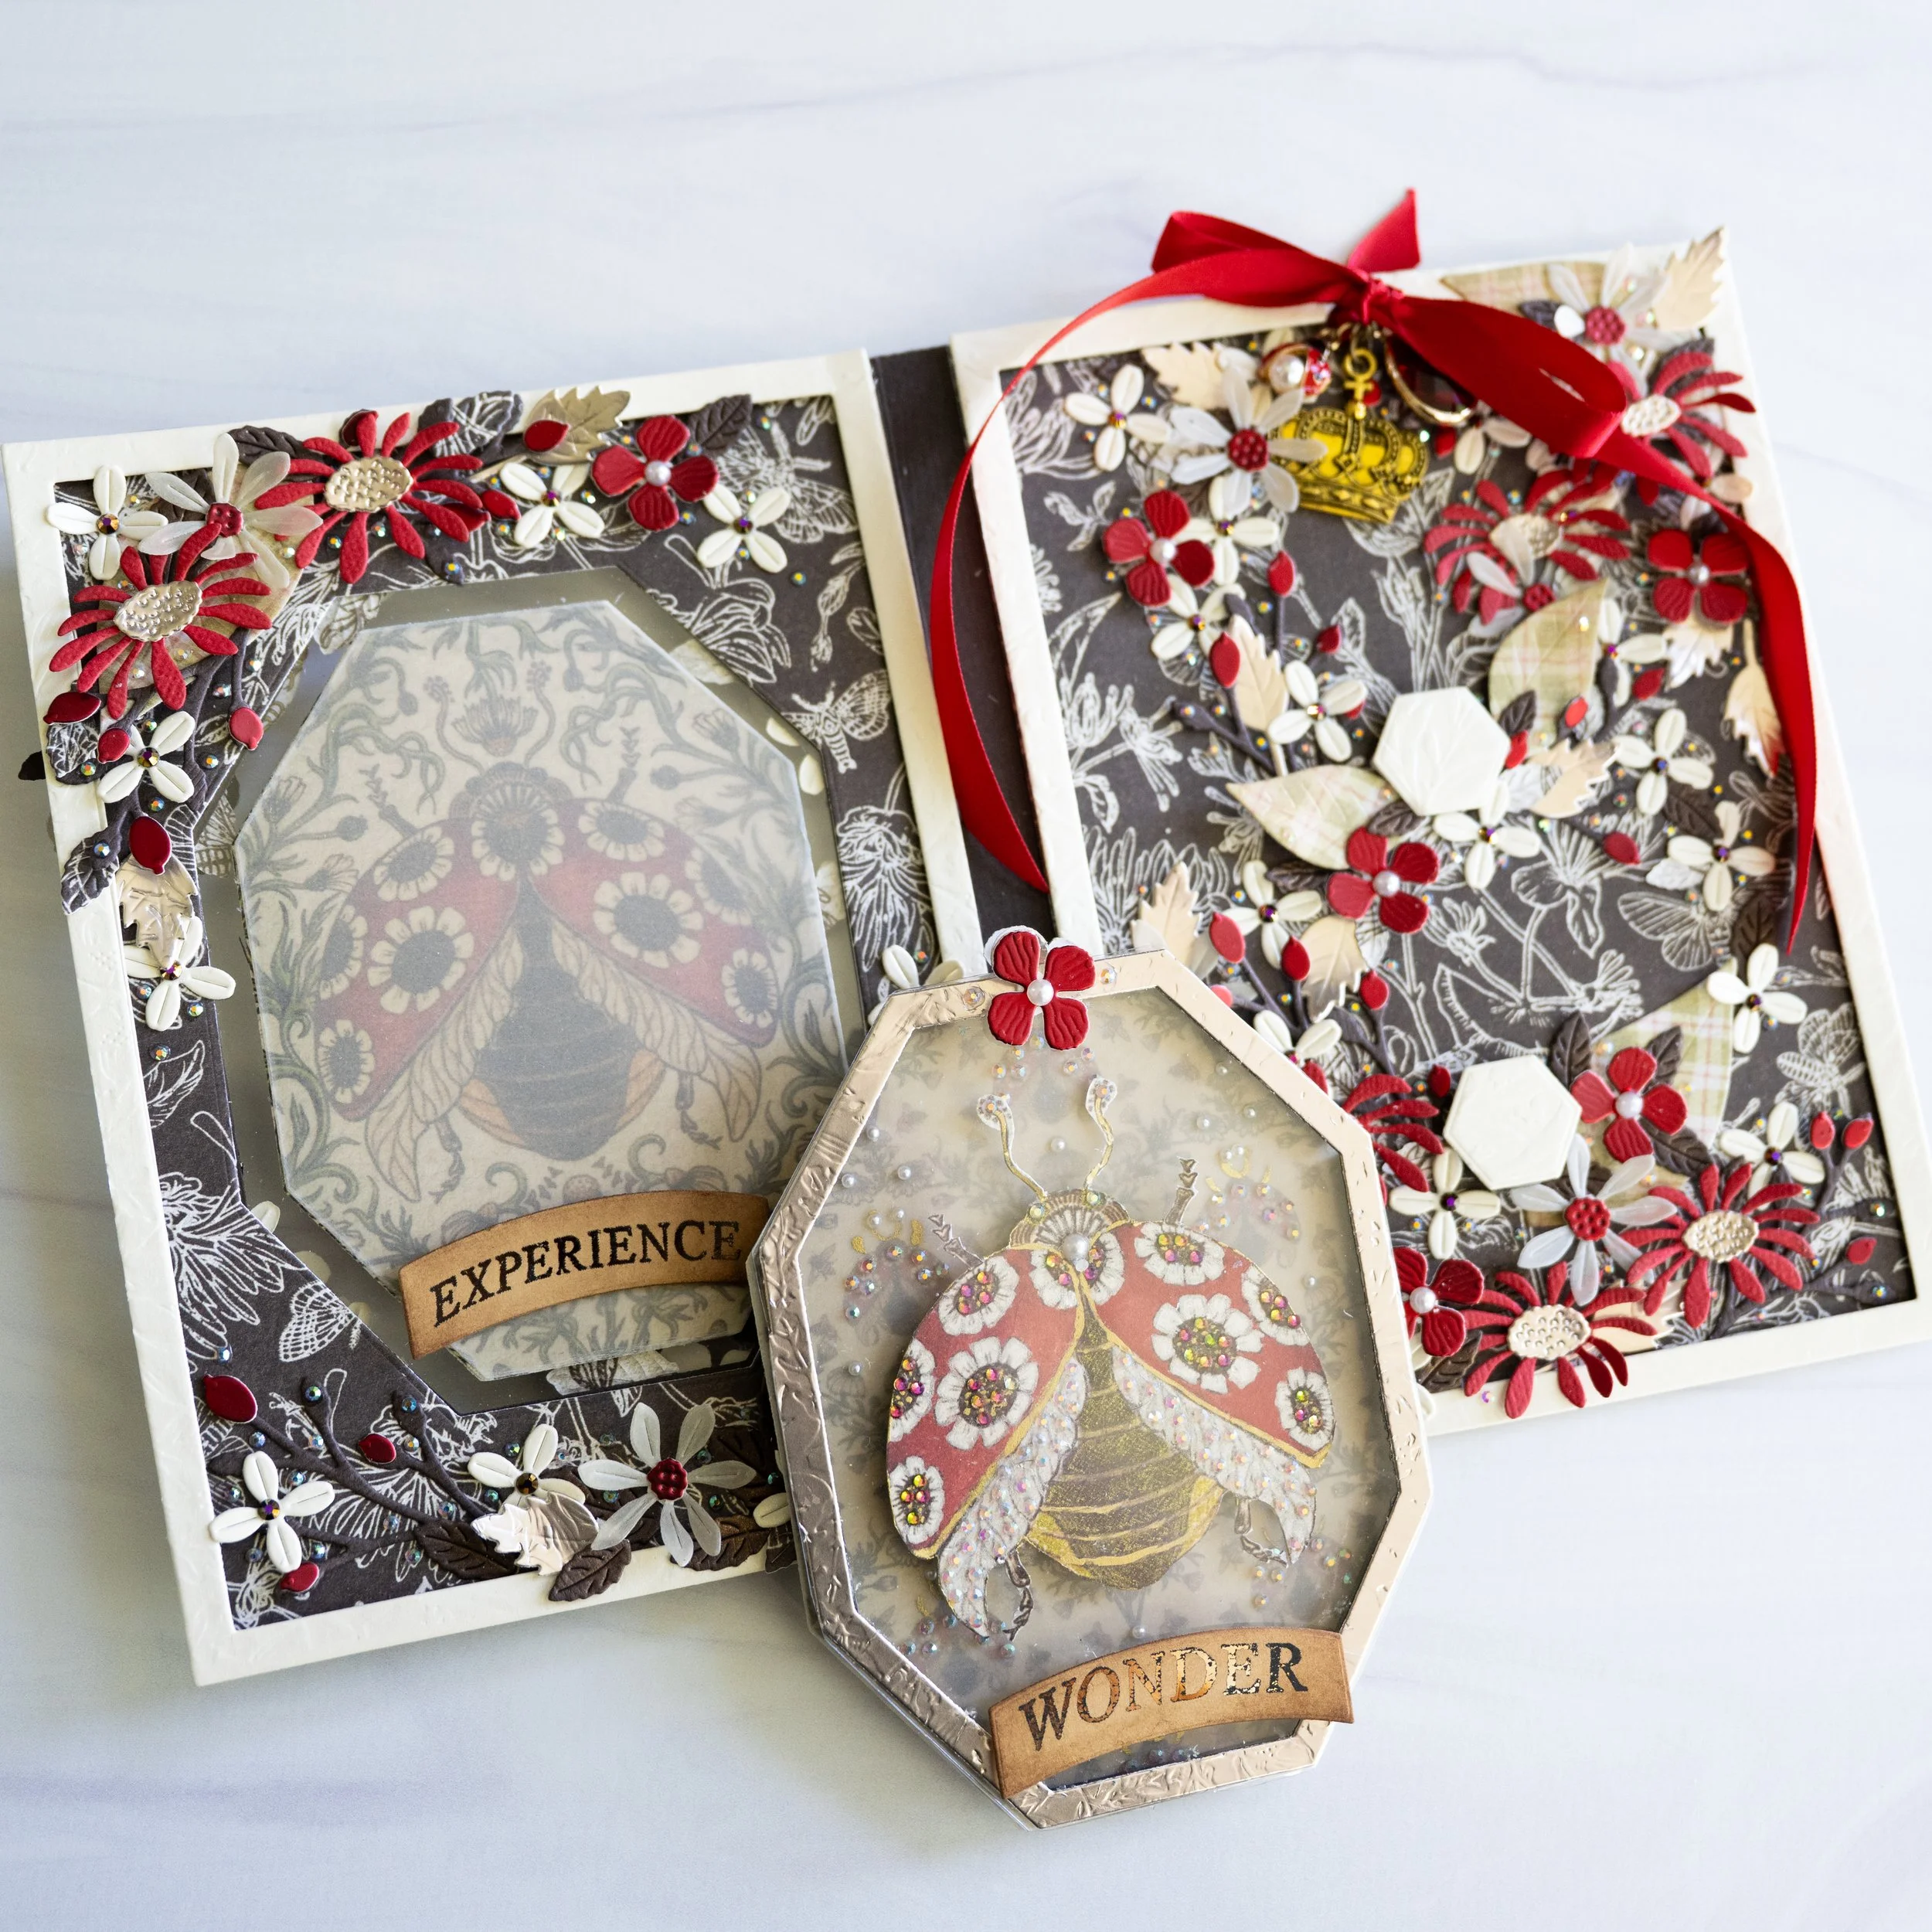
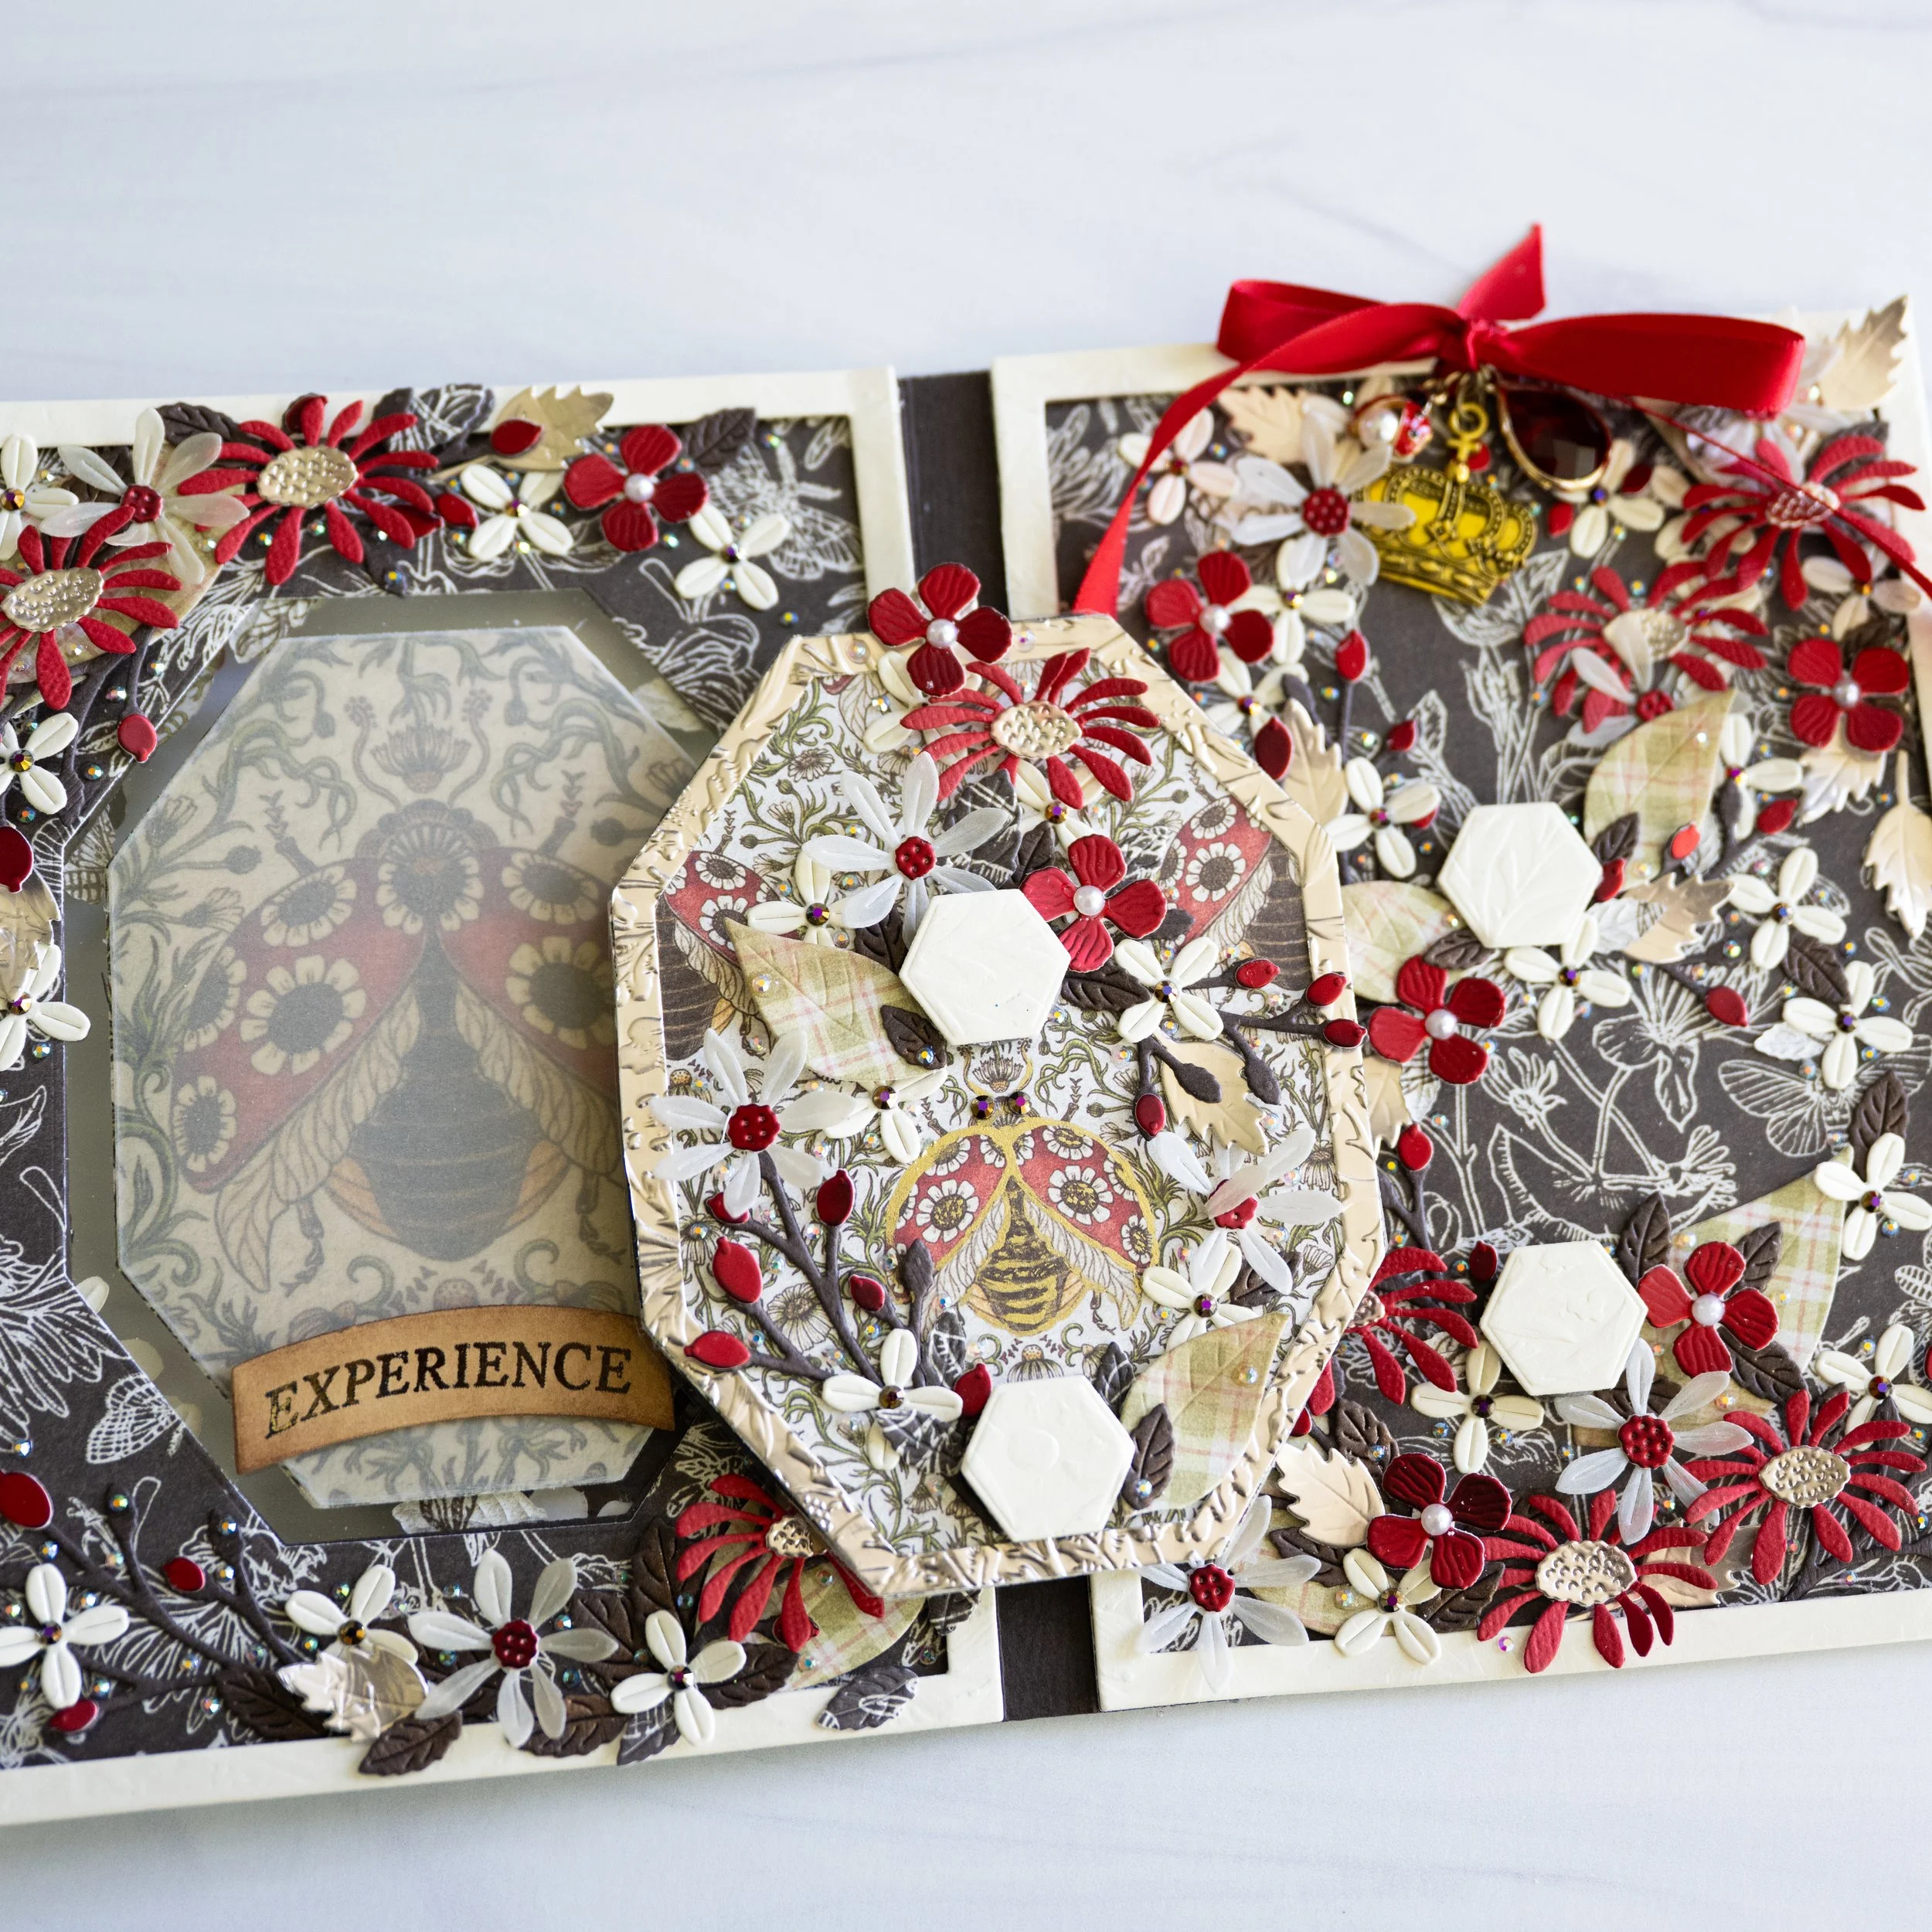
Inside layout of card
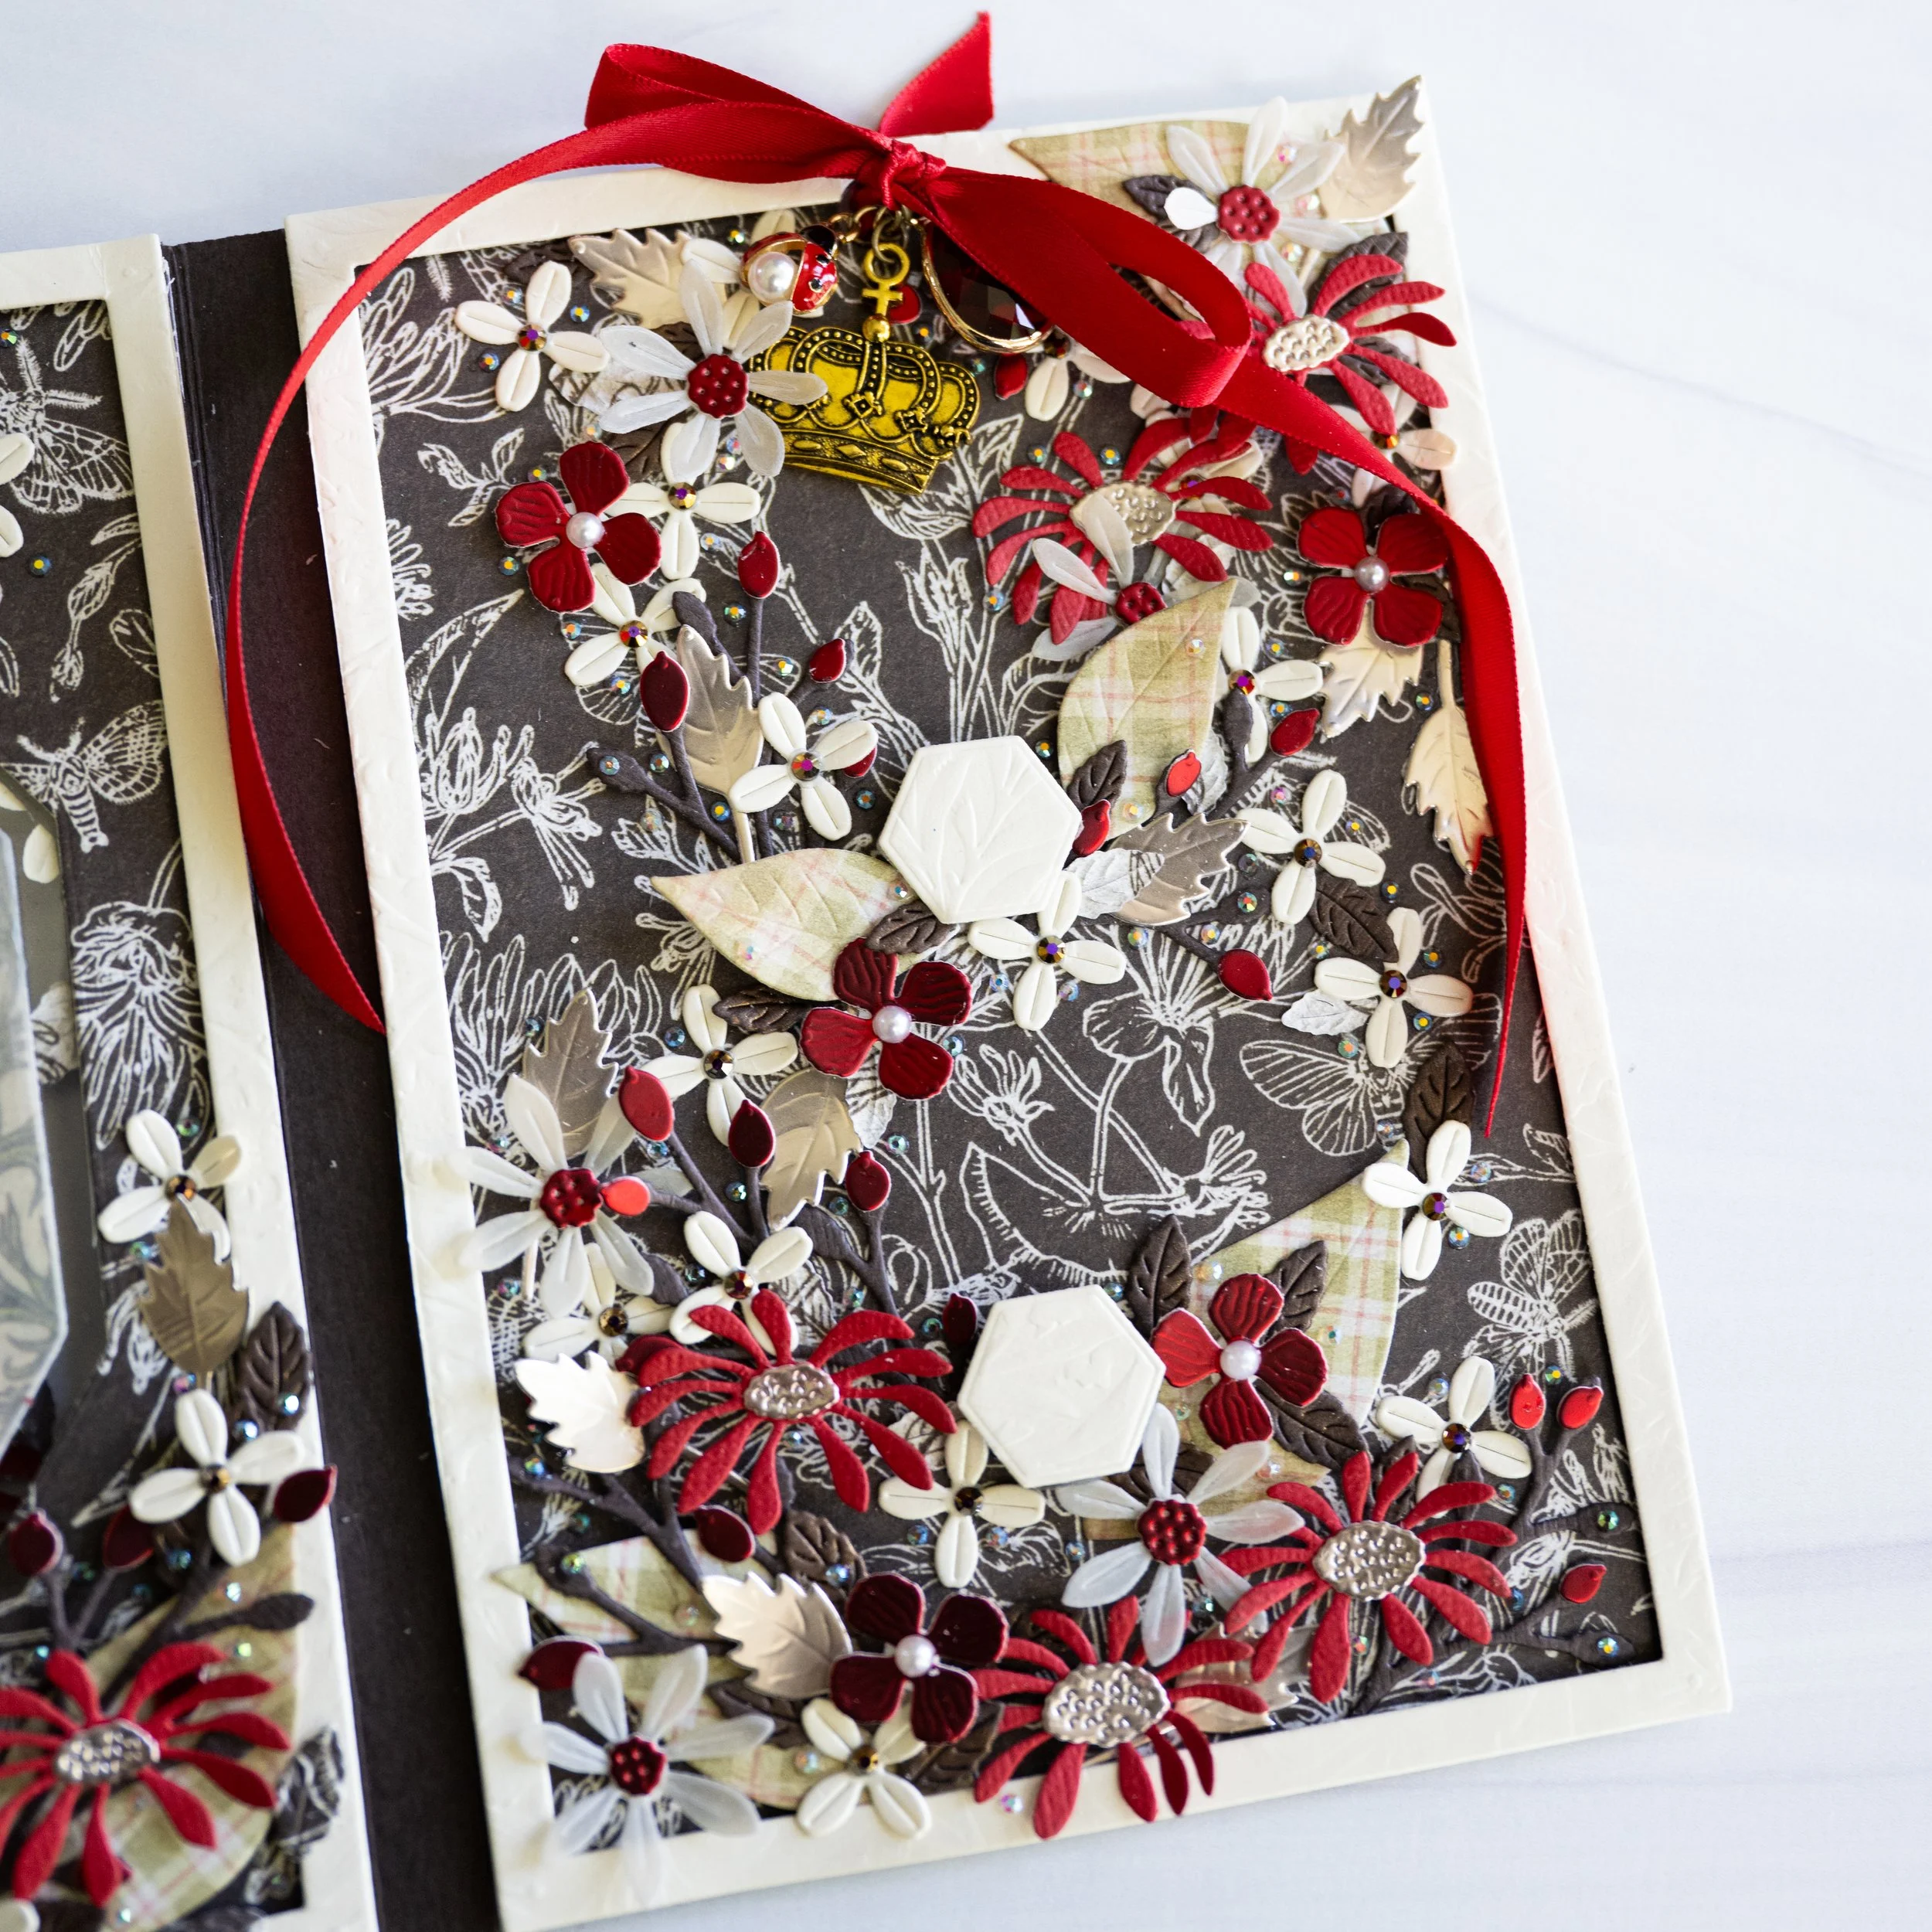
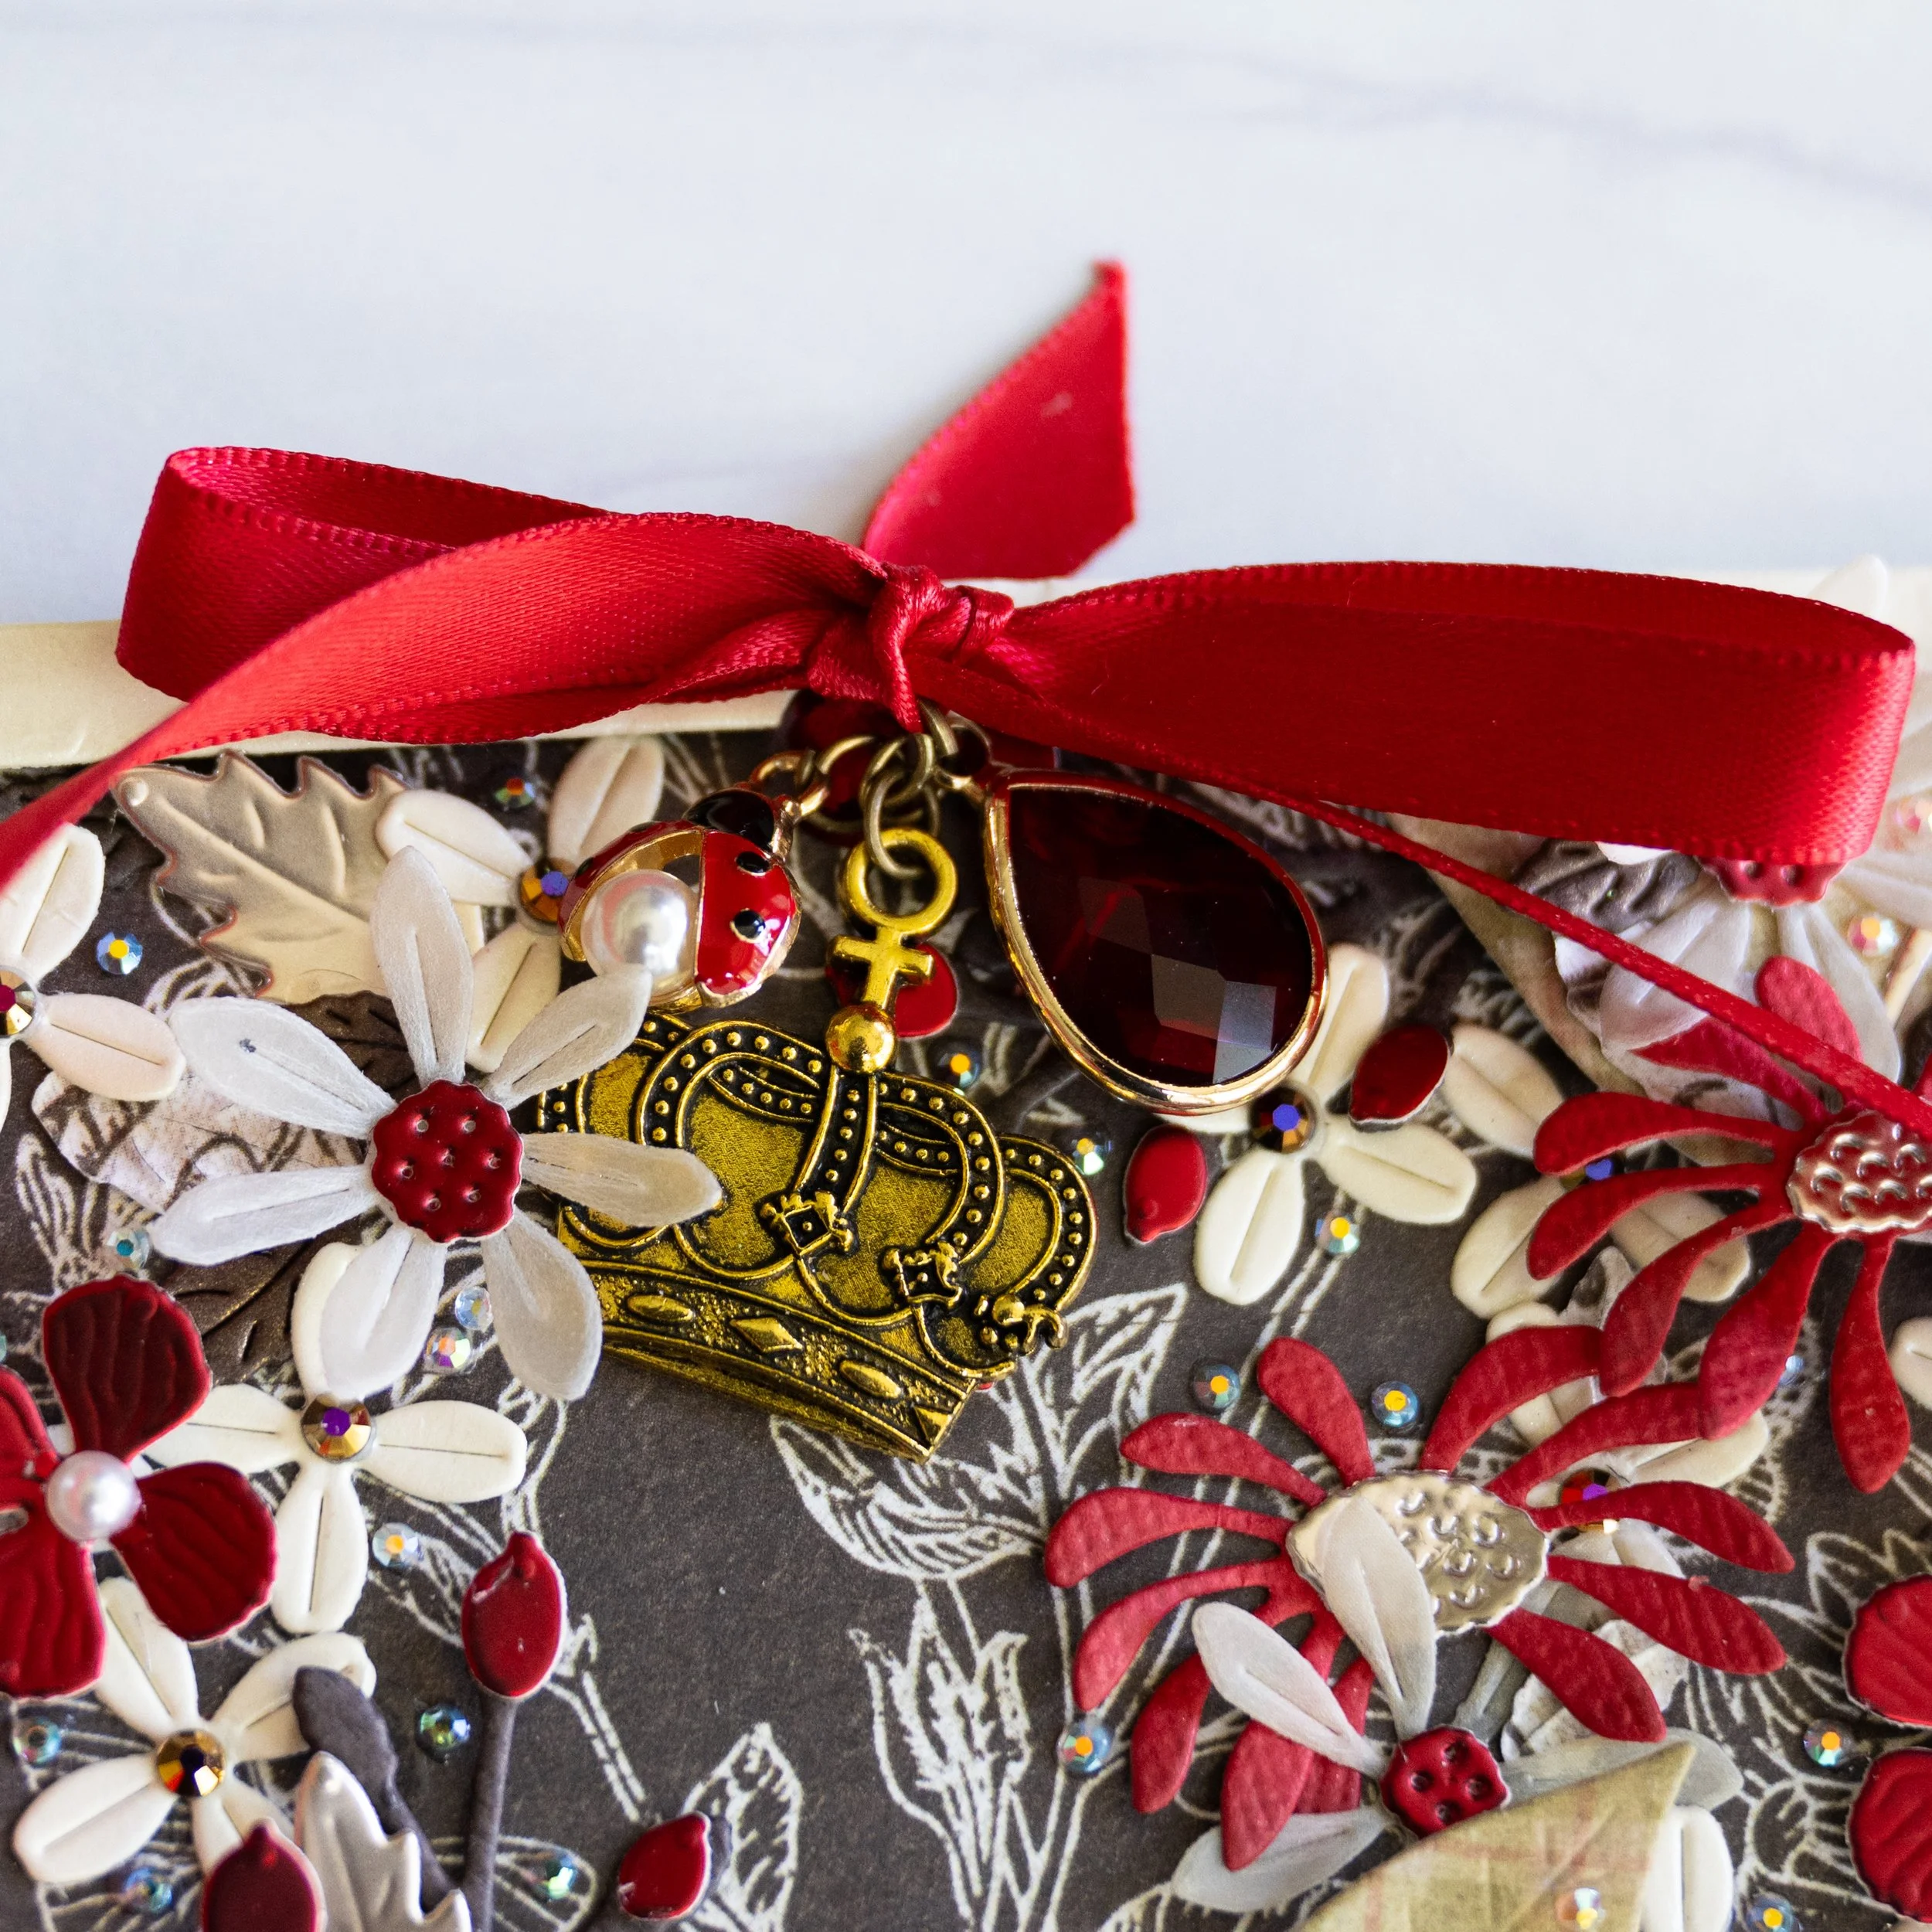
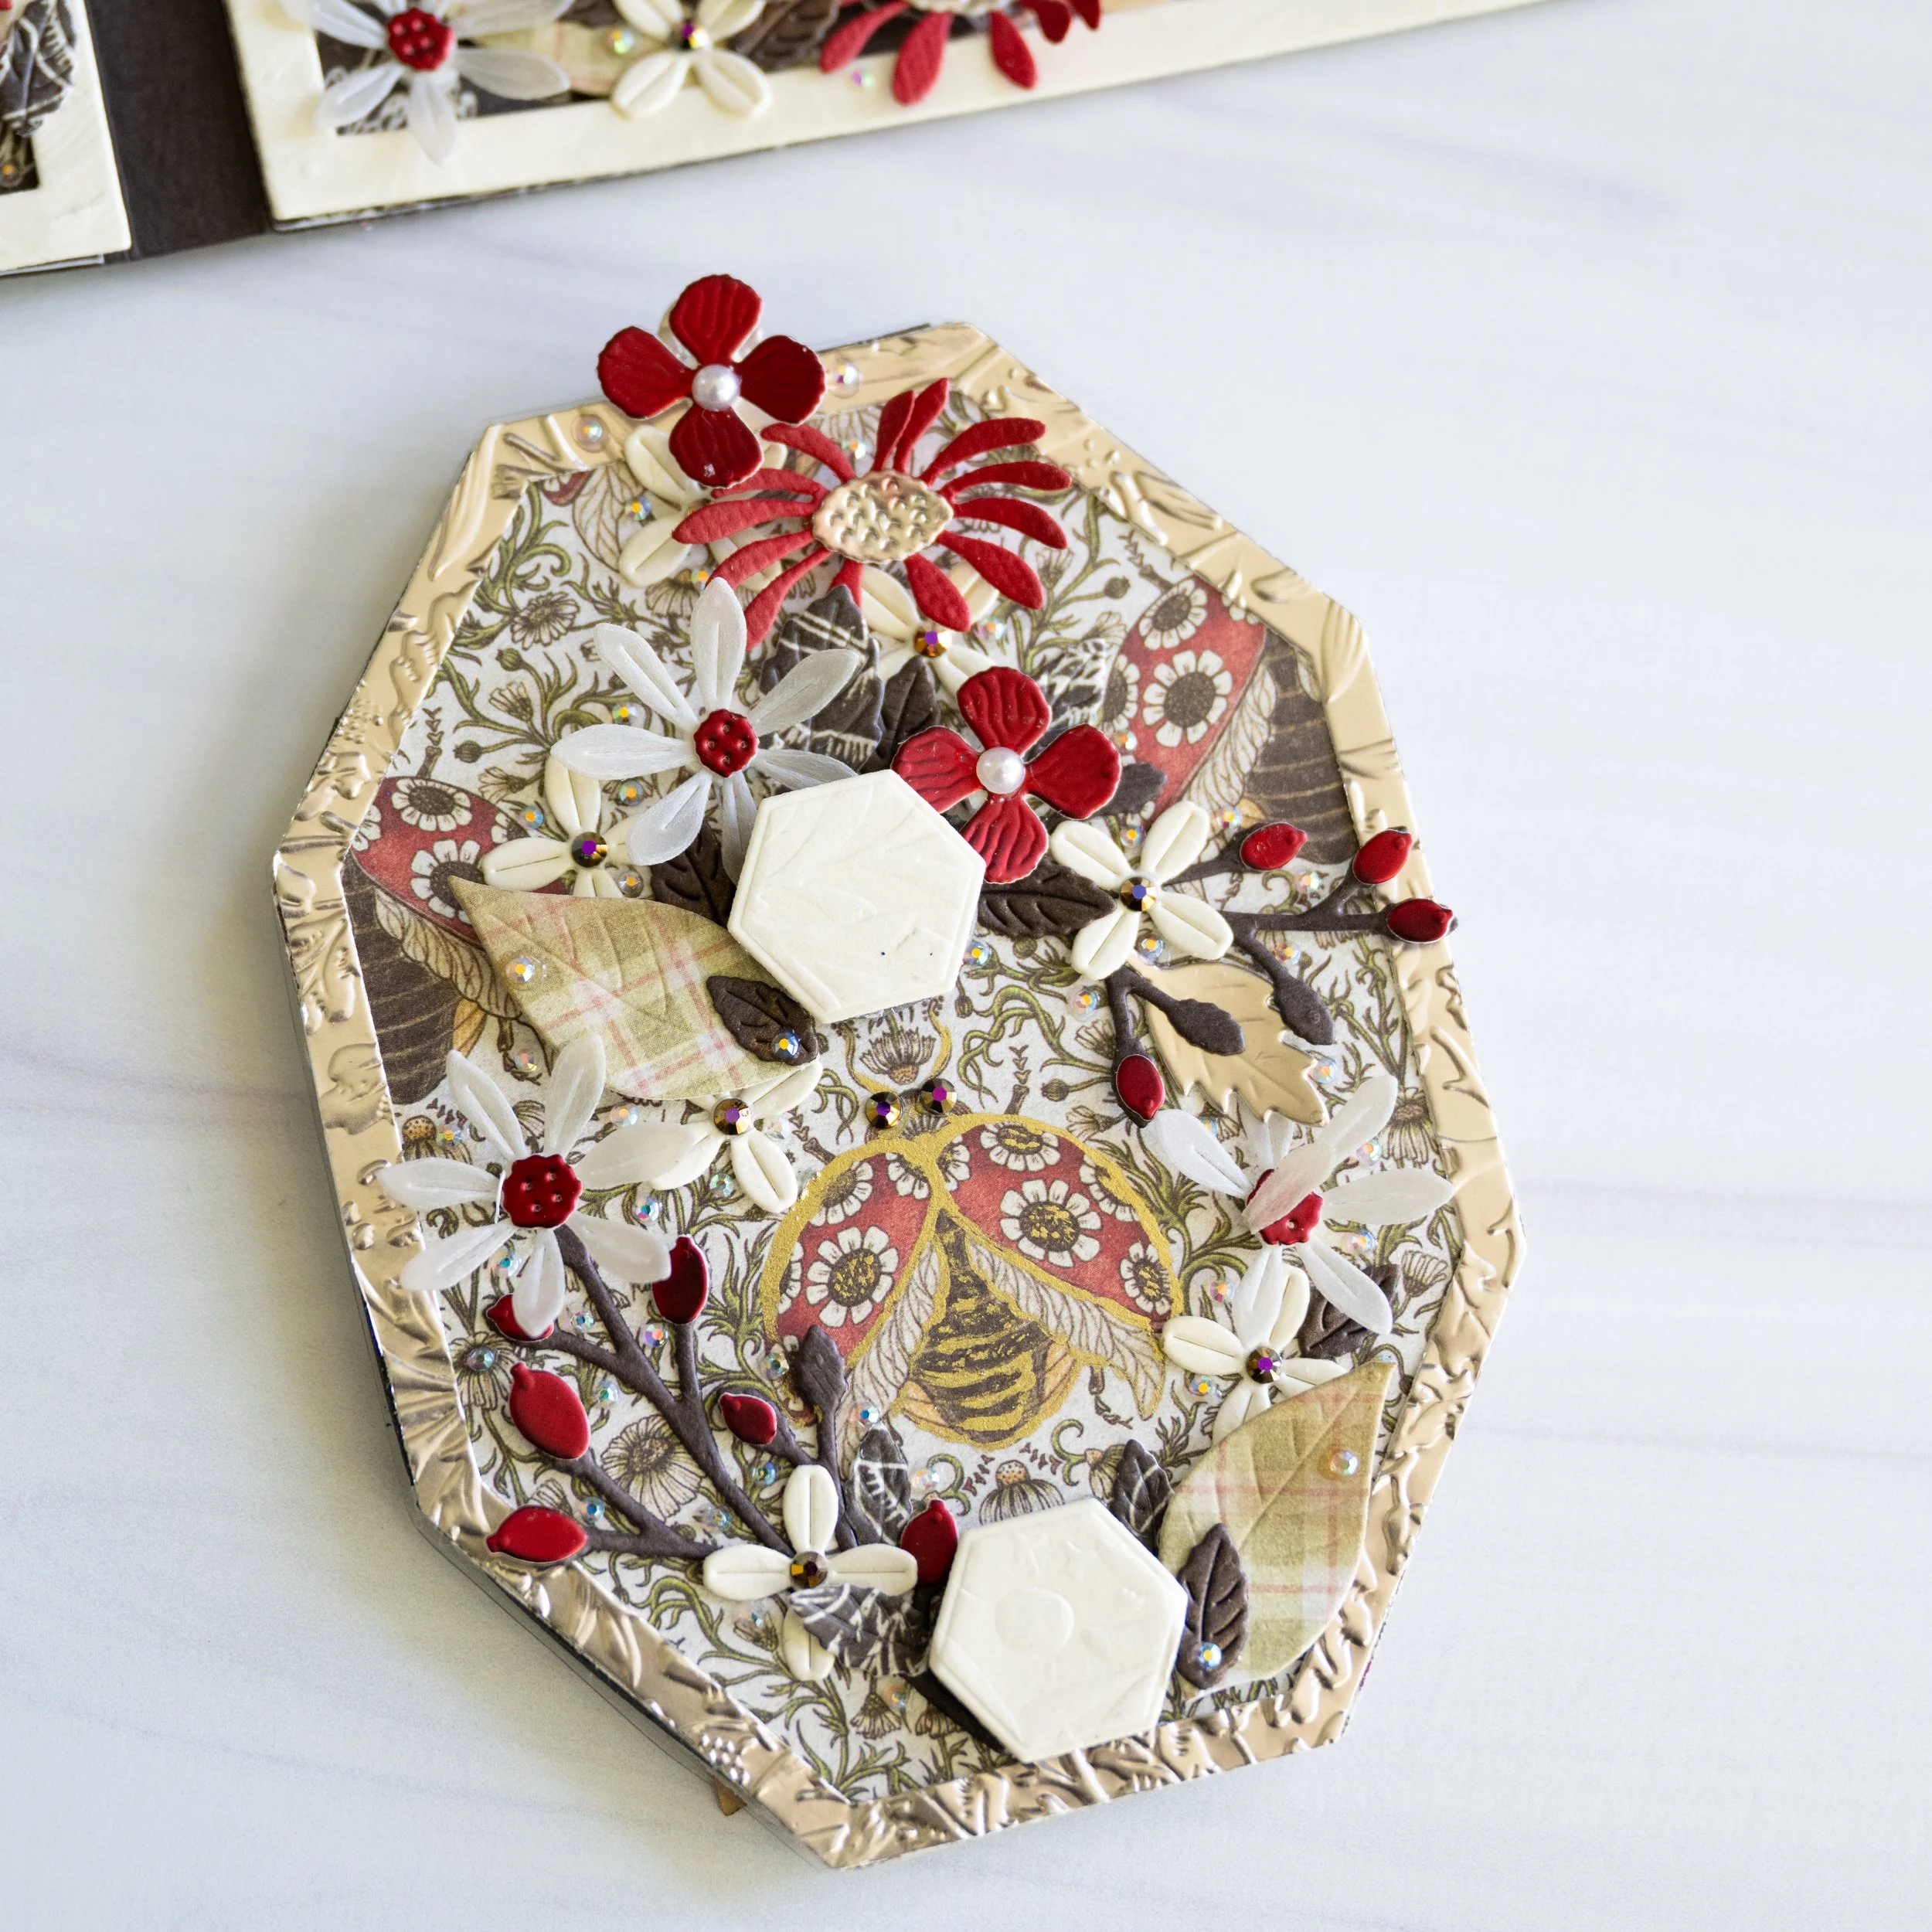
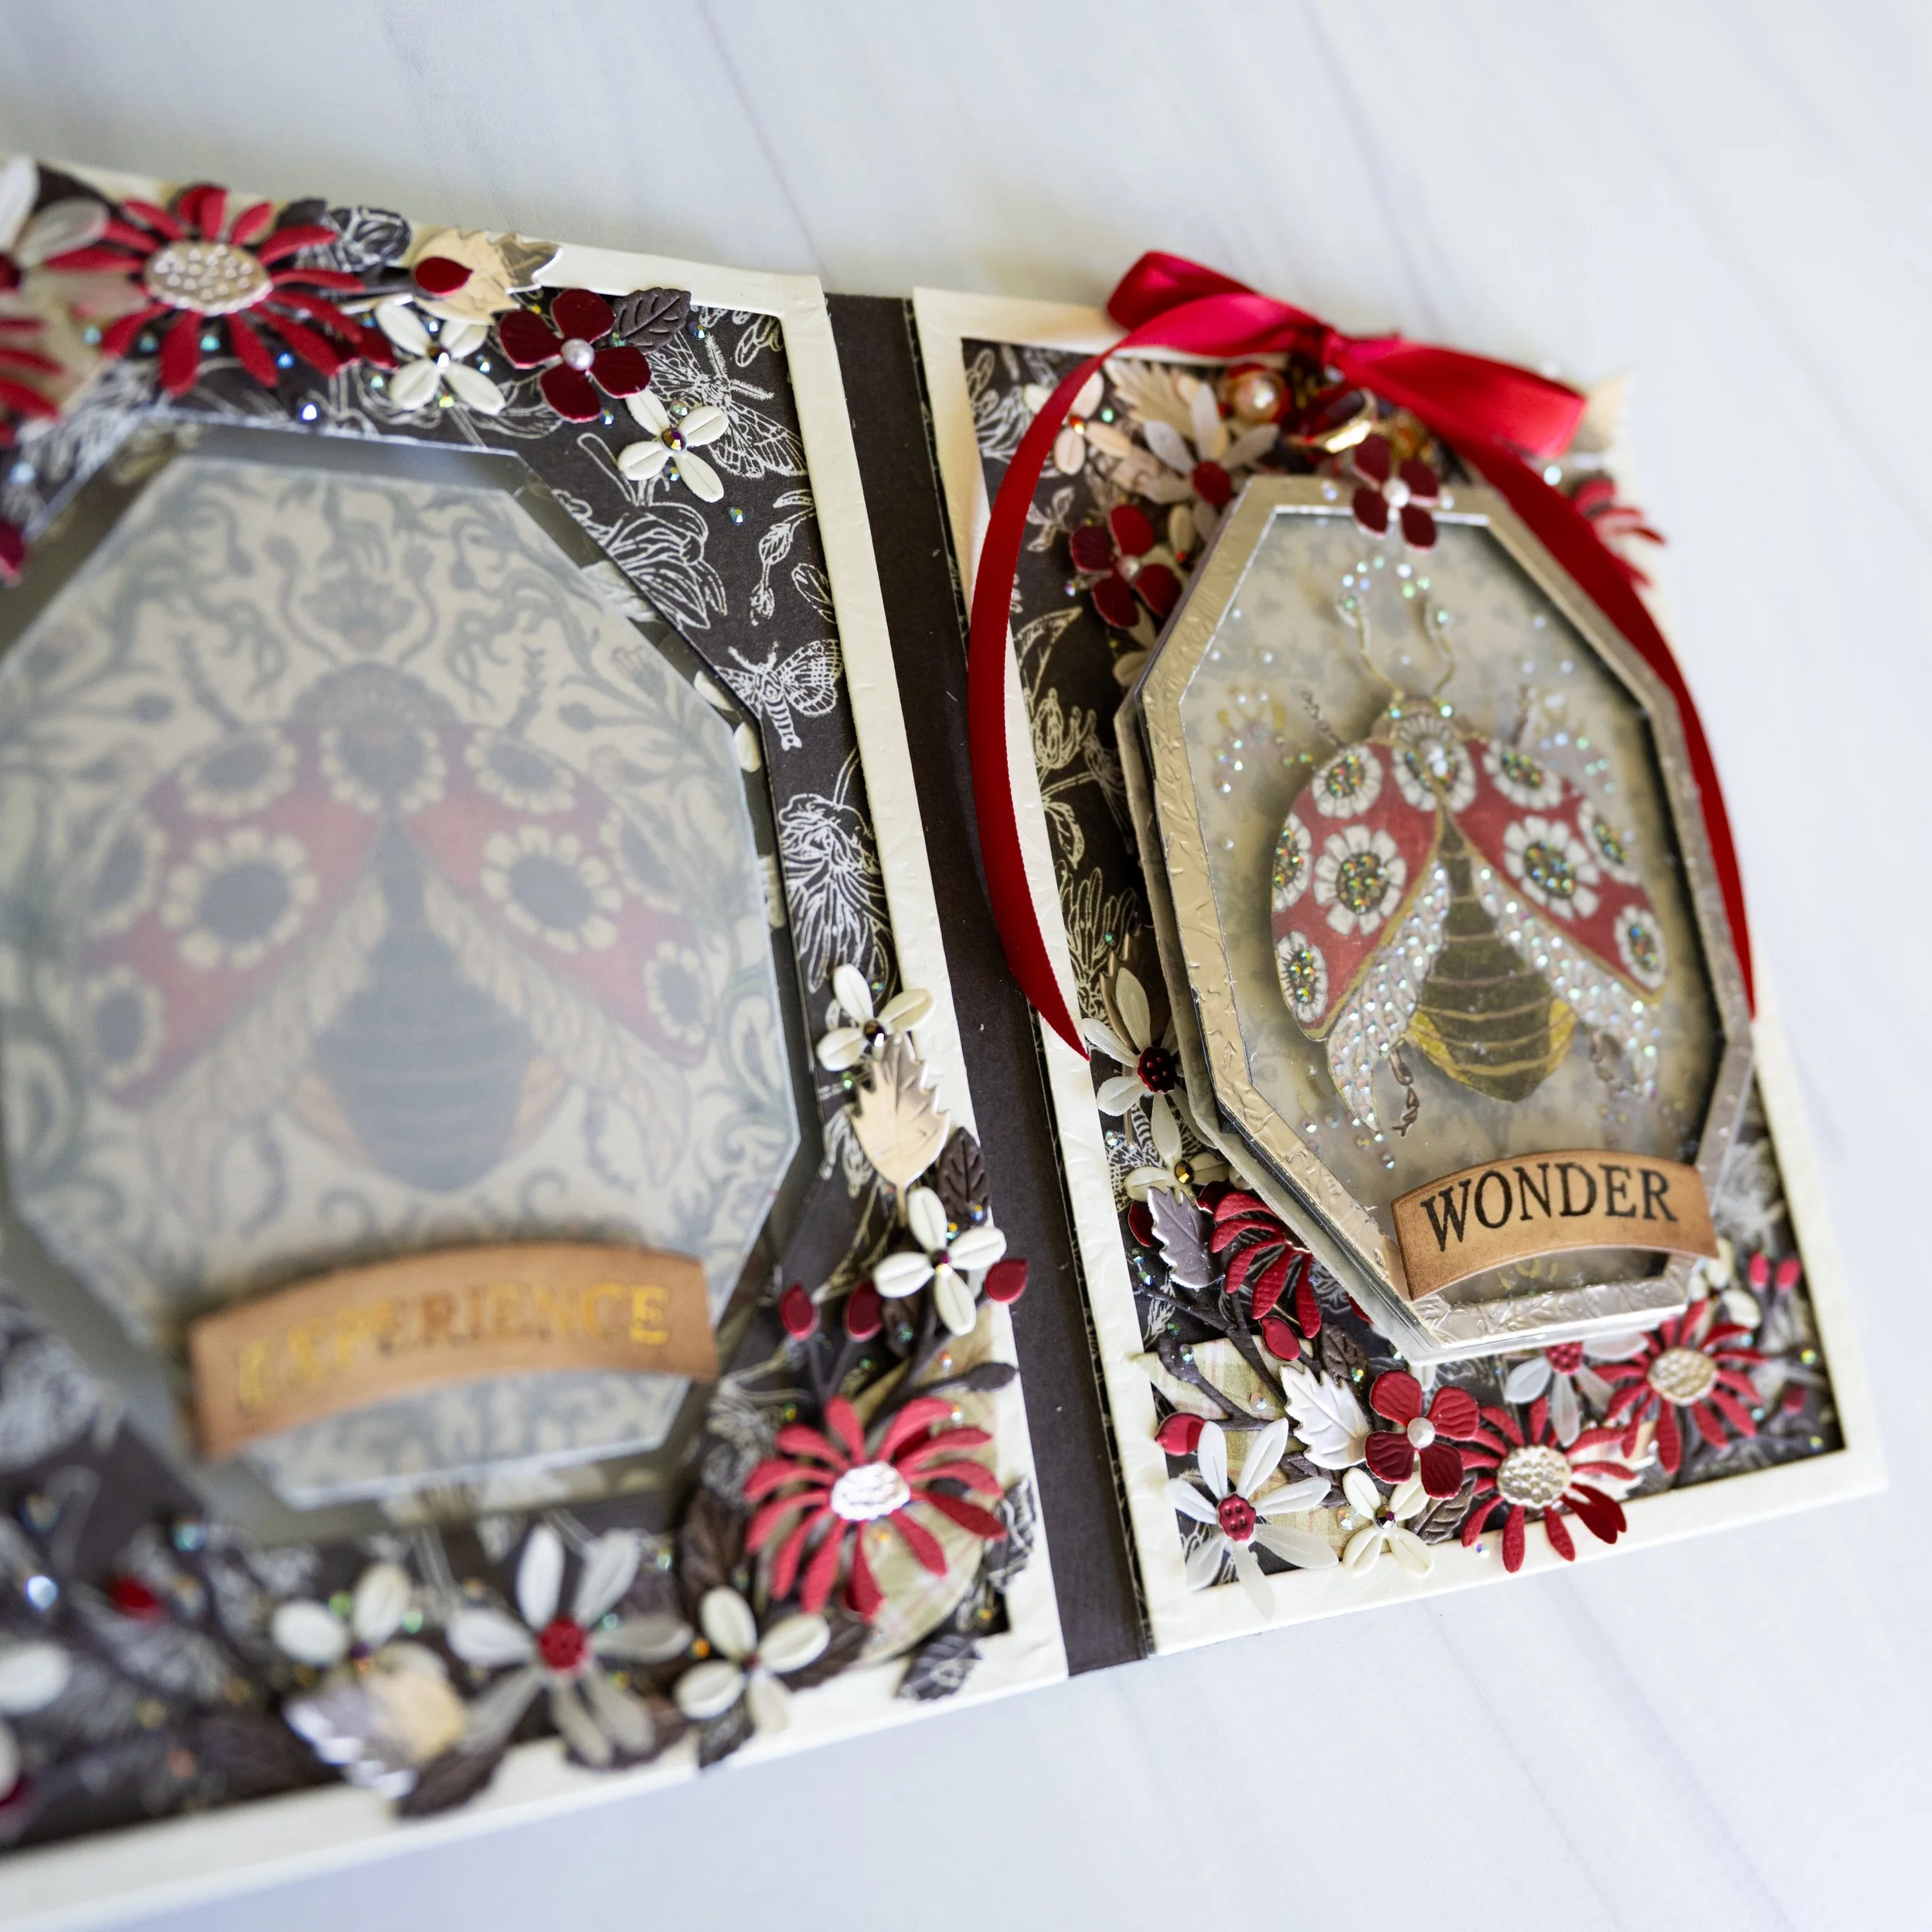
Once you open the card, you see two more ladybugs - one covered in vellum on the right, to create some open space and a place to add a handwritten sentiment, and then, the focal point of the card - a detachable artwork featuring a bejewelled, ornamented ladybug, again utilizing the octagonal frames. The detachable ladybug frame is secured by two sets of magnets to the card backing. I used a small hexagonal frame to cover the magnets. I had to use thicker magnets strong enough to hold the frame, but this ended up making it just the right height to fit the frame like a puzzle piece into the front cover acetate layer. I used one embossing folder throughout for the matte metal cardstock, the white layer frames on the inside of the card, and the back card piece. It’s a pretty pattern but unfortunately, I haven’t been marking my embossing folders to know where they came from and this one wasn’t printed with information. Any sort of elaborate, finely detailed pattern would work though. The octagon frames and inside frames are narrow, so they need a small repeat pattern to show up. I wanted to add a ribbon with charms to the detachable piece, secured through the back of the card, so that the piece would be ready to hang up but unfortunately, I didn’t have a hole punch that would work for that! So, I added the ribbon to the top, secured through a hole in the back card layer with a knot, with a ladybug, crown, and ruby glass pendant charms. I love charms, and I love to add them as decoration to my cards, just to add an extra bit of luxury and sparkle. I also like the idea that someone could detach them and use them as a keepsake to remind them of the occasion celebrated by the card. This way, the recipient can continue to experience the card in different ways - by standing it up to show the front or inside, by using the detachable frame inside to hang up, and by using the charms on a piece of wearable jewelry. I then added more floral clusters and rhinestones on both sides of the card, including underneath the detachable piece and on the back of the piece. I created an infinity shape underneath the detachable piece since I liked the symbolic reference to the infinity of nature, as well as adding interest to the card layer underneath the detachable piece.
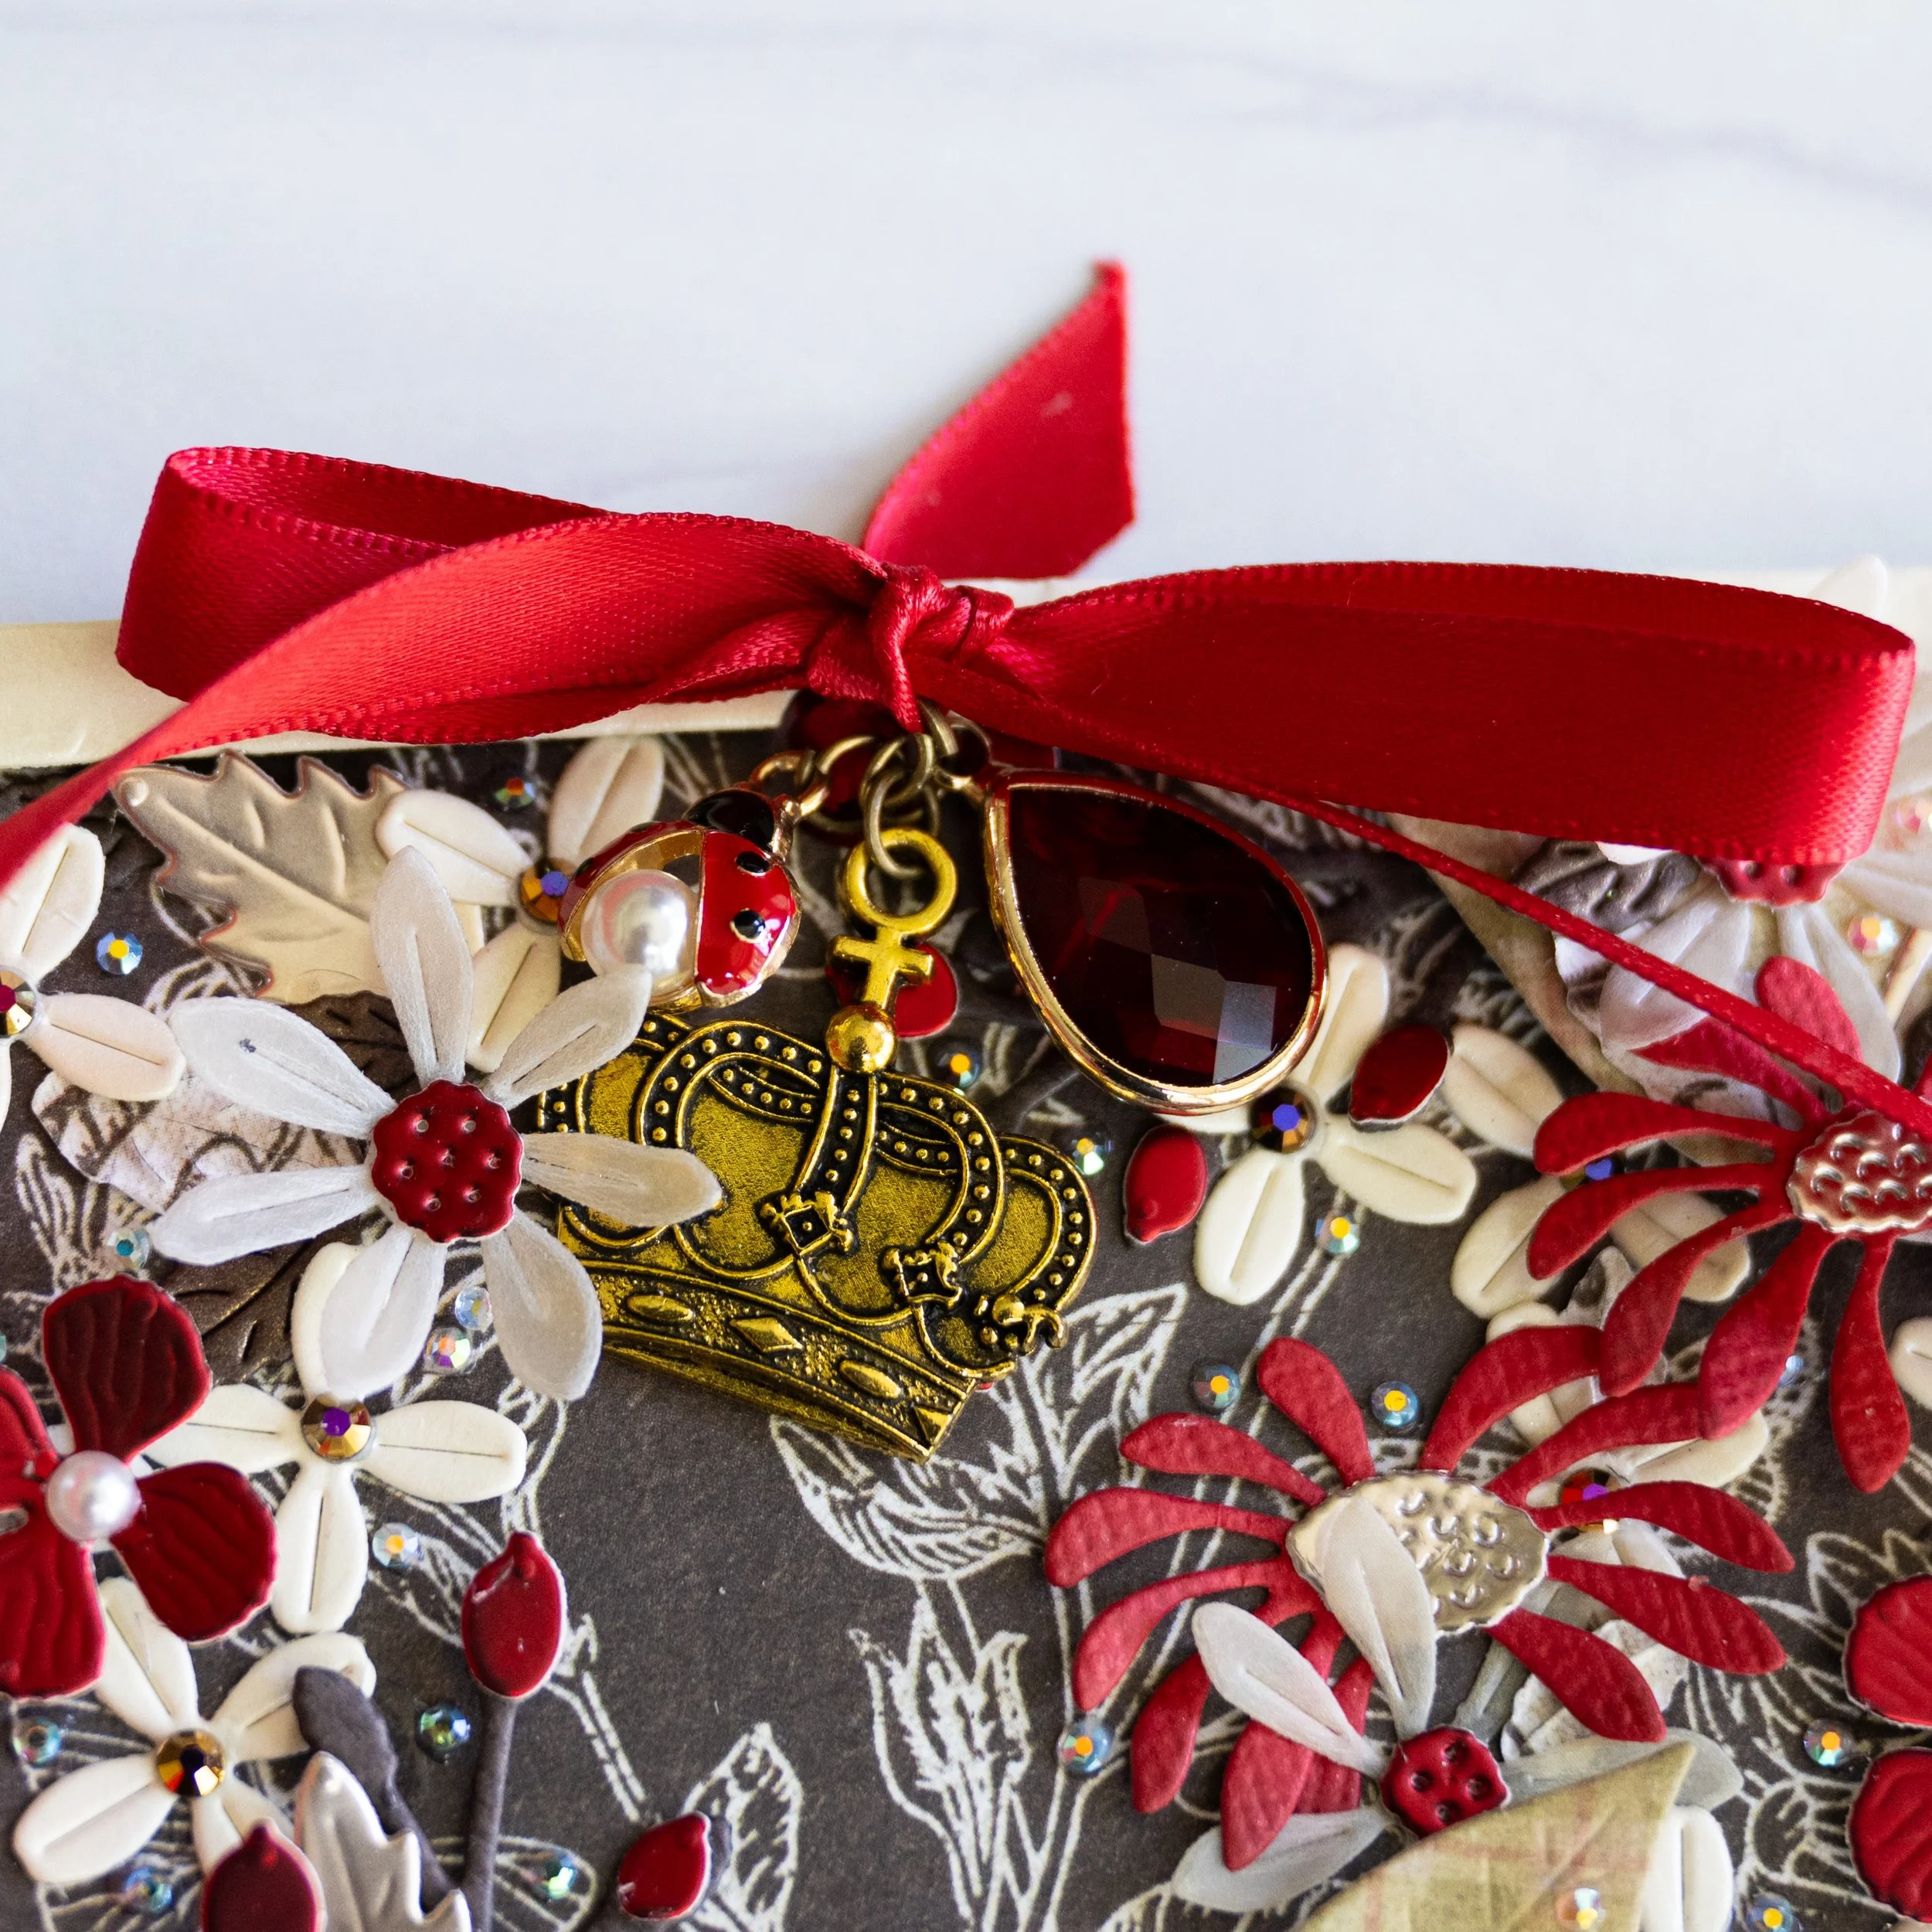
Detail of charms
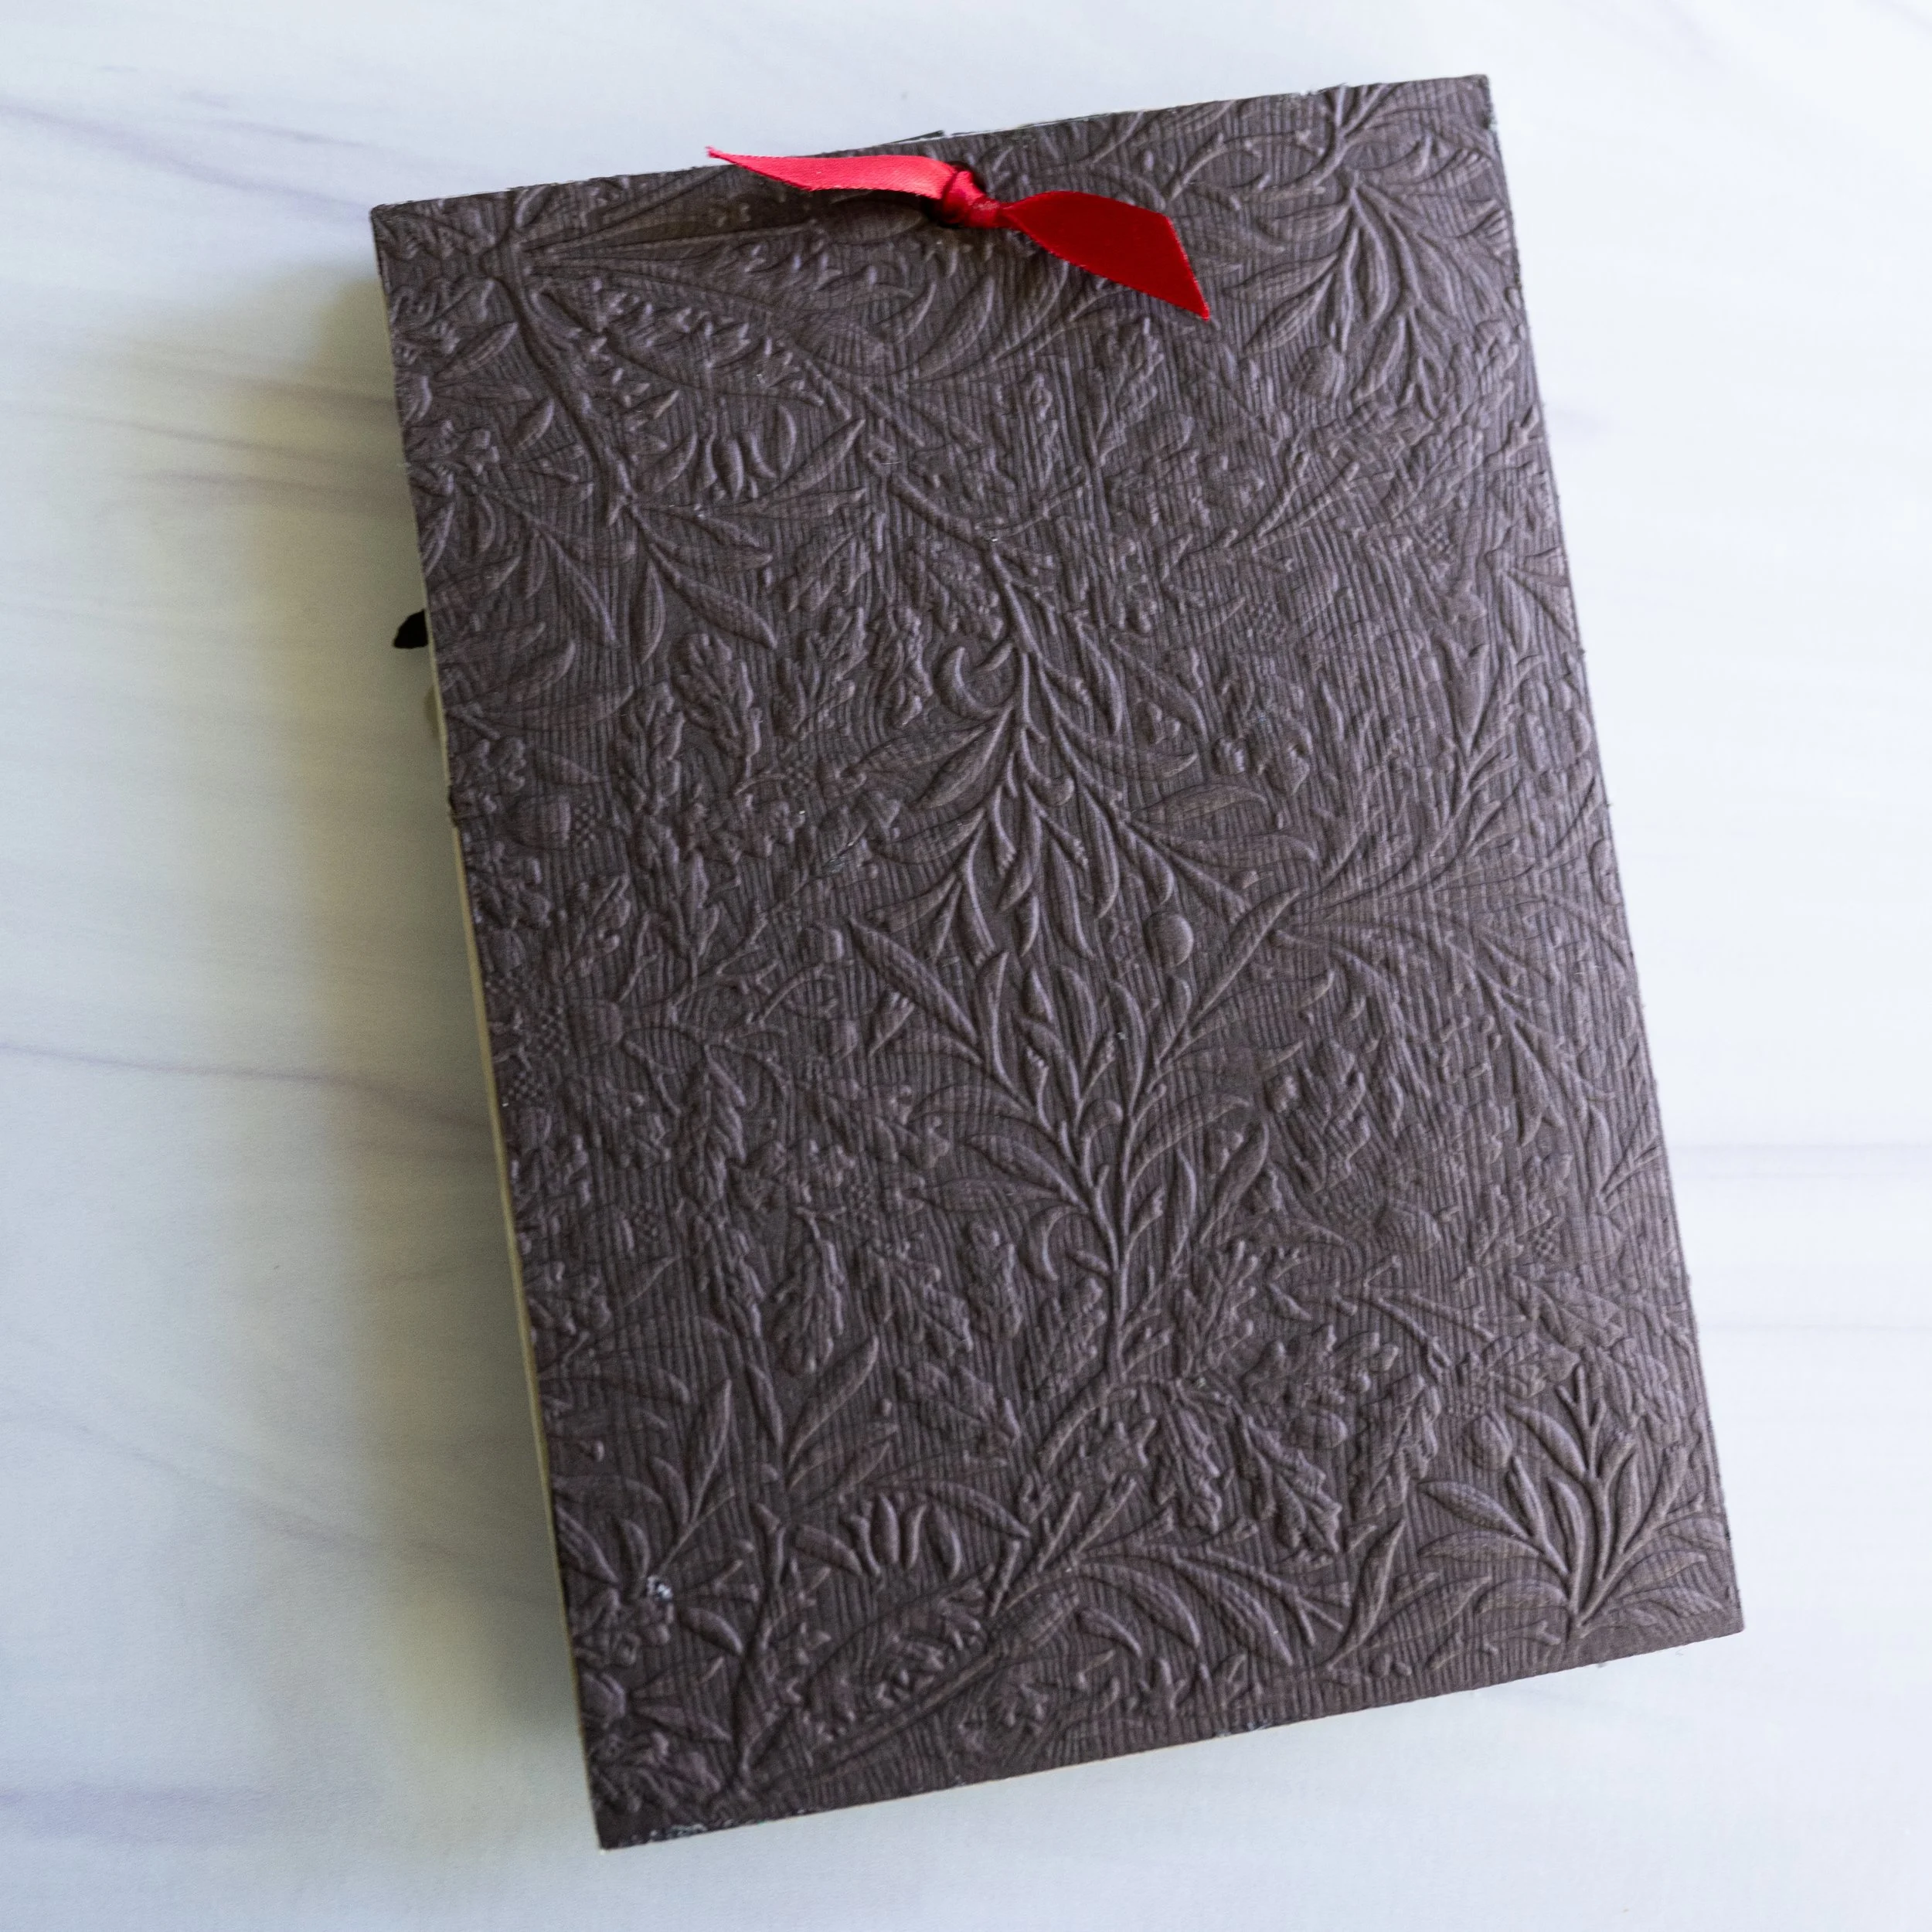
I kept the back simple, to emphasize the beauty of the wood grain paper and the embossing folder, and to allude to the idea of the Victorian wooden storage case for insect and natural collections. All told, this card probably took me twelve hours to complete. My daughter told me she was taking it to school with her in the fall to put in her dorm room, so I guess it’s already found a home!
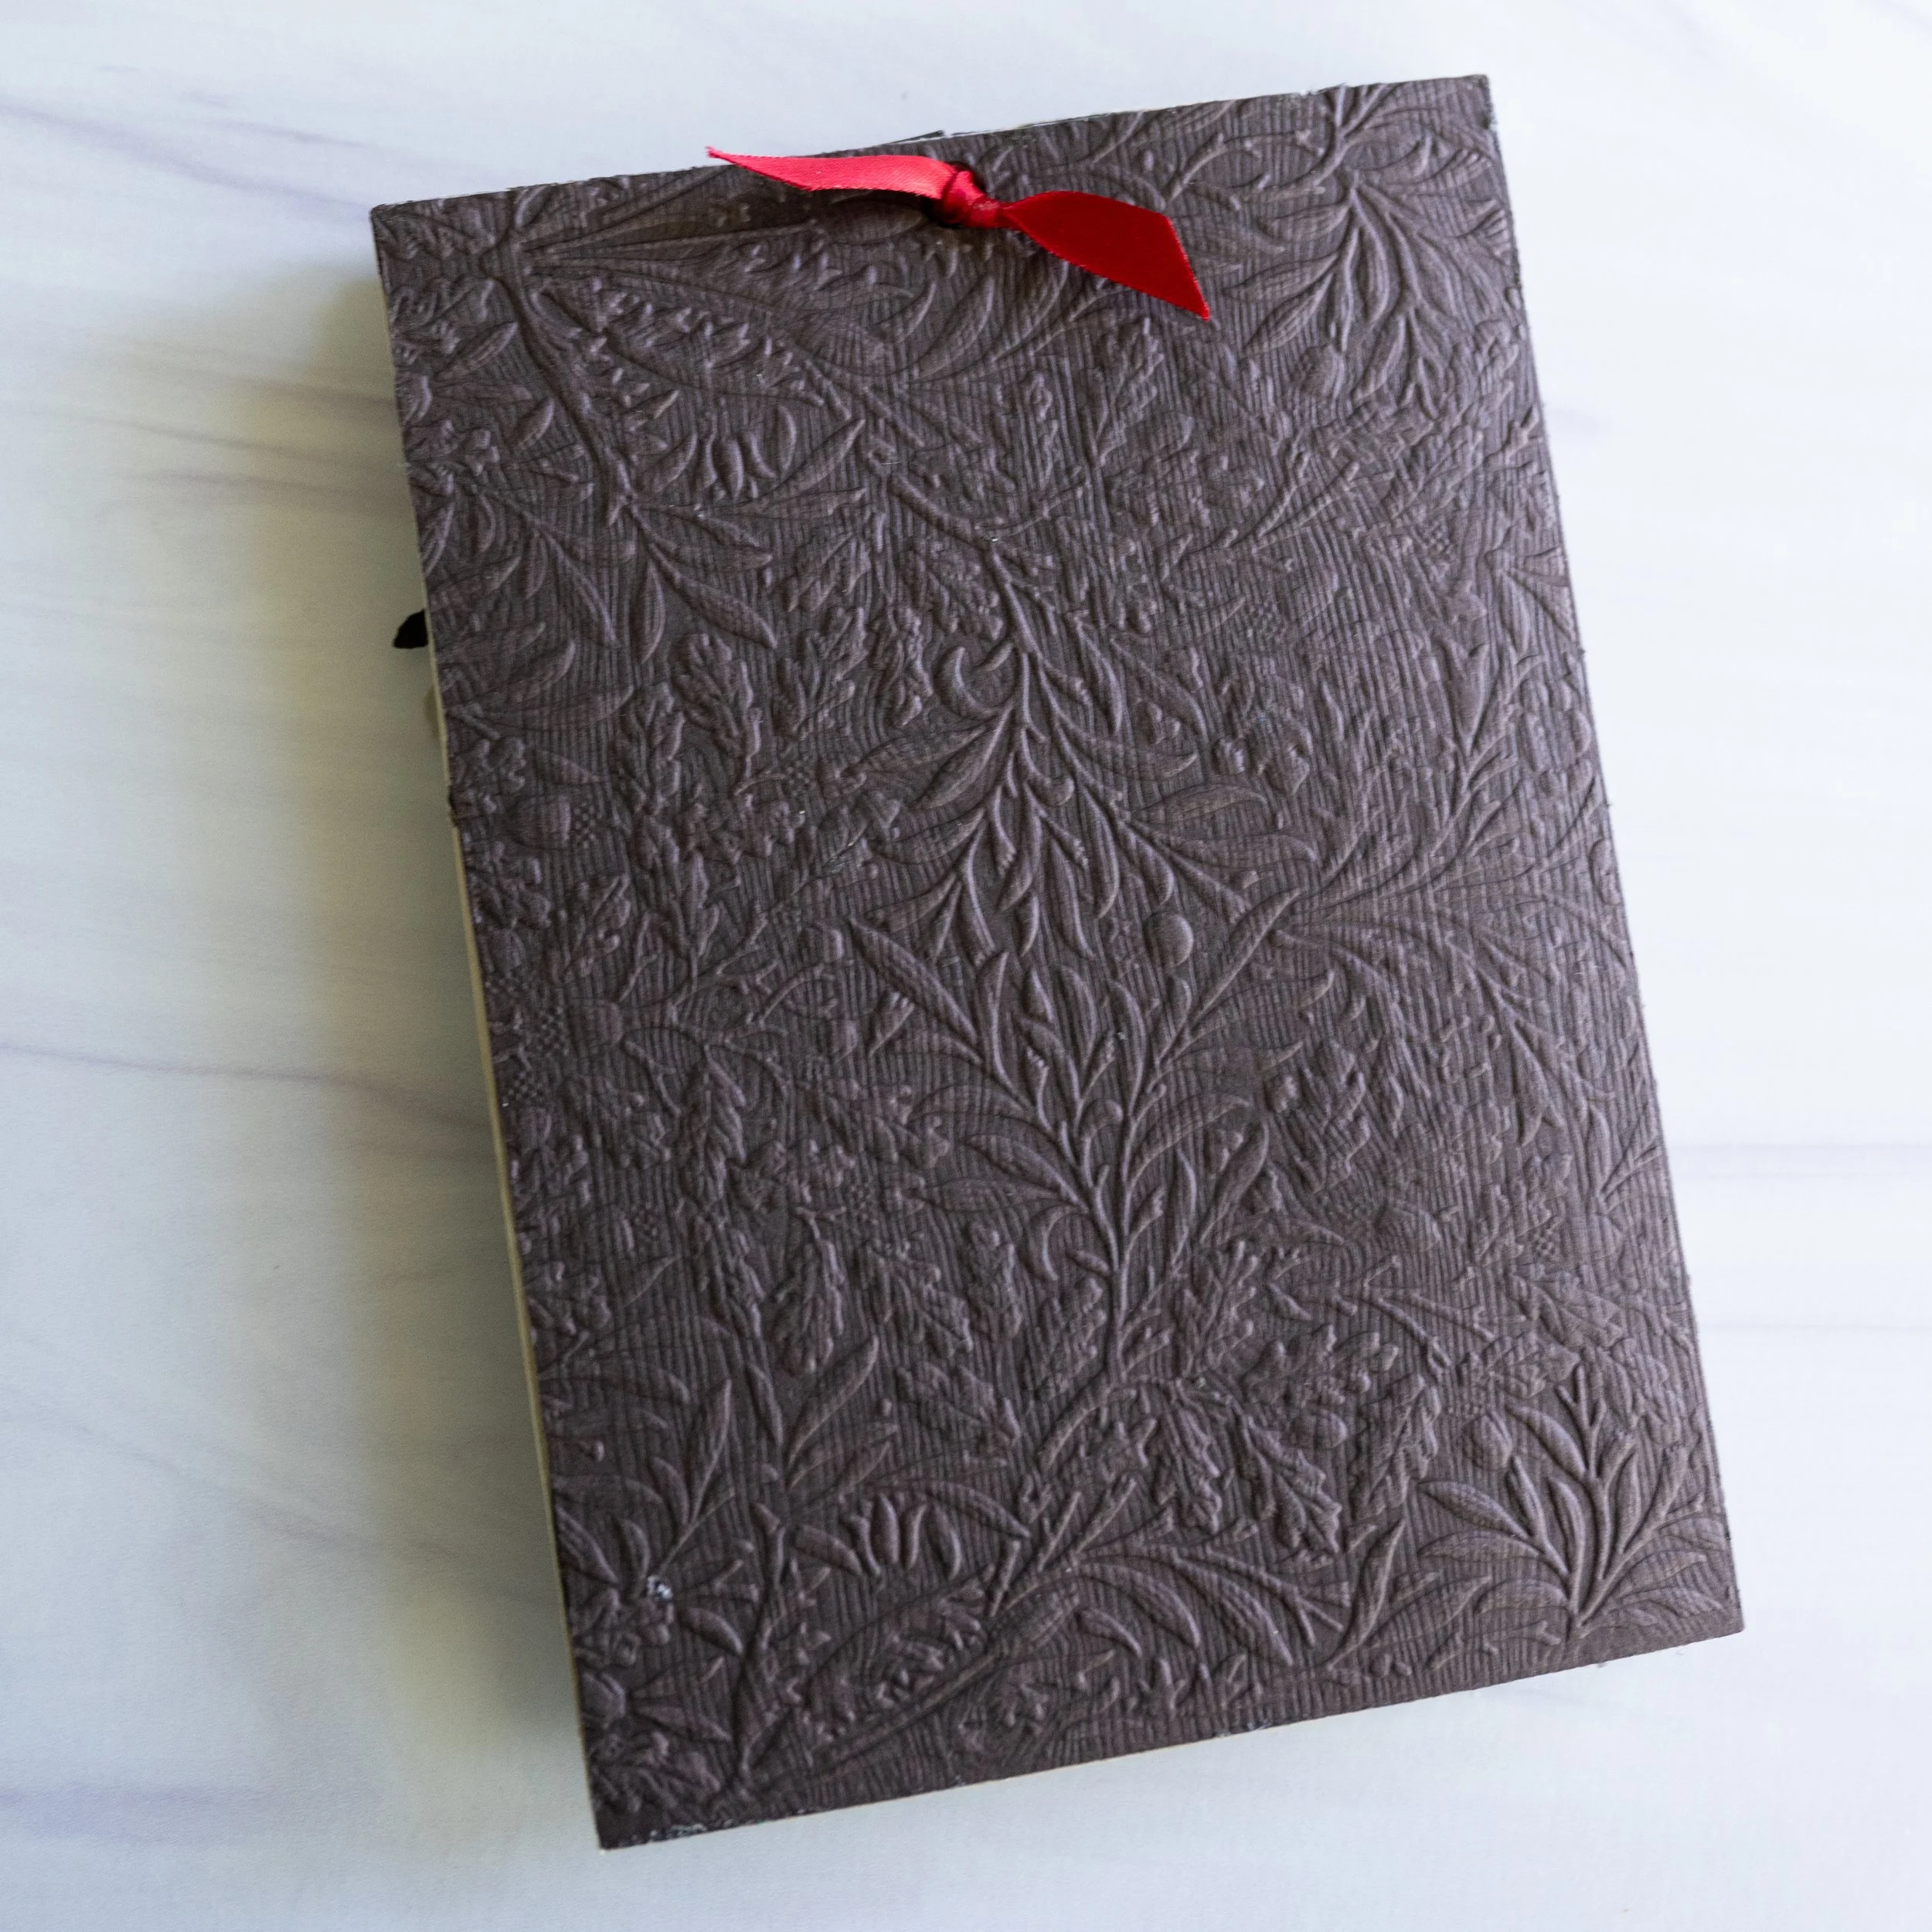
Embossed back of card, with ribbon mechanic to secure the charms and the red satin bow
The materials I used include:
Vintage Summer collection by Craft Consortium/Olga Kovalova (available in the US through Scrapbook.com and Simon Says Stamp
Framed with a Ribbon Die by The Stamp Market
Nested Octagons by The Stamp Market
Size 6 Transparent Rhinestones AB by Beadsland (I also used other shades of Beadsland for the ladybug eyes)
Gmund Bubinga paper (available in the US through LCI Paper and Cards & Pockets)
WOW! Extra fine gold Embossing Powder
Amber Watercolor DecoFoil Transfer paper
Please let me know if you have any questions or would like me to explain anything further! More images and video are available below. Thank you for your interest!